• Home
  • Tutorials
  • Videos
  • FAQ
Community

  • Home
  • Tutorials
  • Videos
  • FAQ
    Report trouble

Any trouble with UXPin?

Tell us what's wrong:


How can we help?

Everything you need to succeed in UXPin
    Search
    Home Tutorials Use Cases Design documentation in UXPin

    Design documentation in UXPin

    Mar 27, 2017 Posted in: Use Cases Hits: 7236

    At UXPin we know that the greatest designs require passion, ideas, and effort of multiple people. This is why we aim to facilitate the flow of information in the team and allow different people to get the work done.

    Here are 3 specific use cases how our Free Flow Documentation feature can make that happen.

    #1 Designer ↔ Client    |    #2 Designer ↔ Devloper    |    #3 Project Manager ↔ Stakeholder

    #1 Designer ↔ Client

    Sometimes guiding your client through a prototype, explaining certain design choices, and showing them the value might be a challenging task. It’s crucial to get the right message across and that’s precisely what you can use Free Flow Documentation for.

    As a designer, usually you have to prepare a mockup of the product first.
    You can either do it in UXPin or use our integration with Sketch and Photoshop to import your work quickly. Now you are only few clicks away from an interactive prototype – just add some interactions to the design. You can also create some depth with states by adding more states to the elements, e.g. by making two instances of one input field – active and inactive.

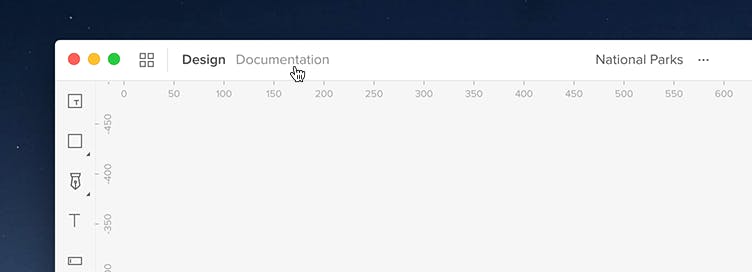
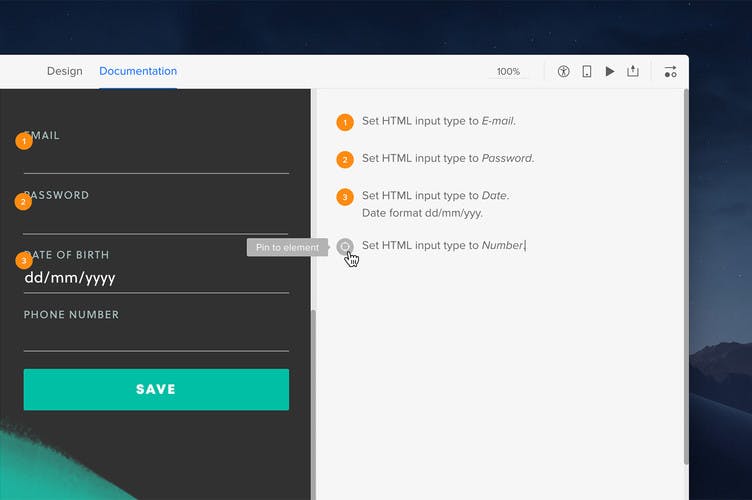
    The final step is to provide some context that explains particular interactions and the multistate behavior using our Documentation mode. You can also use this feature to ask your client for their opinion on particular parts of the design.

    In order to have a clear and effective communication, all information should be stored in one place, so nothing is lost on the way. That’s where our Preview plays a crucial role.

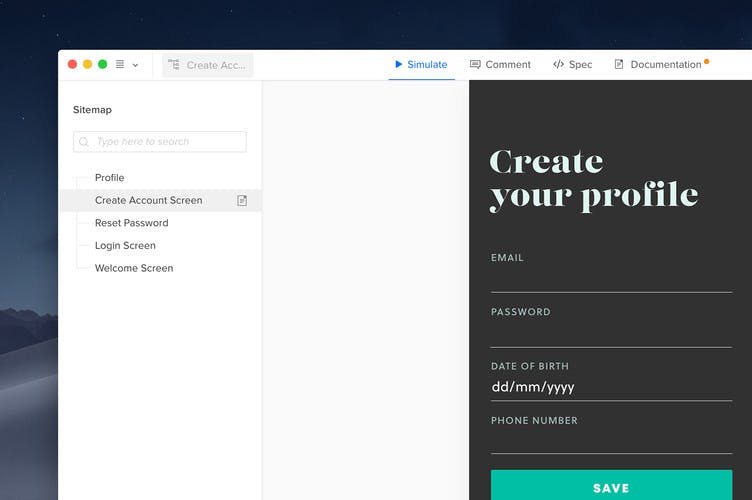
    When the client opens the Preview, they get access to different modes. They can easily switch to the Documentation section and get familiar with use cases or context for each part of the mockup. Afterwards, they’ll be able to test the prototype out in the Simulate mode to see the entire design in action.
    If they have some feedback to share or want to provide some answers, it’s enough to enable the Comment mode, click on particular parts, and type in the remarks.

    #2 Designer ↔ Developer

    There’s no such thing as painless handoff to the development, but in UXPin you can ease the process with our specification and Free Flow Documentation. What the designer creates and describes in the editor, can be effortlessly employed by the developer while coding.

    Let’s start from the designer creating or importing the elements into UXPin and assembling a Hi-Fi mockup. In that role, you can add specifications such as code snippets and use cases to each of the components and use CSS to customize them.

    Take a look at this example of the specification pieces which you can include:


    Additionally, extra information for the developer can be provided directly in the editor – just change the mode to Documentation and type in the remarks and suggestions.


    Once the designer is done with their magic, the developer can open the Preview and switch between Specification and Documentation modes. This allows them to place the design in context, familiarize themselves with use cases, inspect the elements, check formatting details, and even download all assets with one click.

    #3 Project Manager ↔ Stakeholder

    Free Flow Documentation can also help you communicate with your stakeholders. You’ll be able to present different business solutions and ask for their validation without ever leaving UXPin.

    Making the right call is often based on the data provided by A/B testing your ideas with the users. This is why in most cases you need to have two variants of a Hi-Fi mockup to present them to your Stakeholders. As a Project Manager you can use Documentation mode in the editor to provide them with additional business data and analytics.

    When all the necessary information is there, use our Approval process to deliver the design and gather feedback from your Stakeholders. Here’s how:

    Once you send the request, your Stakeholders will be notified via e-mail that the project requires their attention.

    After opening the Preview, the Stakeholder will be able to browse through the data you’ve provided in Documentation mode and review the design.

    With the final approval of the Stakeholder, the Project Manager has the green light to proceed to the next stage of the project.

    With these 3 stories, you can see how UXPin improves workflow in the organizations. Team members, stakeholders, and clients are included in the design process and welcome to leave their feedback. Go ahead and test how UXPin helps your team save time.
    Ready to try it in UXPin? Log in to the app!

    Worth reading

    • Collaboration Value
    • Free Flow Documentation
    • Spec mode
    0 people found this useful.   Login in to Vote Up!
    Not Helpful
    Report trouble
    Contact us: hello@uxpin.com @uxpin

    Login

    Connect with:
    Twitter