
Scrollable Content
In this tutorial, we will show you how to create scrollable content in UXPin using Groups. Follow these steps to learn how to create a horizontal scroll effect.
Setting up the Design
To create a scrollable carousel in UXPin, you can upload your own images or you can use ready-to-use Data. Below, we described both ways:
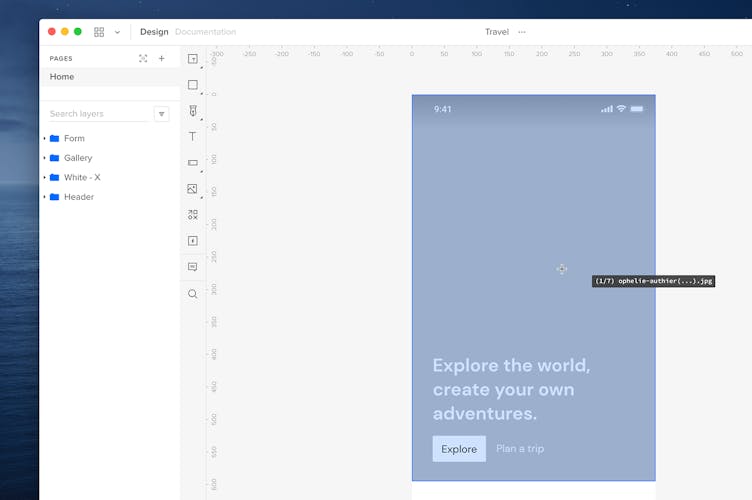
Upload Images in Bulk
- To upload multiple images at once, click Media in the left-side Toolbar or use the
"I"
shortcut. - Select the images from your computer and place them on the canvas one by one. You can also place them in existing elements on the canvas. See how to add images to elements.
- If you want to create a vertical scroll, place them one under another. If you want to have a horizontal scroll, position them in a row.
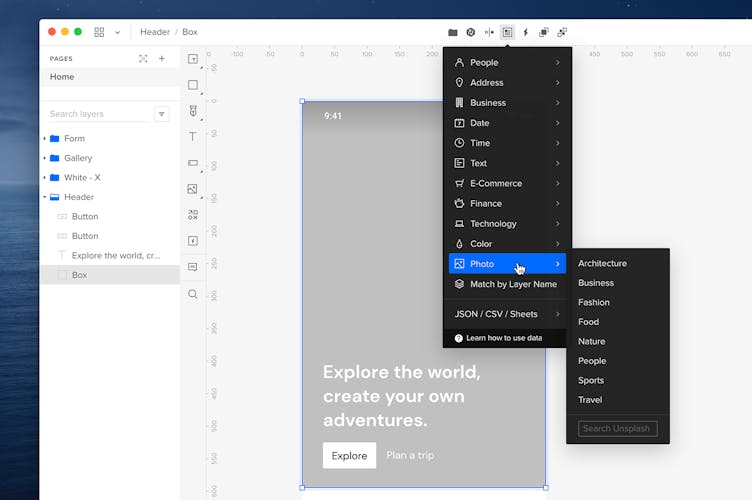
Use Built-In Data
- To fill existing elements with ready-to-use photos, select the elements on the canvas.
- In the Top Bar, click Fill with Data, choose Photos and select the type of photos you want to use.
- The elements will immediately fill up with photos.
Horizontal Scroll
- On the canvas, select the elements that you want to have in the carousel.
- Group the selected using the
Ctrl
"G"
shortcut. Please remember that you can only crop content that's already grouped. - With the elements selected, go to the Properties Panel.
- In the Crop section, check the Crop selected content and Horizontal scroll checkboxes.
- Crop the selected elements.
- Preview your design.
Vertical Scroll
- On the canvas, select the elements that you want to have in the carousel.
- Group the selected using the
Ctrl
"G"
shortcut. - With the elements selected, go to the Properties Panel.
- In the Crop section, check the Crop selected content and Vertical scroll checkboxes.
- Crop the selected elements.
- Preview your design.