
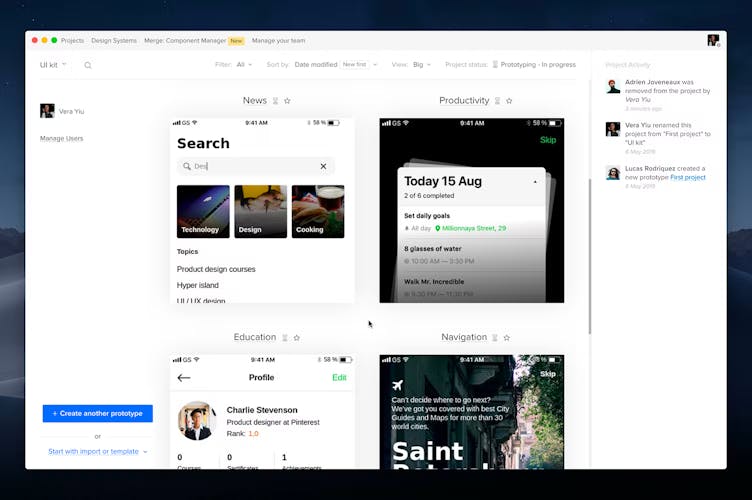
Prototypes
All your designs, prototypes, mockups and wireframes inside your Projects are what we call Prototypes. They are all grouped on the Project Dashboard.
Adding Prototypes
To add a new prototype to a project click Create another prototype in the bottom left corner of the Project Dashboard. The prototype will be created and opened automatically.
Another way is to upload a prototype through the file import or by dropping the file onto your dashboard. UXPin supports various file formats. You can read about it below in the Import files to UXPin section.
Renaming Prototypes
There are a few ways to rename a prototype in UXPin:
- In the Editor by clicking on the name of the prototype in the top bar. You’ll find the name of the prototype right next to the Prototype Actions... menu.
- In the Prototype Actions… menu by choosing Rename.
- In the Dashboard by double-clicking on the prototype name above the prototype preview.
- In the Dashboard by choosing Change name from the Prototype menu in the bottom right corner of the prototype preview.
Deleting Prototypes
To delete a prototype, go to the Prototype menu in the bottom right corner of its preview and choose Delete. You can undo a deleted prototype 20 seconds after you delete it.
Moving Prototypes between Projects
To move a prototype to another project:
- Click on the three dots in the bottom right corner of the prototype preview.
- Choose Move to project.
- From the dropdown, choose the project you want to move the prototype to.
- Click Save.
- The prototype will be moved to the new project right away.
Recent Prototypes
In the Editor, you can quickly access and switch between your recently opened prototypes from the top left corner of the Top Bar. The dropdown shows up to 5 recent prototypes regardless of the project they are in.
Note
The dropdown shows only the recent prototypes from your account, not other accounts you have access to.
Import files into UXPin
There are two ways to import files to UXPin. Both work on the UXPin Desktop version as well as the UXPin web-based version. UXPin supports the following file formats:
- Sketch files (.sketch)
- UXPin files (.uxp)
- Other formats, such as PNG, JPG and PDF
- SVG files in the Editor
To import a file into UXPin:
- Open the Project you want to upload the file to.
- Click Start with import and template in the bottom left corner of the Project Dashboard.
- Choose Import Sketch images or other.
- Locate the files you want to import and select them and the files you want to import.
- Click Open.
Drag and Drop files
You can also upload a file by dropping it onto the dashboard with your prototypes inside the project.
Saving Prototypes as .uxp Files
Prototypes can be saved as .uxp files straight to your computer. This is a file format specific to UXPin and it can’t be opened in other tools or offline.
To save a prototype as a file:
- Open the Prototype Actions... menu in the top bar of the Editor.
- Click Save as .uxp. If you added adaptive versions to your prototype, you can only save the current version as a .uxp file and you will see the option to Save breakpoint as .uxp.
- Wait for the file to generate.
- Once the file has been generated you can save it to your computer.
Importing .uxp Files
To open a .uxp file, you need to import it to UXPin. You can simply drag and drop the file onto the project dashboard, or click Start with import or template in the bottom left corner of the Project Dashboard to locate and upload the file. The file will import as a new prototype.
Limitations for imported files
There are some limitations in terms of what imports from the original prototype and what doesn't. The imported prototype will include documentation from the original prototype. However, it will not include:
- comments
- iterations
- passwords
- status information
- removed pages