
Documentation
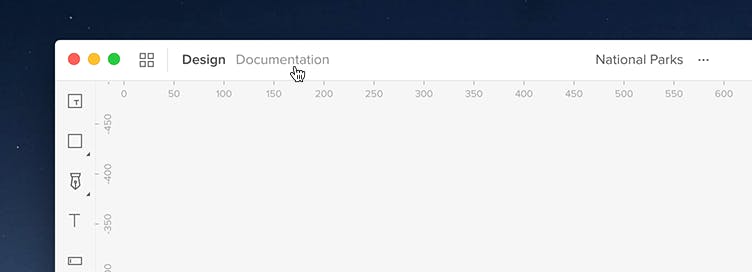
Documentation is where you can leave more detailed descriptions of your prototype for anyone who can need it. You can access it directly in the left corner of Top bar. Click the Documentation icon to switch to the documentation view with the area for adding your notes to its right side.
This section works like a text editor — just start typing your comments. You can edit your documentation using your keyboard. Also, If you want to make some pieces of information stand out, you can simply select your text and add styling options.
Organizing Documentation
You can either leave a general note for the whole prototype or pin it to a specific element on the canvas.
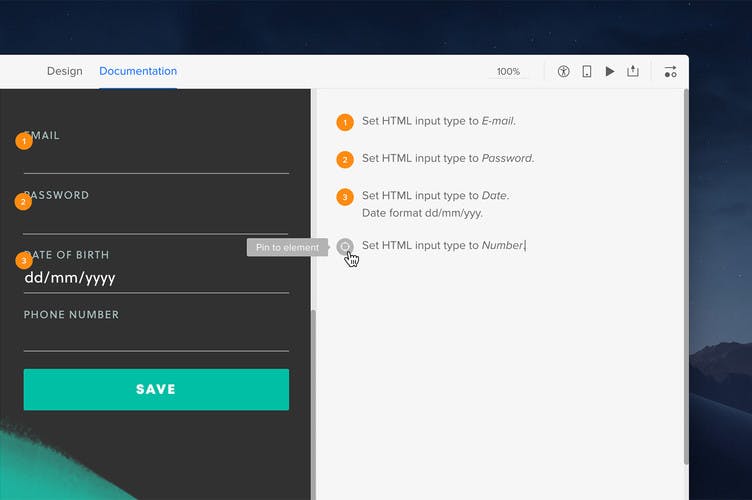
To pin a piece of documentation, select your suggestion, click the Pin to element icon to the left and choose your element on the canvas. You can also create an empty paragraph, pin it to the element and fill it with content later on.
Once you pin it, you’ll see an indicator with a matching number both for the note and for the element. Additionally, the active note will be marked with blue, so you can easily differentiate it from others on the list.
Tip
If you want to remove pins from your suggestion, just hover over the pin and click the Unpin from element icon.
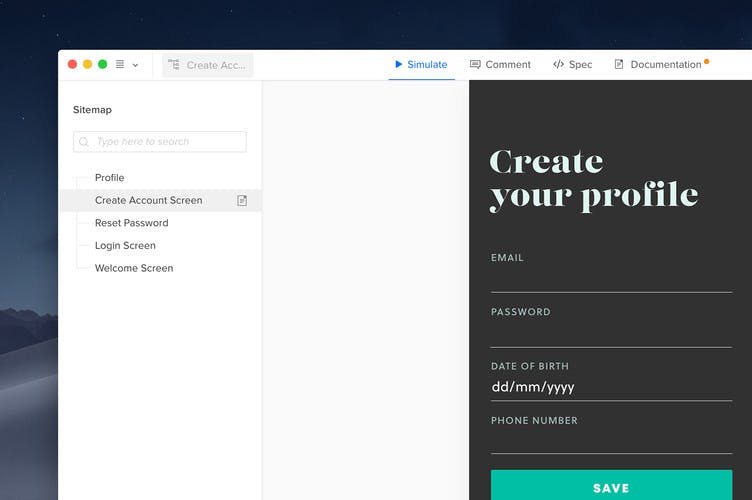
Documentation on Preview
When you open your design on Preview, you’ll see which pages have Documentation added to them. These pages will have an orange dot next to the documentation tab and an icon in the sitemap.
Note
You can only add documentation notes in the Editor, not on Preview.
Once you open Documentation on Preview, you’ll be automatically switched to the Documentation view where you can see all the information already added in the Editor. Once you click on a pinned note it will turn blue, both for the note and the pinned element.