
Jira Integration
Integration with Jira brings design and engineering one step closer and makes collaboration easier. The UXPin add-on allows users to attach UXPin prototypes with all relevant information including comments, documentation, and specification to any issue in Jira. The add-on is only available for the cloud version of Jira.
Installing the Integration
You must have JIRA admin privileges to install the add-on. As the admin, you can add the UXPin plugin from Atlassian marketplace.
- From your Jira dashboard, access your Settings (bottom left corner)
- Go to Apps
- Search for UXPin
- Click Get it now to install the add-on.
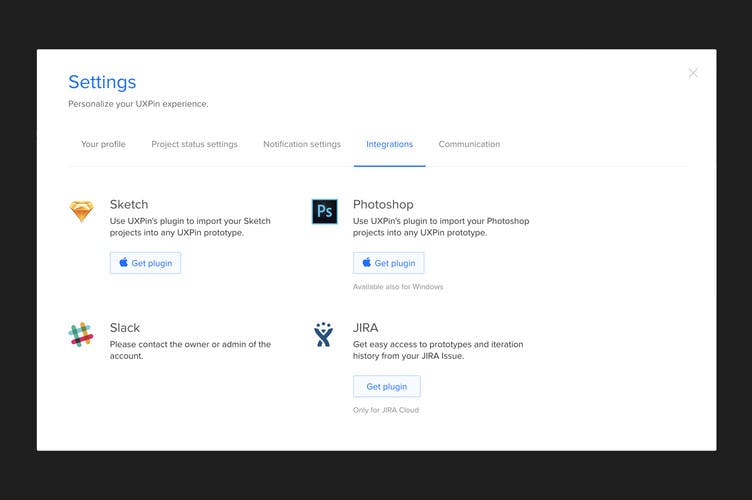
Alternatively, you can access the plugin from your UXPin Integrations settings. In UXPin, go to the account menu and choose Integrations from the drop down. Once there, you’ll see a list of all available plugins. Select Jira and you will be redirected to the Atlassian marketplace where you can follow the steps outlined above.
Configuring the Integration
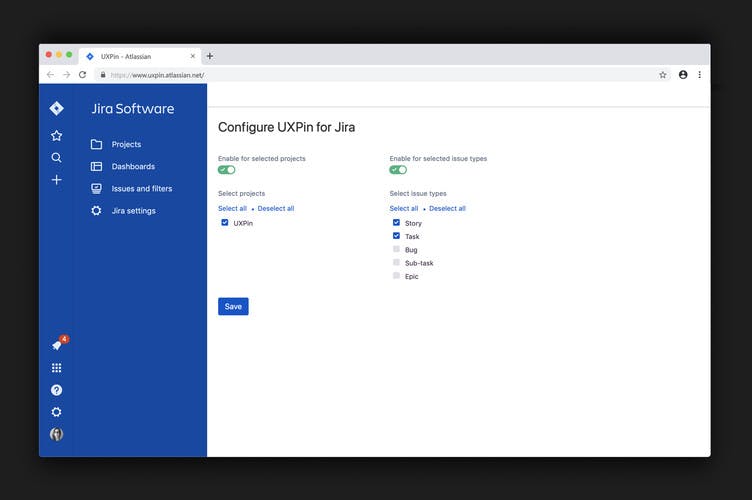
The Manage add-ons section in Jira gives you an overview of all the plugins that you have. Once the add-on is downloaded, you’ll see options to enable, configure or uninstall the plugin.
Configuration options allow you to enable the add-on for all or selected projects as well as individual issue types as needed. That will give you more detailed control over where you’d like to have the add-on available.
Using the UXPin Add-on
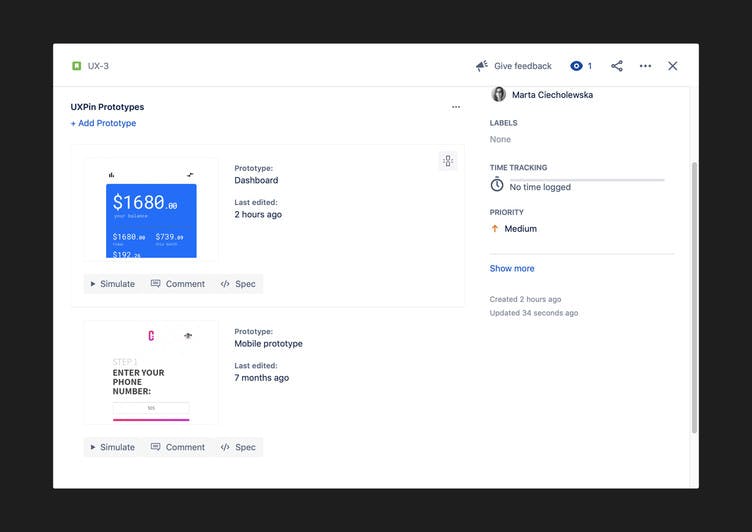
In the Jira dashboard you’ll see a section titled UXPin Prototypes. To add your prototype to the Jira issue, please paste your UXPin preview link in the input field. Keep in mind that only links to active prototypes will work and your JIRA account needs to have Remote links enabled.
Once pasted, press add prototype and you’ll get the following information about your prototype:
- Cover – you will see the cover of the prototype linking to a specific page.
- To the right you’ll see additional info: prototype name, page, time it was last edited. On the bottom you’ll find links to UXPin preview, comment mode (including number or comments), Spec Mode and Documentation.
- If the Documentation and Spec Mode are not available in your UXPin plan – those buttons will not be visible, when attaching the prototype to Jira Issue.
- Comments and Spec Mode buttons will also be shown based on your prototype’s sharing options in UXPin.
- Button to unlink the prototype from the Jira Issue, if you need to do that at any point.
- Bonus points: you can add multiple prototypes to each issue as needed.
Integrating UXPin with Jira will allow you to streamline the process and make sure everyone on the team is on the same page.