
Using React.js Components
Note
If you want to request access to UXPin Merge, please sign up here.
The newest version of Merge CLI: 3.5.0
This article explains how you can use React.js components integrated with your UXPin account thanks to the Merge Technology. If you're looking for a technical integration guide, you can go to Creating a UXPin Merge Library right away.
How to Access Merge?
As a user you have access to both – UXPin Merge Dev Environment (to integrate your own components or any of our sample libraries) and Merge libraries integrated directly with your UXPin account (providing that any coded components have been pushed to your UXPin account). If:
- you want to integrate your own components – follow the steps in Creating a UXPin Merge Library.
- the components have already been integrated with your UXPin account (by some nice person on your team!) and you want to learn how to use them – keep reading this guide.
- the components haven't been integrated with your account and you're not sure what to do – contact your account manager.
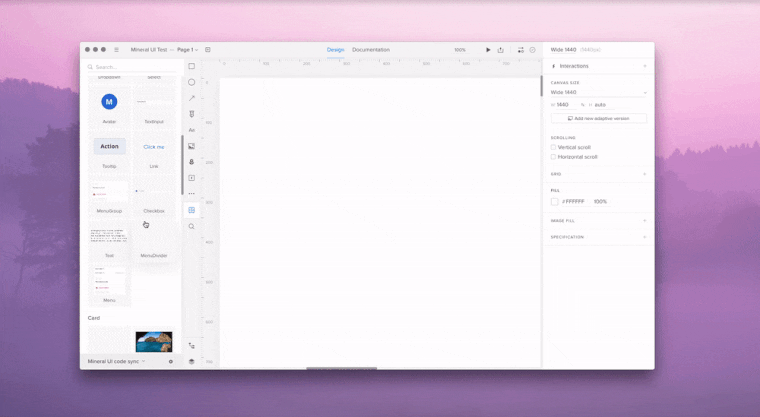
Adding Components
Adding components works exactly like in the regular design systems library in UXPin. Simply drag & drop a component, adjust its position on canvas and you're good to go!
Note
Adjusting the size of the component depends on the way the component was coded. If a component has a fixed width or height set up in css, then adjusting the size in UXPin will not be possible, unless the value is passed through props to a React component. Merge uses the very same code as you do in the production of your app.
Nesting Components
If a component allows for a nested structure – you can do it.
A great example is this Card Component above. Once you have the container on the canvas (Card Component) you can add a CardImage, a CardFooter and other components to it. Either double click on the container and drag and drop children from the library, or drag and drop children to any place on the canvas and then use the layers panel to nest them. To select one of the deeply nested components, press and hold the Cmd (Ctrl) button and click on the nested element.
To rearrange the order of children inside a parent use the Layers Panel. Merge automatically applies all the relevant cards, e.g. if the container has a layout set up as flexbox, children are going to behave according to the css.
Editing Components
Components imported from code repositories are special! You can edit them only as much as the code allows you to. React.js creates a special communication channel with the component from the place of its implementation. This communication happens through the so-called props. Props can take any value (text, hex code, object with data, number...) and trigger special styles or behaviors of the component.
Merge can automatically recognize these props and show them in the UXPin Properties Panel. That's why instead of the ordinary controls for color, text, border, shadow etc., in case of coded components, you see a set of predefined properties coming directly from the coded version of your component.
This is perfect for Design Systems, a nobody can mess up your components by applying the styling that isn't permitted in the system!
Note
All React components have their descriptions, including the library and branch name, available in the properties panel.
Tip
Make Merge components flex by using UXPin's Flexbox Component. Select your components, then add flexbox directly from the properties panel or by right-clicking and choosing 'Add flexbox' from the menu. Adjust flex properties as needed.
In the early access, the content of components can be edited by modifying the children property.
Custom Styling Components
If your components don’t have specific properties, you can easily style them using the custom CSS control. It allows you to adjust properties like colors, images, padding, margins, borders, and more through a simple and intuitive interface - no coding required.
Additionally, you can enhance your components further by using Custom Props to add custom attributes, like id or define slots, to the root element.
How to Enable Custom Styles and Properties
1. Make sure you are using @uxpin/merge-cli 3.4.3 or newer.
2. Confirm that your library supports styles. If it does, you can enable this feature by following these steps:
- Modify your uxpin.config.js file and add the following:
settings: { useUXPinProps: true }- Push a new version of your library to apply the changes.
3. After enabling, every component will include:
- Custom Styles: An object type property to customize the root element’s styles.
- Custom Props: An object type property to add attributes to the root element.
Example:
customStyles: { textDecoration: 'underline', fontSize: '20px' },
customProps: { id: 'my-id' },
Element Structure
<div>
  <h1>Hello world</h1>
  <span>span</span>
</div>
Result
<div style="text-decoration: underline; font-size: 20px;" id="my-id">
  <h1>Hello world</h1>
  <span>span</span>
</div>
Reordering Components
You can easily organize code-backed components using drag-and-drop or keyboard shortcuts:
- Drag and Drop: Adjust the order by dragging components directly on the canvas.
- Use Arrow Keys: Press ↑ or ← arrow to move a component forward in the layer order. Press ↓ or → arrow to move it backward in the layer order.
To adjust a component's nesting level:
- Press
Ctrl
↑ orCtrl
↓ arrow to move it between hierarchy levels.
This helps you easily manage and keep your nested components organized!
Two Properties Interfaces
Merge has two options for editing the properties of components.
One which is presented on all the videos above allows you to edit all the properties via a familiar and convenient collection of inputs, dropdowns and checkboxes. The way it works is similar to the way you edit elements in the UXPin Editor. The other option is editing properties through a JSX based interface.
This version of the UI will present a full JSX code. To edit properties, choose the right configuration of properties on the right of all the listed props.

Both versions deliver the same value so feel free to use the one that feels more comfortable to you!