Claude Haiku 4.5 and UXPin Merge simplify prototyping by generating production-ready React components directly from your design system. This approach eliminates the need to manually recreate designs, ensuring prototypes align with your development code. Here’s why this workflow stands out:
- AI-Driven Prototyping: Use text prompts to describe layouts, and Claude Haiku 4.5 generates JSX code with components from libraries like Ant Design, shadcn/ui, or your custom system.
- Design-Development Alignment: Prototypes use real production components, reducing inconsistencies and saving time.
- Interactive Design: Add functionality like form validation, toggles, or role-based content directly in UXPin Merge.
Key Steps:
- Set Up UXPin Merge: Sync your design system via GitHub, Storybook, or npm.
- Configure Components: Ensure React components have defined props and Storybook "Args."
- Refine with AI: Use natural language to adjust layouts and maintain design standards.
- Export Clean Code: Seamlessly integrate JSX prototypes into your development environment.
This workflow is ideal for enterprise teams, front-end engineers, and designers working on tight deadlines. It speeds up prototyping while maintaining consistency with your brand and technical guidelines.
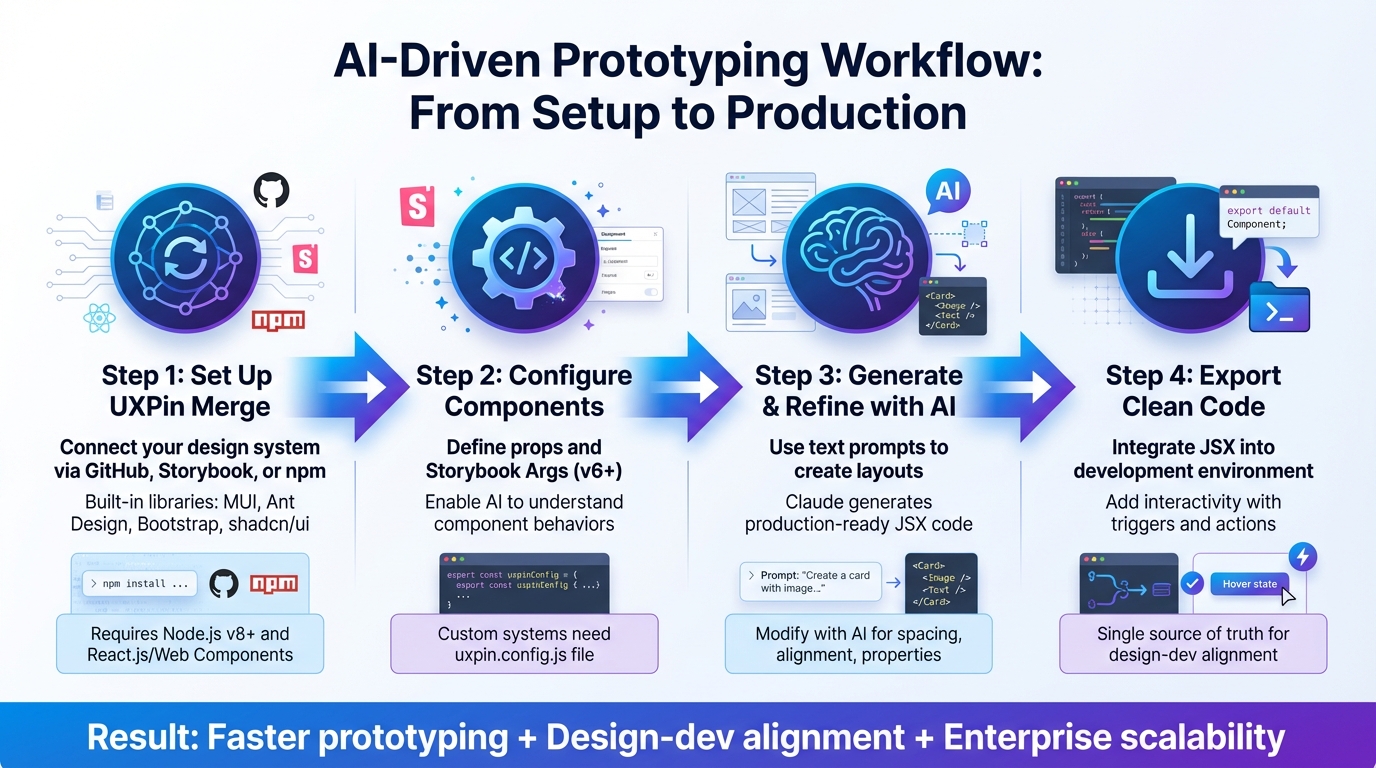
UXPin Merge and Claude Haiku 4.5 Prototyping Workflow – 4 Key Steps
The trick to AI prototyping with your design system
sbb-itb-f6354c6
Prerequisites and Setup
To get started with Claude Haiku 4.5, you’ll need to configure UXPin Merge and connect your design system. UXPin offers built-in integrations with popular libraries like MUI, Ant Design, Bootstrap, and shadcn/ui. These libraries are ready to use right out of the box – no extra setup required. However, if you’re working with a custom component system, you’ll need to import your library manually.
Before diving in, make sure you have Node.js (v8 or higher) and npm installed. If you’re using Windows, you’ll also need to set up the Windows Subsystem for Linux (WSL) to use Merge CLI tools. Additionally, your components must be built with React.js or Web Components to ensure compatibility with this AI-driven workflow.
Follow the steps below to set up UXPin Merge and configure Claude Haiku 4.5.
Setting Up UXPin Merge
UXPin Merge connects to your design system through platforms like GitHub, Storybook, or npm packages. If you’re using one of the built-in libraries (MUI, Ant Design, Bootstrap, or shadcn/ui), you can skip this setup and start designing immediately. For custom design systems, you’ll need to select an integration method.
The Storybook integration is a popular choice. To get started, open the Design System Libraries menu in UXPin, click "+ New Library", and choose "Import Components from Storybook." For private libraries, you’ll need to install @uxpin/storybook-deployer via npm or yarn, then deploy your library using the following command:
npx uxpin-storybook-deployer -t TOKEN -s path/to/your/storybook If you’re using Vite with Storybook, make sure to add config.base = '' in the viteFinal section of your main.* file to ensure assets load correctly.
Once connected, UXPin automatically updates your components whenever changes are made to the source Storybook library. This ensures your design system stays up-to-date without requiring manual updates.
With UXPin Merge set up, you’re ready to configure Claude Haiku 4.5.
Configuring Claude Haiku 4.5
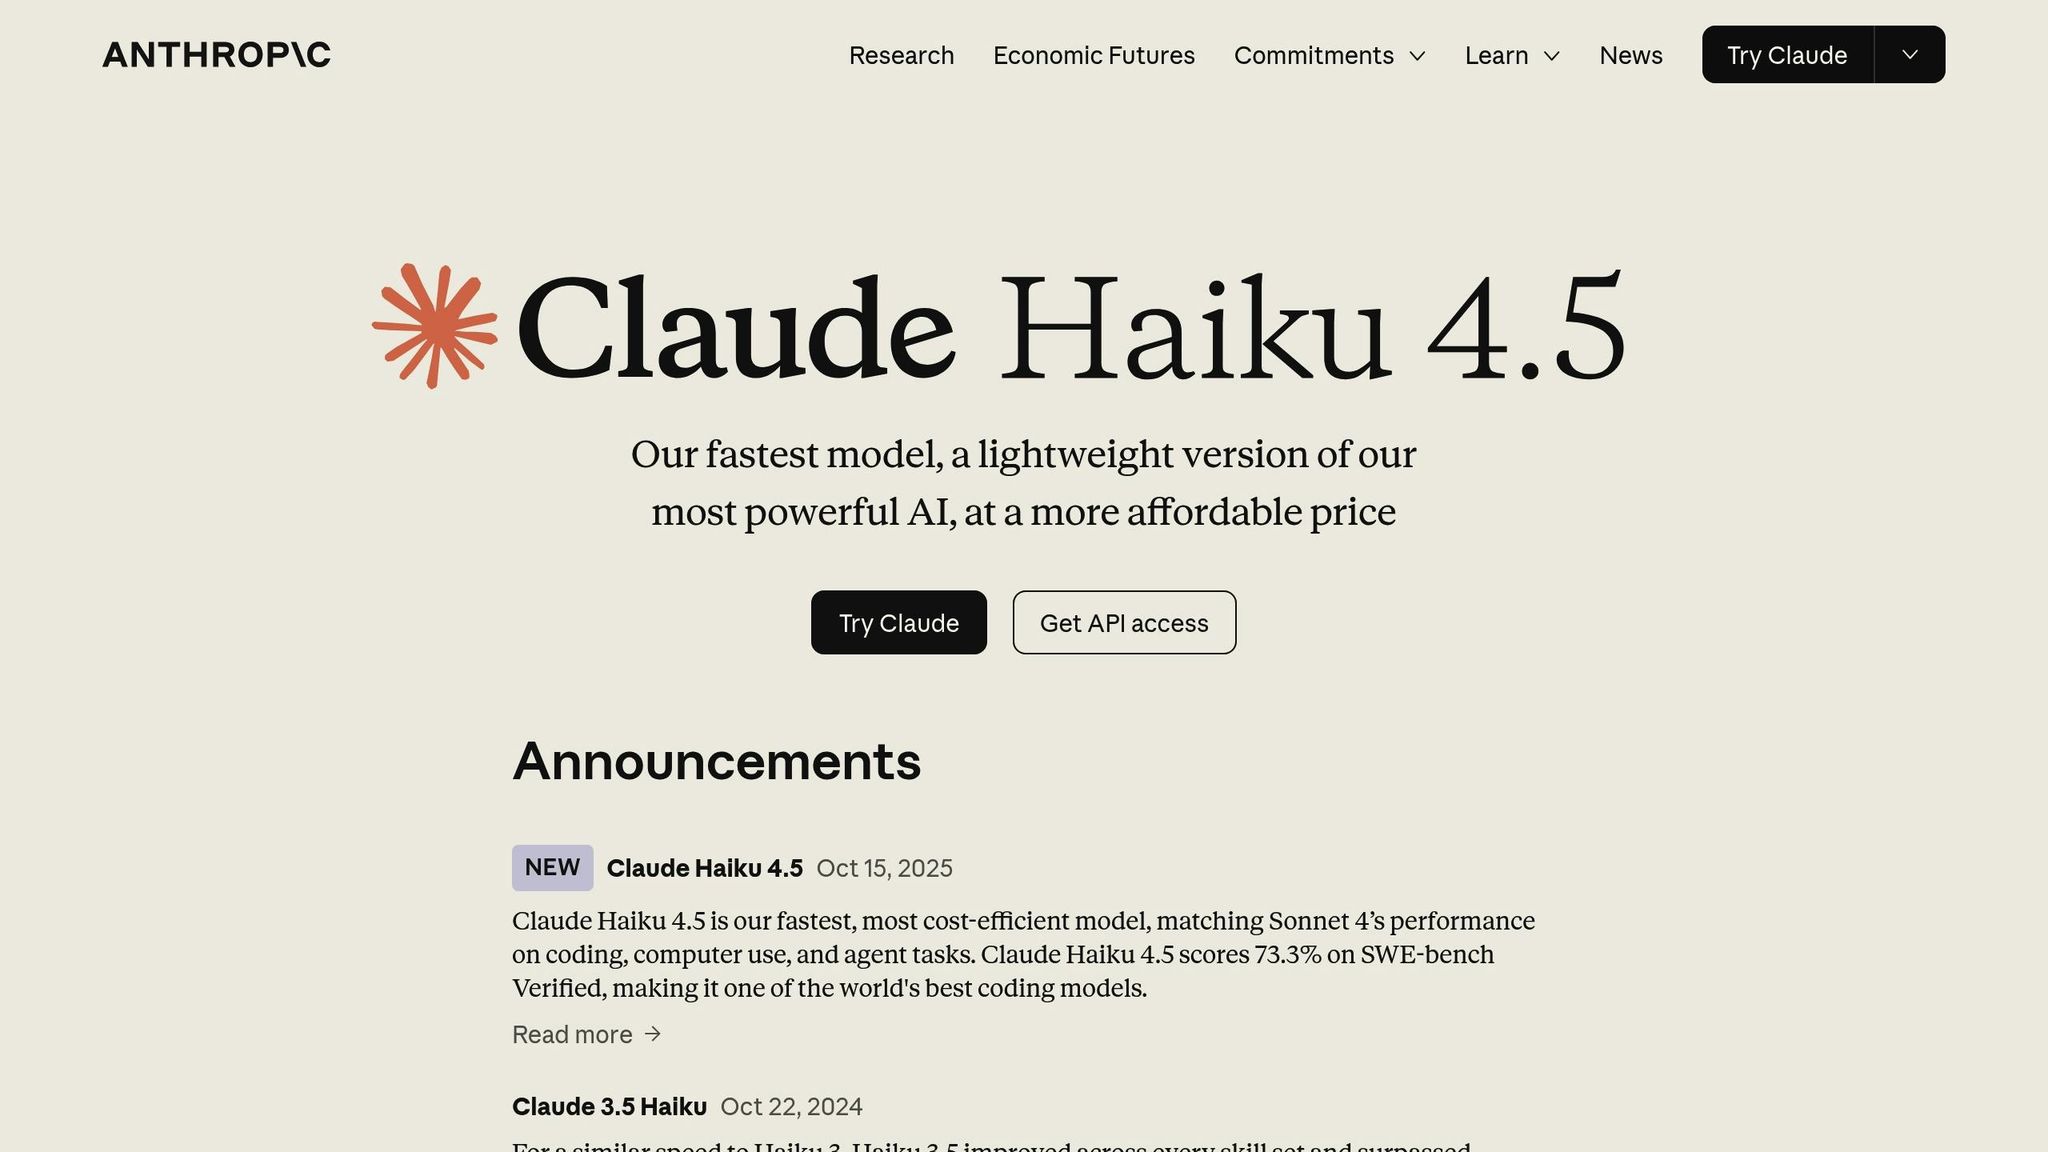
Claude Haiku 4.5 is seamlessly integrated into UXPin, working directly within the design canvas. When you write a text prompt, the AI uses your connected library – whether it’s MUI, Ant Design, or a custom system – to generate production-ready React prototypes.
For the AI to function effectively, your React components must have clearly defined props. This means using Storybook "Args" (version 6 or higher), which allows Claude Haiku 4.5 to dynamically adjust component states, properties, and styles. This setup ensures the AI can accurately interpret your prompts and translate them into specific component behaviors and layouts.
Preparing Custom Design Systems
If you’re working with a custom design system, your repository needs to follow a clear structure. Each component’s directory should include a file with an export default. At the root of your repository, create a uxpin.config.js file to define component categories, paths, and wrappers.
You have two integration options:
- Clean Integration: This connects directly to your Git repository but requires strict adherence to Merge’s coding standards.
- Wrapped Integration: This uses Higher-Order Components (HOC) to wrap your existing components, offering more flexibility if your code doesn’t fully meet Merge standards.
"With Merge, designers can access components that already exist in the code repository without needing any coding expertise."
To keep your code repository and UXPin Editor synchronized, set up CI/CD automation using tools like CircleCI, Travis CI, or GitHub Actions. Generate an access token in the UXPin Design Editor and add it to your environment variables to authorize component pushes. Finally, use the npm start command to launch Merge Experimental Mode. This environment lets you test how components render before deploying them to the full design editor.
How to Prototype with Claude Haiku 4.5 and Custom Design Systems
Now that you’ve set up and configured your tools, it’s time to dive into prototyping. By combining UXPin Merge with Claude Haiku 4.5, you can create prototypes that seamlessly align with your custom design system using precise, detailed text prompts.
Creating Prototypes with AI Prompts
Start by clearly describing the layout and functionality you want. Be as specific as possible about the components and their behavior. For instance, instead of a vague request like "create a login form", try something more detailed: "Create a login form using shadcn/ui components, including an email input, a password input with a visibility toggle, and a primary button labeled ‘Sign In.’"
When you specify the component library – whether it’s shadcn/ui, Ant Design, or your custom setup – Claude generates JSX code tailored to your production environment. Instead of generic HTML, it uses your actual components, such as <DS-Button> or <CustomCard>. You can then copy this code directly into UXPin Merge to see your prototype come to life instantly.
This approach lets you quickly explore multiple layout variations. You can generate different iterations of the same screen, compare them side-by-side, and refine your ideas without manually coding each version. This fluid process sets the stage for the more detailed refinement steps that follow.
Refining Prototypes with Merge AI
Once your prototype is in UXPin Merge, the "Modify with AI" feature allows you to fine-tune properties, spacing, and alignment using natural language commands. This tool ensures your refinements stay within the boundaries of your design system.
For example, you might instruct the AI to "Increase the spacing between form fields to 24 pixels" or "Change the button variant to outlined." The AI understands the constraints and options of your design system, applying only valid adjustments. This way, you can experiment while ensuring your prototype remains consistent with brand standards.
Adding Interactivity to Prototypes
With the layout polished, the next step is adding interactivity to simulate real-world functionality. Transform static designs into dynamic prototypes by incorporating conditional logic, variables, and expressions within UXPin Merge. This makes your prototype behave like an actual application – showing error messages for failed form validation, toggling between light and dark modes, or adapting content based on user roles.
To do this, select a component in your prototype and define triggers (like onClick or onChange) and actions (such as showing or hiding elements or updating variable values). Because you’re working with production-ready components, the interactivity mirrors the final application behavior. This eliminates the uncertainty often encountered during design handoff and ensures your prototype closely matches the intended user experience.
Benefits of Using Claude Haiku 4.5 and UXPin Merge
Better Design-Development Alignment
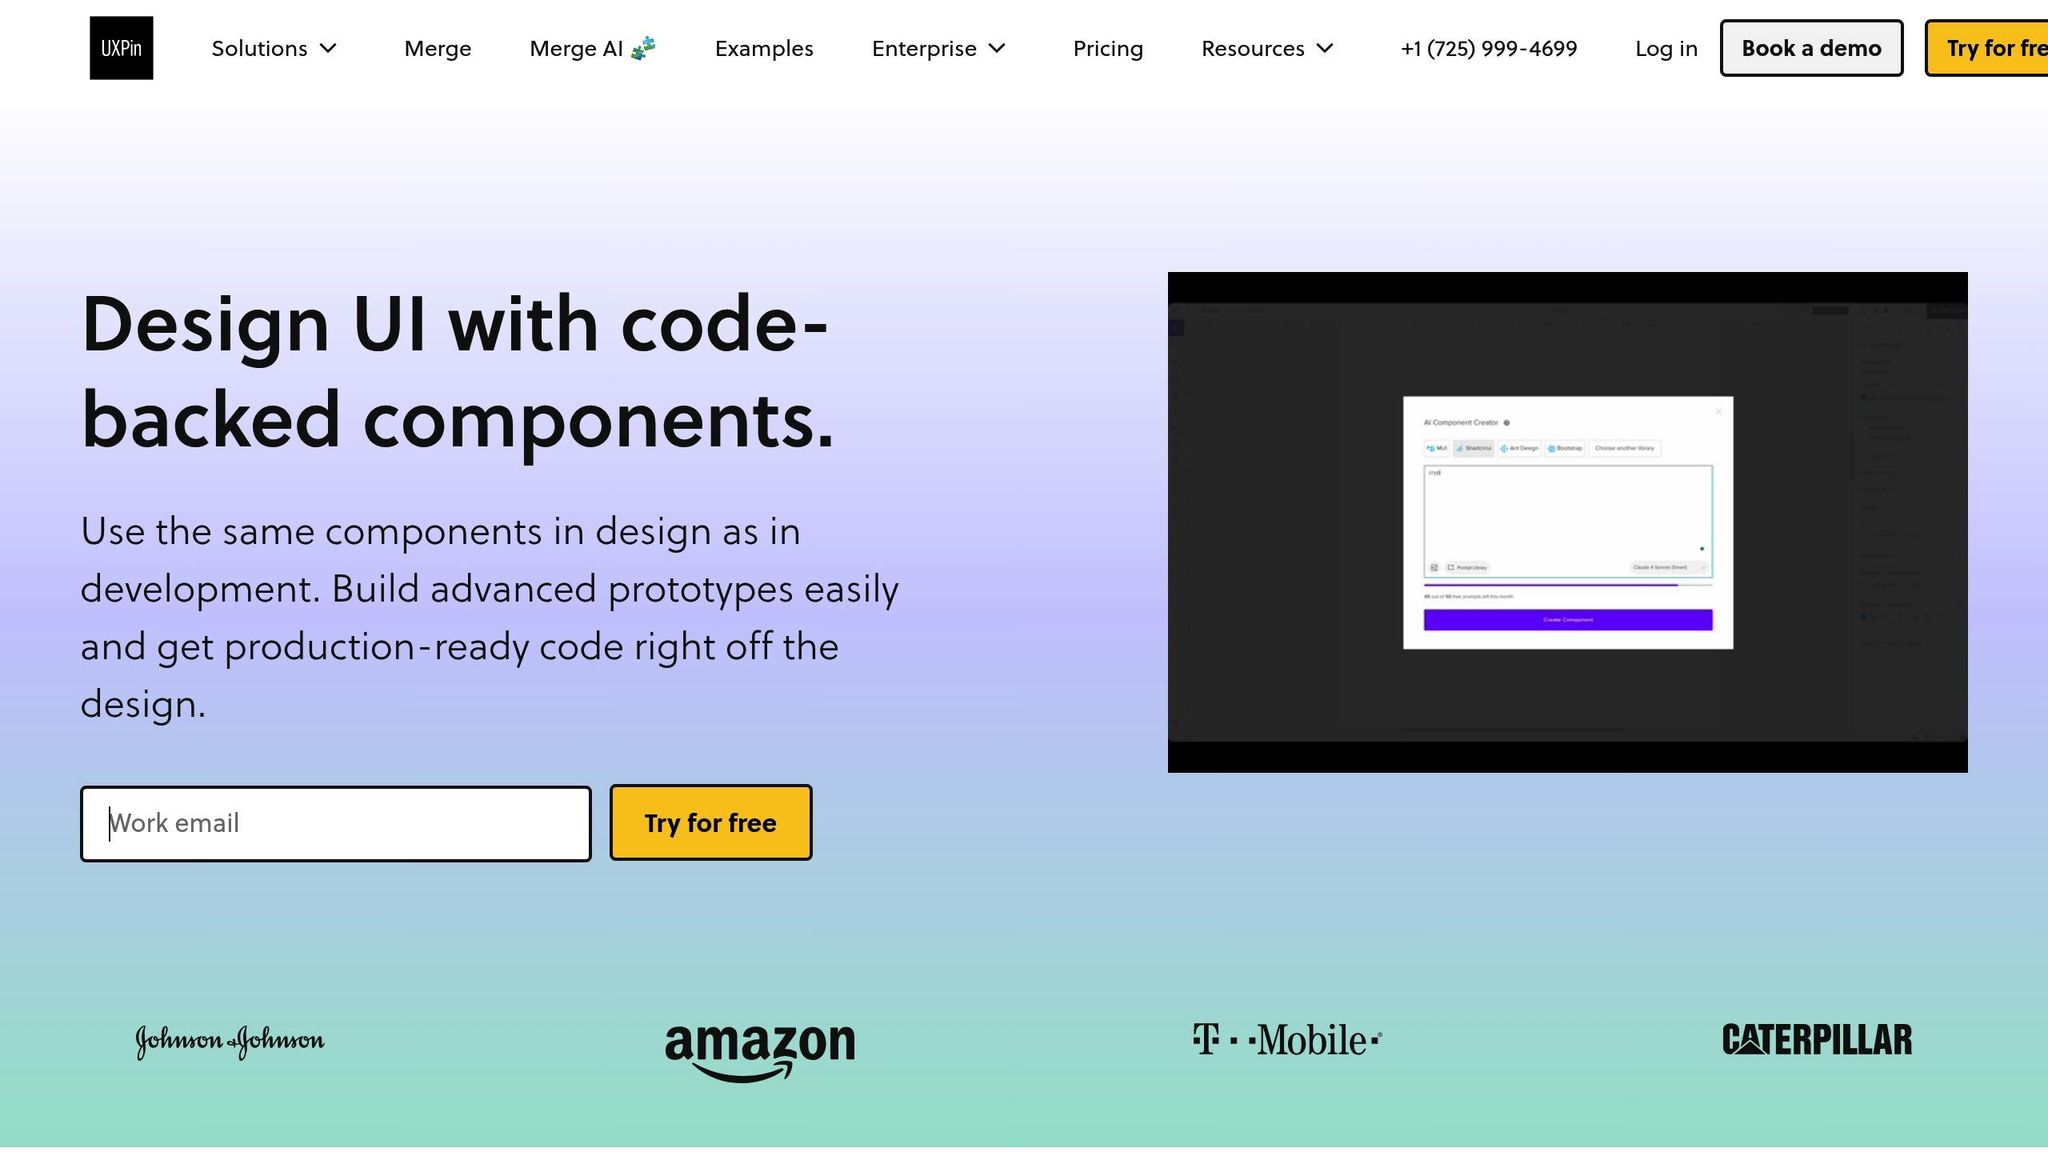
When designers and developers work from the same component library, it removes the usual back-and-forth caused by design-code mismatches. With UXPin Merge, production React components – whether they’re from shadcn/ui, Ant Design, or your custom library – are synced directly into the design canvas. This allows Claude Haiku 4.5 to generate layouts that align perfectly with production code. The result? A single source of truth where prototypes aren’t just visual placeholders but functional blueprints built with the actual components that will go live.
Faster Prototyping and Development
Thanks to this tight alignment, Claude Haiku 4.5 can take text prompts and transform them into production-ready React prototypes in seconds. No need to manually piece together screens – just describe what you need, and the AI does the heavy lifting, using your design system as a guide.
The speed boost doesn’t stop there. Since these prototypes are created with real code components, developers can skip the tedious process of rebuilding the UI. Instead, they can directly integrate the exported JSX into the codebase. This streamlined workflow cuts down on rework and accelerates the journey from idea to deployment.
Scalability and Governance for Enterprise Teams
This workflow isn’t just fast – it’s built to handle the complexities of enterprise-scale operations. By limiting Claude Haiku 4.5 to pre-approved components from your UXPin Merge library, you can prevent design inconsistencies before they happen. Every AI-generated prototype automatically meets brand and accessibility standards because it uses only vetted components.
With Git-based version control, teams gain a clear record of every design change – who made it, when, and why. This transparency ensures accountability, even across distributed teams. Adopting this design-as-code methodology means your design system stays consistent and compliant as your organization grows. It’s a unified process that speeds up prototyping while maintaining design integrity throughout the product’s lifecycle.
Conclusion and Key Takeaways
Why This Workflow Works for Modern Teams
This workflow bridges the gap between design and development. Instead of relying on static mockups, designers work directly with production-ready components, while developers integrate clean JSX code seamlessly. This eliminates delays, reduces inconsistencies, and ensures smoother collaboration. Product managers benefit too, with faster iteration cycles and prototypes that closely mimic the final product. This makes stakeholder reviews more impactful and decisions more informed.
By combining the speed of Claude Haiku 4.5 with UXPin Merge’s code-based components, teams can turn AI-generated layouts into functional prototypes. These prototypes naturally align with your design system, maintaining brand standards, meeting accessibility needs, and adhering to technical guidelines.
This workflow is designed to make prototyping faster and more efficient.
How to Get Started
Ready to dive in? Here’s how you can begin using this workflow right away:
- Sign up for a UXPin free trial to access Merge and AI features. Popular libraries like shadcn/ui, Ant Design, and Bootstrap are already integrated, so you can start using them immediately. For custom design systems, sync your component library with UXPin Merge to ensure Claude Haiku 4.5 generates layouts tailored to your components.
- Leverage AI for layouts: Describe your desired interface through text prompts. The AI will create initial layouts using your production components, which you can refine and enhance directly on the canvas with added interactivity.
- Seamless handoff: Once your prototype is ready, export the JSX and integrate it into your development environment effortlessly.
For enterprise teams, additional features like custom AI credit limits, Git integration, and dedicated support are available. Reach out to sales@uxpin.com to explore Enterprise pricing options.
Start small – focus on one feature or screen to see how quickly you can move from idea to production-ready code. Once your team experiences the speed and efficiency, scaling this approach across your entire product will feel like the obvious next step.
FAQs
What makes a component library “AI-ready” in UXPin Merge?
An AI-ready component library in UXPin Merge connects effortlessly with AI tools to create or update UI components while staying true to your design system. It works with production-ready, code-based components that align with frameworks like React or MUI. This setup allows AI to generate layouts that require no manual tweaking. Tools like Claude Haiku 4.5 can use these libraries to produce components that are immediately ready for development, maintaining both consistency and efficiency.
Should I use Clean or Wrapped integration for my design system?
When choosing between Clean and Wrapped integration for design systems with Claude Haiku 4.5 and UXPin Merge, the search results don’t offer clear instructions. If you lean toward a direct, code-aligned workflow, Wrapped might be the better fit. On the other hand, Clean could suggest a more modular and flexible setup. The decision ultimately depends on your project’s complexity and how you prefer to manage your workflow, as no specific recommendations are outlined in the sources.
How do I keep my synced components updated automatically?
To ensure your synced components stay updated in UXPin, take advantage of UXPin Merge’s automation features. This tool connects your design environment directly to live React components, enabling real-time updates from your codebase to your prototypes. By doing so, it removes the need for manual refreshes, avoids component mismatches, and keeps workflows consistent. Plus, it automates tasks like token syncing and documentation updates, helping you save time and minimize mistakes.

