Testing React UI components ensures your app works as expected, improving reliability and user experience. Here’s what you need to know:
- Why Test React Components?: Prevents bugs, improves code quality, and supports refactoring with confidence.
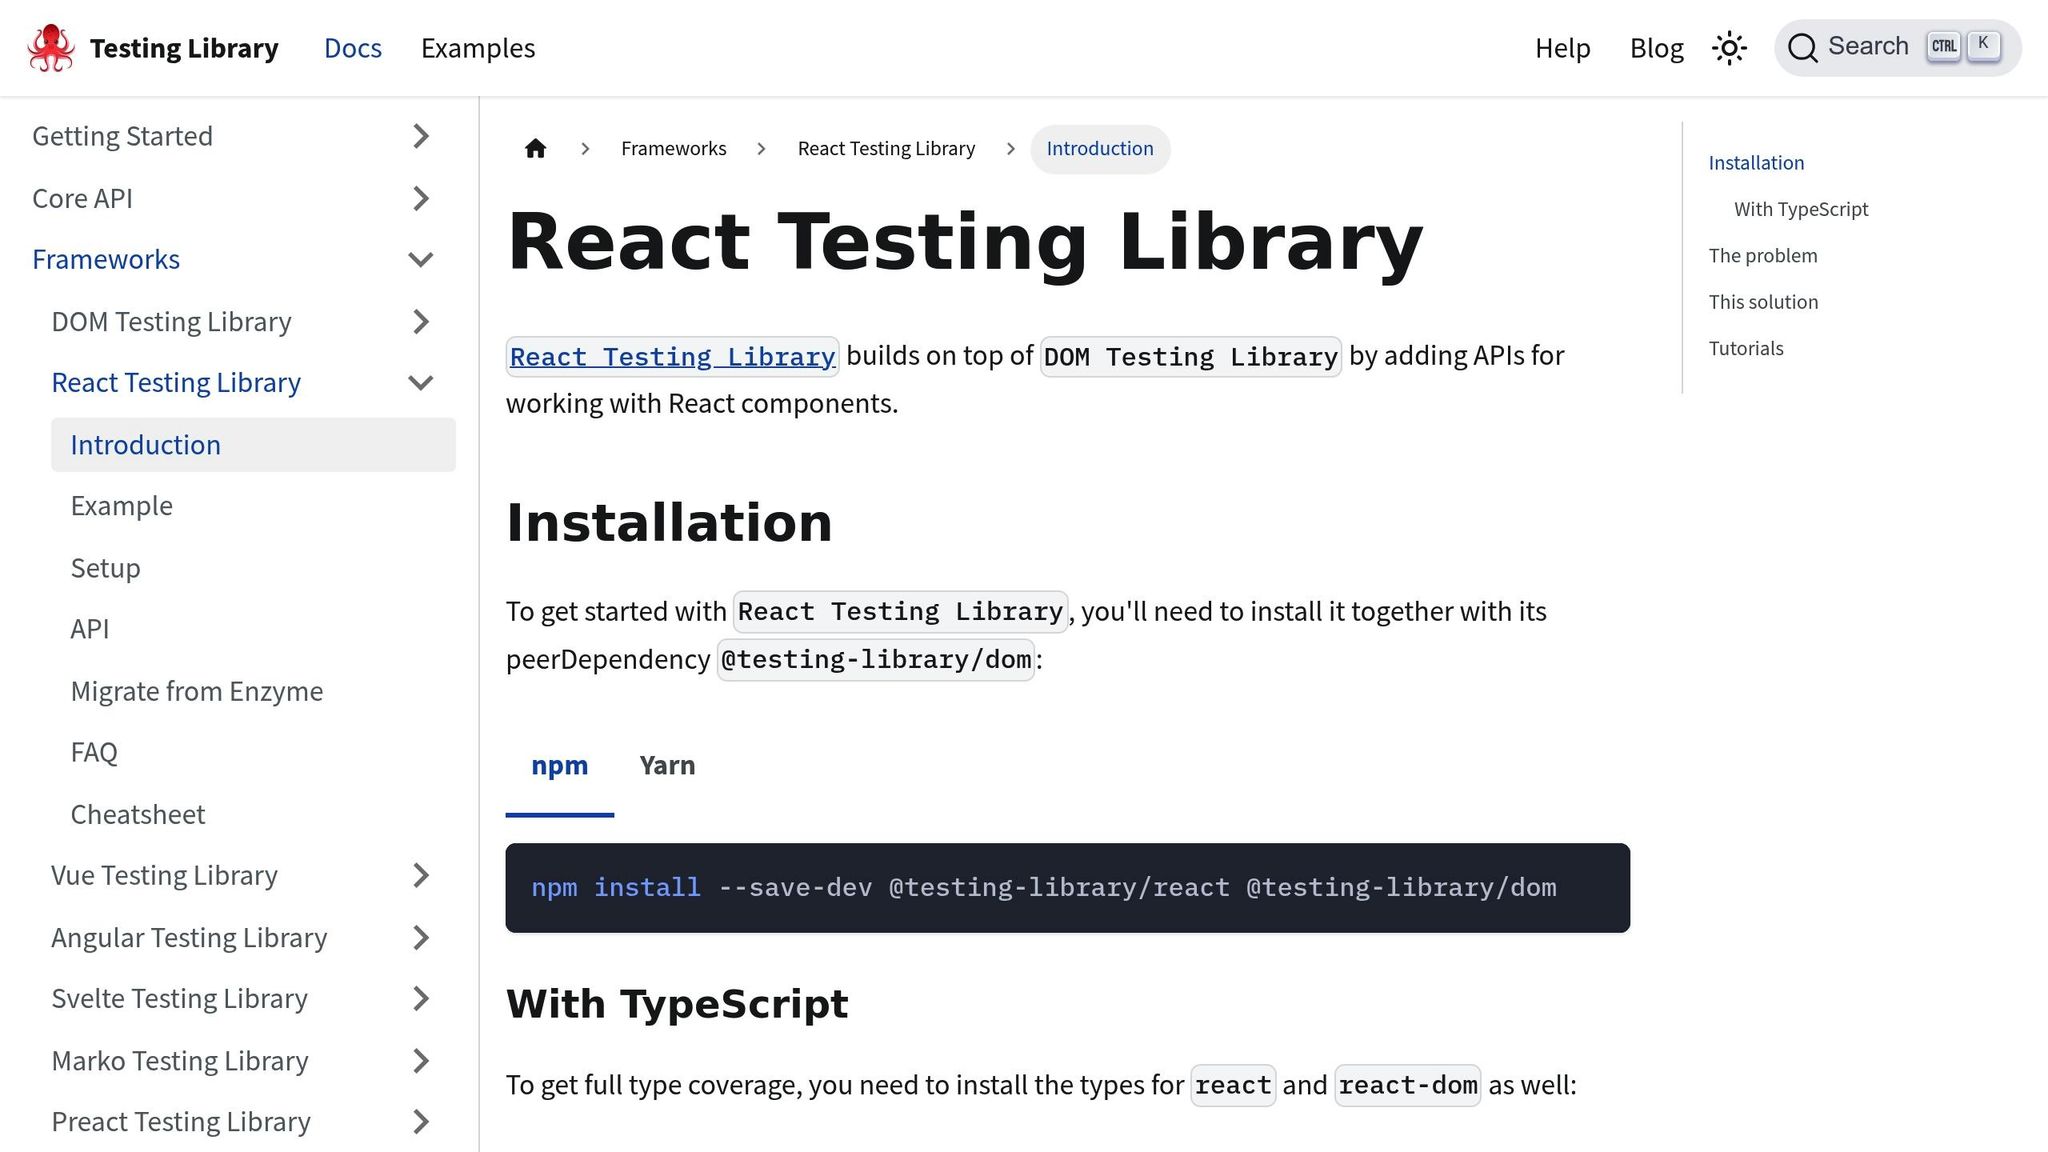
- Key Tools: Use Jest for fast testing and mocking, paired with React Testing Library for user-focused tests.
- Setup Basics: Install tools with
npm install --save-dev jest @testing-library/react @testing-library/jest-dom. Commit lock files and document your setup for team consistency. - Core Techniques:
- Test rendering with
renderand user actions withuserEvent. - Write clear, user-focused assertions using
@testing-library/jest-dom. - Use the Arrange-Act-Assert pattern for clarity.
- Test rendering with
- Advanced Practices:
- Mock dependencies (e.g., APIs) to isolate components.
- Test edge cases like empty inputs, errors, and loading states.
- Common Mistakes to Avoid:
- Don’t over-test or rely on internal implementation details.
- Avoid brittle tests tied to CSS or DOM structures.
- Focus on user-visible outcomes, not internal mechanics.
For design and testing alignment, tools like UXPin let you prototype and test React components early, reducing errors and saving development time.
Start testing React components today to catch issues early, streamline development, and ensure a smooth user experience.
React Testing Tutorial with React Testing Library and Jest
Setting Up Your Testing Environment
Creating a solid testing environment is key to ensuring reliable React component testing. With the right tools and configuration, you can maintain high code quality across your team. Let’s dive into selecting and setting up the essentials.
Choosing Your Testing Tools
For React applications, Jest is a standout choice. It’s fast, includes built-in mocking capabilities, provides detailed coverage reports, and often requires little to no configuration for many projects.
Pairing Jest with React Testing Library is a smart move. React Testing Library focuses on testing your UI from the user’s perspective, encouraging tests that are both maintainable and adaptable, even as your components evolve. Together, these tools create a strong foundation for modern React testing.
Installation and Configuration
To get started, install Jest and React Testing Library by running the following command in your project directory:
npm install --save-dev jest @testing-library/react @testing-library/jest-dom If your project uses Create React App, Jest is already configured, so you’ll only need to add React Testing Library. For custom setups, you may need to configure Jest manually. Create a jest.config.js file in the root of your project to define the test environment, set coverage options, and handle module resolution.
Update your package.json to include a test script, such as:
"scripts": { "test": "jest" } Organize your test files by following Jest’s naming conventions or placing them in a __tests__ directory for automatic detection. Additionally, create a setupTests.js file to import utilities like custom matchers from @testing-library/jest-dom, ensuring consistency across your test suite.
Environment Setup Best Practices
To keep your testing environment consistent, always commit your lock file (package-lock.json or yarn.lock) to version control. This ensures all team members use the same dependency versions, avoiding scenarios where tests pass on one machine but fail on another.
Document your setup in a README.md file or similar. Include installation steps, configuration details, and any project-specific requirements. Clear documentation makes onboarding new team members easier and simplifies continuous integration processes.
Regularly updating your testing dependencies is another best practice. Check for updates and security patches periodically, and thoroughly test your setup after any changes to ensure everything runs smoothly.
Lastly, take advantage of Jest’s built-in coverage reports. These reports highlight untested parts of your codebase, helping you target areas that need more attention without obsessing over achieving 100% coverage.
As a bonus, consider tools like UXPin, which allow teams to prototype using real, code-backed React components. This approach can help catch usability issues early in the development process.
Core Testing Techniques for React UI Components
With your testing environment set up, it’s time to explore the essential techniques for testing React components. These methods ensure your components work as intended and deliver a seamless experience for users.
Testing Component Rendering
The render function from React Testing Library is the cornerstone of React component testing. It mounts your component in a virtual DOM, creating a realistic environment without the need for a full browser.
import { render, screen } from '@testing-library/react'; import MyComponent from './MyComponent'; test('renders heading correctly', () => { render(<MyComponent />); expect(screen.getByRole('heading')).toBeInTheDocument(); }); This approach mirrors how users interact with your app, making your tests more reliable.
When selecting DOM elements, use the screen utility to perform user-focused queries. Favor methods like getByRole, getByText, and getByLabelText instead of relying on CSS selectors or test IDs, which can make tests brittle.
expect(screen.getByRole('button', { name: /submit/i })).toBeInTheDocument(); This user-centric approach ensures your tests remain stable, even when you update your component’s internal structure.
To cover all bases, test both typical use cases and edge cases. For standard scenarios, confirm that the expected content appears. For edge cases, test error messages, loading states, or situations where data might be missing.
Once rendering tests are in place, the next step is to simulate user interactions.
Simulating User Interactions
The userEvent utility from React Testing Library is the go-to tool for simulating user actions. Unlike older methods that directly dispatch events, userEvent replicates the series of events triggered by real user interactions.
import { userEvent } from '@testing-library/react'; test('handles button click', async () => { render(<MyComponent />); const button = screen.getByRole('button'); await userEvent.click(button); expect(screen.getByText(/clicked/i)).toBeInTheDocument(); }); Since userEvent methods return promises, always use await to accurately simulate real-world interactions.
For forms, userEvent offers methods that closely resemble how users interact with inputs. For instance, userEvent.type() simulates typing, one keystroke at a time:
test('updates input value when user types', async () => { render(<SearchForm />); const searchInput = screen.getByLabelText(/search/i); await userEvent.type(searchInput, 'React testing'); expect(searchInput).toHaveValue('React testing'); }); This not only validates the interaction but also ensures the UI updates as expected.
After simulating interactions, use clear assertions to verify the outcomes.
Writing Clear Assertions
Assertions are critical for validating test results, and Jest matchers make these expectations readable and precise. The @testing-library/jest-dom library further enhances Jest with matchers tailored for DOM testing.
expect(screen.getByLabelText(/username/i)).toBeInTheDocument(); expect(screen.getByRole('textbox')).toHaveValue('John Doe'); expect(screen.getByText(/welcome/i)).toBeVisible(); Focus on testing visible outcomes rather than internal implementation details. For example:
// Recommended: Tests user-visible behavior expect(screen.getByText(/success/i)).toBeInTheDocument(); // Avoid: Tests implementation details expect(container.querySelector('.success-message')).toBeTruthy(); To keep your tests organized, follow the Arrange-Act-Assert (AAA) pattern:
test('displays success message after form submission', async () => { // Arrange render(<Form />); // Act await userEvent.type(screen.getByLabelText(/name/i), 'John'); await userEvent.click(screen.getByRole('button', { name: /submit/i })); // Assert expect(screen.getByText(/success/i)).toBeInTheDocument(); }); This structure makes tests easier to read and understand while ensuring they effectively validate your component’s functionality.
Advanced Testing Practices
Once you’ve got the basics of rendering and interaction tests down, advanced testing practices take things a step further. These methods help ensure your components perform reliably in various scenarios, making your tests more robust and maintainable over time.
Mocking External Dependencies
Mocking external dependencies is a powerful way to isolate React components during testing. By simulating APIs, third-party libraries, or child components, you can focus on the component’s internal logic without external interference.
For example, if your component relies on API calls, you can use Jest’s jest.mock() to replace actual network requests with predictable responses:
// Mock the API module jest.mock('../api/userService'); import { getUserData } from '../api/userService'; import { render, screen, waitFor } from '@testing-library/react'; import UserProfile from './UserProfile'; test('displays user data after loading', async () => { // Mock the API response getUserData.mockResolvedValue({ name: 'Jane Smith', email: 'jane@example.com' }); render(<UserProfile userId="123" />); await waitFor(() => { expect(screen.getByText('Jane Smith')).toBeInTheDocument(); expect(screen.getByText('jane@example.com')).toBeInTheDocument(); }); }); This approach removes variability caused by external systems and keeps your tests consistent.
When testing parent components, you can mock child components to simplify the test setup. For instance:
// Mock a complex child component jest.mock('./DataTable', () => { return function MockDataTable({ data, columns }) { return ( <div data-testid="data-table"> Table with {data.length} rows and {columns.length} columns </div> ); }; }); This allows you to verify that the correct props are passed to the child component without diving into its implementation details.
Similarly, you can mock third-party libraries to control their behavior during tests:
jest.mock('react-datepicker', () => { return function MockDatePicker({ onChange, selected }) { return ( <input type="date" value={selected?.toISOString().split('T')[0] || ''} onChange={(e) => onChange(new Date(e.target.value))} /> ); }; }); By mocking these external elements, you can keep your tests focused, maintainable, and efficient.
Testing Edge Cases and Error States
Edge cases and error states are where a lot of bugs tend to hide. Testing these scenarios ensures your components can handle unusual inputs and failures gracefully.
Start by testing boundary conditions. For example, in a search component, you might test how it behaves with empty strings, very long queries, or special characters:
test('handles empty search query', async () => { render(<SearchComponent />); const searchButton = screen.getByRole('button', { name: /search/i }); await userEvent.click(searchButton); expect(screen.getByText(/please enter a search term/i)).toBeInTheDocument(); }); test('handles very long search query', async () => { render(<SearchComponent />); const searchInput = screen.getByRole('textbox'); const longQuery = 'a'.repeat(1000); await userEvent.type(searchInput, longQuery); expect(screen.getByText(/search term too long/i)).toBeInTheDocument(); }); Error handling is just as important. For instance, you can test how your components respond when an API call fails:
test('displays error message when API call fails', async () => { getUserData.mockRejectedValue(new Error('Network error')); render(<UserProfile userId="123" />); await waitFor(() => { expect(screen.getByText(/failed to load user data/i)).toBeInTheDocument(); }); }); Don’t forget to test loading states as well. For example, ensure the loading indicator displays correctly and disappears when data is loaded:
test('shows loading state then displays data', async () => { getUserData.mockImplementation(() => new Promise(resolve => setTimeout(() => resolve({ name: 'John Doe' }), 100) ) ); render(<UserProfile userId="123" />); expect(screen.getByText(/loading/i)).toBeInTheDocument(); await waitFor(() => { expect(screen.getByText('John Doe')).toBeInTheDocument(); expect(screen.queryByText(/loading/i)).not.toBeInTheDocument(); }); }); By covering these edge cases, you can ensure your components work reliably, even in less-than-ideal situations.
Using the Arrange-Act-Assert Pattern
The Arrange-Act-Assert (AAA) pattern is a simple yet effective way to structure your tests. It divides each test into three distinct phases:
- Arrange: Set up the test environment.
- Act: Perform the action being tested.
- Assert: Verify the expected outcome.
Here’s an example of how this pattern works:
test('submits form with valid data', async () => { // Arrange: Set up the test environment const mockSubmit = jest.fn(); render(<ContactForm onSubmit={mockSubmit} />); const nameInput = screen.getByLabelText(/name/i); const emailInput = screen.getByLabelText(/email/i); const submitButton = screen.getByRole('button', { name: /submit/i }); // Act: Perform the user interaction await userEvent.type(nameInput, 'John Doe'); await userEvent.type(emailInput, 'john@example.com'); await userEvent.click(submitButton); // Assert: Verify the expected outcome expect(mockSubmit).toHaveBeenCalledWith({ name: 'John Doe', email: 'john@example.com' }); }); This structure makes your tests easier to read and understand. It also encourages you to focus on testing one behavior at a time.
For more complex scenarios, you can extend the pattern. For example:
test('handles form validation errors correctly', async () => { // Arrange const mockSubmit = jest.fn(); render(<ContactForm onSubmit={mockSubmit} />); const submitButton = screen.getByRole('button', { name: /submit/i }); // Act await userEvent.click(submitButton); // Submit without filling fields // Assert expect(screen.getByText(/name is required/i)).toBeInTheDocument(); expect(screen.getByText(/email is required/i)).toBeInTheDocument(); expect(mockSubmit).not.toHaveBeenCalled(); }); sbb-itb-f6354c6
Common Testing Mistakes to Avoid
Even seasoned developers can fall into testing habits that undermine the reliability of their tests. These missteps might seem minor at first but can gradually erode your team’s efficiency and confidence in the code. Recognizing and addressing these common pitfalls early on can help you craft a stronger, more dependable testing strategy. Let’s dive into three key mistakes and how to steer clear of them.
Focus on Behavior Over Implementation
One of the most common mistakes in React testing is focusing too much on how a component works internally rather than what it delivers to the user. Tests that rely on implementation details tend to be fragile and break easily with even minor refactoring.
Take a login form as an example. A behavior-driven test ensures that users can input their credentials and submit the form successfully. On the other hand, an implementation-focused test might check for specific CSS classes, internal states, or the exact structure of the form. While the behavior-based test remains valid even if you update the component’s internal logic, the implementation-focused one will likely fail with each structural change.
// ✅ Testing behavior test('shows loading indicator when form is submitted', async () => { render(<LoginForm />); const submitButton = screen.getByRole('button', { name: /sign in/i }); await userEvent.click(submitButton); expect(screen.getByText(/signing in/i)).toBeInTheDocument(); }); This approach aligns with how users interact with your app. By focusing on user-facing behavior, your tests become more resilient and useful for catching real bugs. Libraries like React Testing Library encourage this method by promoting queries that mimic user interactions, such as targeting elements by accessible roles or visible text instead of internal details.
Avoiding Redundant Testing and Redundancy
Building on the idea of focusing on behavior, it’s also important to avoid redundancy in your tests. Redundant testing happens when multiple tests cover the same functionality or include trivial assertions that add little value. This can unnecessarily inflate your test suite and increase maintenance overhead.
For instance, if you have a component that displays a user’s name and email, you don’t need separate tests for each prop. A single test verifying that both pieces of information are displayed is enough.
// ❌ Redundant tests test('displays user name', () => { render(<UserCard name="John Doe" email="john@example.com" />); expect(screen.getByText('John Doe')).toBeInTheDocument(); }); test('displays user email', () => { render(<UserCard name="John Doe" email="john@example.com" />); expect(screen.getByText('john@example.com')).toBeInTheDocument(); }); // ✅ Combined test test('displays user information', () => { render(<UserCard name="John Doe" email="john@example.com" />); expect(screen.getByText('John Doe')).toBeInTheDocument(); expect(screen.getByText('john@example.com')).toBeInTheDocument(); }); Another common redundancy involves testing specific HTML structures rather than focusing on the rendered content. For example, asserting that a div contains a particular CSS class isn’t as valuable as verifying that the component behaves correctly from a user’s perspective.
To identify redundancy, review your test coverage reports and look for overlapping or low-value assertions. Focus on unique behaviors, edge cases, and integration points rather than minor variations. Overly redundant tests can increase maintenance costs significantly, especially when they’re tightly coupled to implementation details.
Preventing Brittle Tests
Brittle tests are those that fail due to minor changes in the DOM or styling, even when the app’s behavior remains correct. These types of tests can cause false alarms, wasting time and reducing trust in your test suite.
The main culprit behind brittle tests is reliance on selectors tied to specific implementation details, like class names or deeply nested DOM structures.
// ❌ Brittle test relying on DOM structure test('shows error message', () => { render(<ContactForm />); const errorDiv = document.querySelector('.form-container .error-section .message'); expect(errorDiv).toHaveTextContent('Please fill in all fields'); }); // ✅ Resilient test using user-facing content test('shows error message', () => { render(<ContactForm />); expect(screen.getByText(/please fill in all fields/i)).toBeInTheDocument(); }); Focusing on user-visible outcomes makes your tests more robust. Even if you restructure your HTML or update your CSS, the test will still pass as long as the error message is displayed as expected.
When you need to target elements without clear text content, using data-testid is a better option than relying on complex selectors:
// Better approach for elements without clear text test('opens modal when button is clicked', async () => { render(<ProductPage />); const openButton = screen.getByTestId('open-modal-button'); await userEvent.click(openButton); expect(screen.getByRole('dialog')).toBeInTheDocument(); }); That said, use data-testid sparingly. Overuse can lead to tests that don’t reflect real user interactions. Always prioritize queries based on accessible roles, labels, or visible text, as these better represent how users interact with your app.
Lastly, keeping each test focused on a single assertion can also reduce brittleness. Narrowing the scope of your tests makes failures easier to diagnose and minimizes the impact of changes elsewhere in the codebase.
Using UXPin for Prototyping and Testing
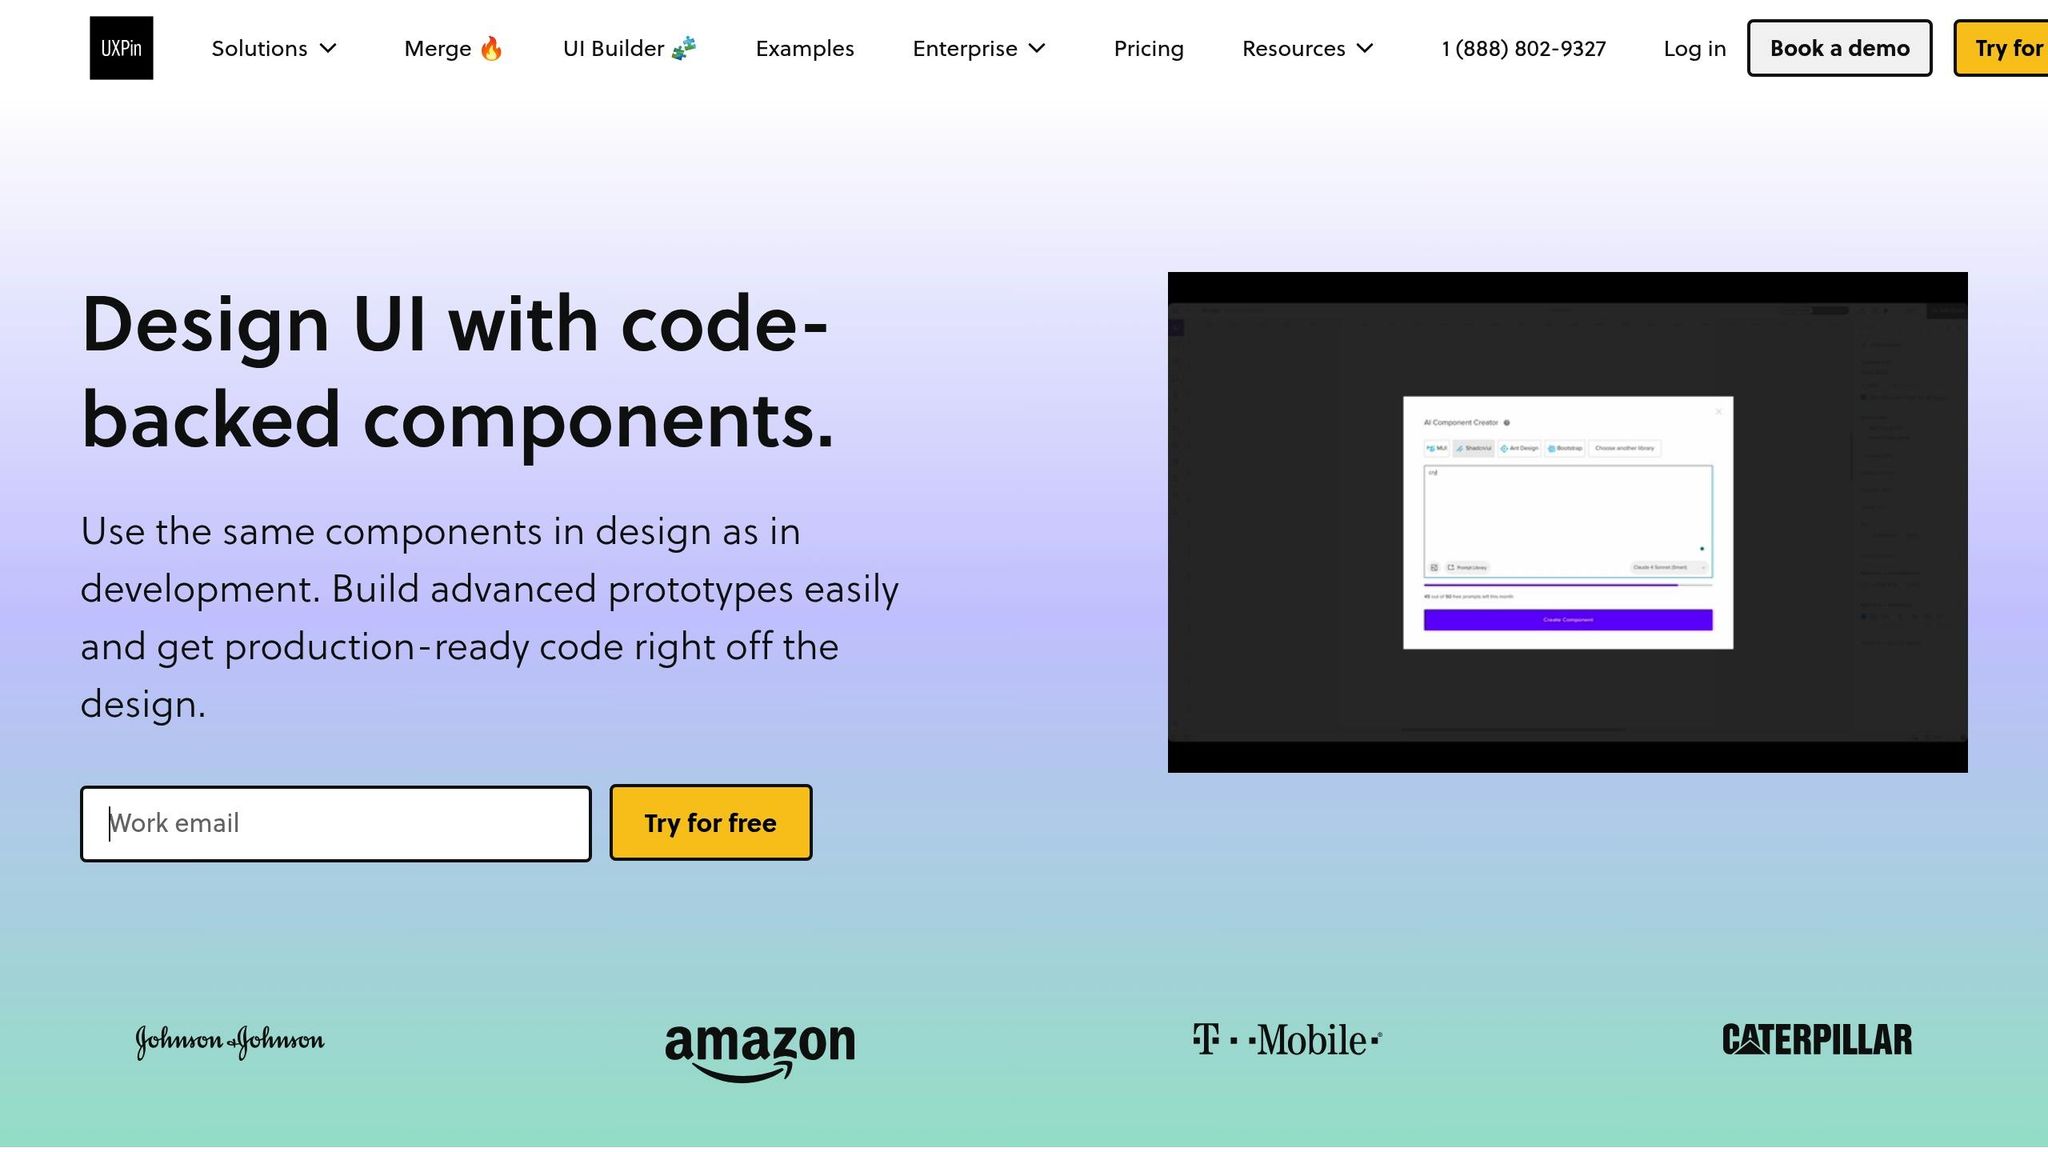
Incorporating UXPin into your design process enhances your ability to identify and address UI issues early on. UXPin allows teams to test React UI components during the design phase, merging design and testing seamlessly. This integration builds on the advanced practices already discussed, helping to catch potential problems before development begins.
One of UXPin’s standout features is its ability to bridge the gap between design and development. By using real, production-ready React components, teams can create interactive prototypes that mirror the final product. Instead of relying on static mockups that developers must interpret and recreate, UXPin enables you to prototype directly with the same React components used in production. Teams can even sync their own custom Git component repositories, ensuring the prototypes behave exactly as the final product will.
Prototyping with real components offers a significant advantage: it allows you to simulate interactions, test component states, and validate behavior early in the process. For example, if you’re designing a multi-step form, you can prototype the entire flow, complete with real validation logic, error states, and conditional rendering. This approach catches usability issues and edge cases that might otherwise go unnoticed until later stages, such as unit testing or user acceptance testing.
UXPin also supports advanced interactions like variables, conditional logic, and realistic user flows. This means you can test scenarios such as form validation, dynamic content updates, and responsive design changes directly within your prototype. The benefits extend beyond usability; some teams have reported substantial time savings. One enterprise user highlighted that engineering time was reduced by approximately 50% thanks to UXPin’s code-backed prototyping features.
Another key feature is UXPin’s design-to-code workflow, which generates production-ready React code directly from your prototypes. This eliminates the traditional friction of design handoffs, where misunderstandings between designers and developers can lead to errors. By minimizing these misinterpretations, the workflow ensures a smoother transition from design to implementation. As Brian Demchak explained:
"As a full stack design team, UXPin Merge is our primary tool when designing user experiences. We have fully integrated our custom-built React Design System and can design with our coded components. It has increased our productivity, quality, and consistency, streamlining our testing of layouts and the developer handoff process."
UXPin also supports accessibility testing at the prototype stage. By simulating keyboard and screen reader interactions, teams can identify and address accessibility issues early, avoiding costly fixes later in the development cycle.
Collaboration is another strength of UXPin, as it enables real-time feedback between designers and developers. Working with the same components, developers can review and test prototypes more effectively, while designers can make adjustments based on technical constraints or testing outcomes. These faster feedback loops can significantly shorten development timelines, improving overall efficiency.
Summary of Best Practices
When it comes to testing React components, the focus should always be on how users interact with the interface rather than the internal workings of the code. Tools like React Testing Library and Jest are highly recommended because they replicate real user actions – like clicking, typing, and navigating – helping you create tests that are both reliable and easy to maintain.
A great way to structure your tests is by following the Arrange-Act-Assert pattern. This approach involves setting up the test environment, performing the necessary actions, and then verifying the results. It’s a simple yet effective way to ensure your tests are clear and easy to debug.
Be mindful not to over-test or include redundant assertions. Each test should focus on a single user behavior rather than digging into implementation specifics. To make your tests more resilient to UI changes, use selectors like getByRole or getByLabelText, which are less likely to break if the interface evolves.
While coverage metrics can help identify gaps in your testing, keep in mind that achieving 100% coverage doesn’t guarantee your code is free of bugs. It’s important to test both common "happy paths" and edge cases. Additionally, mocking external dependencies can make your tests faster and more predictable.
For teams looking to align design and testing efforts, integrating tools like UXPin can be a game-changer. According to Sr. UX Designer Brian Demchak, UXPin Merge simplifies testing workflows and enhances productivity by validating interactions early in the process.
FAQs
What’s the difference between testing behavior and implementation details in React components?
Testing behavior is all about ensuring a component works the way a user would expect. This means checking that it displays correctly, reacts properly to user actions, and manages state or props as it should. In essence, behavior testing confirms that the component performs well in practical, user-focused situations.
In contrast, testing implementation details dives into the inner mechanics of a component – like specific methods, state transitions, or interactions with dependencies. While this might seem thorough, it often leads to fragile tests that can fail if the internal code structure changes, even when the component’s behavior remains unaffected.
For tests that are easier to maintain and better reflect user experiences, it’s smarter to focus on behavior testing rather than getting bogged down in the intricacies of implementation details.
How can I avoid redundant tests and ensure my React component tests focus on meaningful functionality?
When writing tests for your React components, aim to focus on behavior and outcomes rather than getting caught up in the internal workings of the component. The goal is to ensure your tests validate how the component responds to user interactions, renders based on props and state, and works smoothly with other parts of your application.
There’s no need to test functionality that React or external libraries already handle. Instead, concentrate on testing critical user workflows and edge cases that matter most. Tools like React Testing Library are especially helpful here, as they encourage tests that simulate real user behavior. This approach not only makes your tests more reliable but also reduces their dependency on the component’s internal details.
How can I effectively mock external dependencies when testing React components?
Mocking external dependencies plays a key role in isolating React components during testing. Tools like Jest and Sinon are popular choices for creating mock versions of functions, modules, or APIs. For instance, you can mock API calls by substituting them with predefined responses, allowing you to simulate different scenarios without relying on actual network requests.
The goal is to ensure test reliability by making your mocks behave as closely as possible to the real dependencies. Techniques like dependency injection or mocking utilities can help swap out external services without modifying your component’s logic. However, it’s important to strike a balance – over-mocking can result in fragile tests that break when real-world conditions shift.
With well-planned mocks, you can create a controlled testing environment that lets you evaluate how your components perform under various conditions, ensuring they meet expectations.

