The Vue 3 Composition API is a game-changer for building prototypes. It simplifies how developers manage component logic, making it easier to create reusable, maintainable, and scalable code. Here’s why it’s worth your attention:
- Cleaner Code Organization: Group related logic and state into composables instead of scattering them across
data,methods, andcomputed. - Faster Prototyping: Developers report up to 45% faster development cycles and a 30% reduction in boilerplate code.
- TypeScript Compatibility: Better type inference and workflow integration make it ideal for modern projects.
- Improved Performance: Applications see a 30% reduction in refactoring time and smoother reactivity handling.
- Reusable Logic: Use composables for tasks like form validation, animations, or API calls, making your code modular and maintainable.
Incorporating tools like UXPin for code-backed prototyping can further streamline collaboration between designers and developers. With Vue 3, you can build prototypes that are not only functional but also production-ready.
The rest of the article explores advanced patterns, state management strategies, and best practices for leveraging the Composition API effectively.
How to Use the Vue 3 Composition API for Global State Management (without Vuex)
Reactivity and State Management Fundamentals
Vue 3’s Composition API offers tools that make managing reactive state straightforward and efficient. It automatically updates your UI when data changes, which is incredibly useful for building prototypes that respond smoothly to user interactions.
Managing Local State with ref() and reactive()
Using ref() for Flexible State Management
The ref() function is a versatile way to manage state, supporting various data types like strings, numbers, booleans, and objects. It creates a reactive object with a .value property, which you use to access or update the data. This explicit syntax ensures clarity when working with reactive states.
import { ref } from 'vue' export default { setup() { const userName = ref('John Doe') const userAge = ref(25) const userProfile = ref({ name: 'John', email: 'john@example.com' }) // Accessing values console.log(userName.value) // 'John Doe' // Updating values userName.value = 'Jane Smith' userProfile.value = { name: 'Jane', email: 'jane@example.com' } return { userName, userAge, userProfile } } } Working with reactive() for Object State
The reactive() function is designed for handling objects, arrays, and collections. Unlike ref(), it allows direct access to properties without needing .value, making it more intuitive for complex data structures.
import { reactive } from 'vue' export default { setup() { const formData = reactive({ username: '', email: '', preferences: { theme: 'dark', notifications: true } }) // Updating properties directly formData.username = 'newuser' formData.preferences.theme = 'light' return { formData } } } Deciding Between ref() and reactive()
"Due to inherent limitations,
ref()is recommended as the primary API for declaring reactive state."
This advice underlines why ref() is often preferred, especially in prototypes where flexibility is crucial for experimenting with different data structures or sharing reactive values between components.
Organizing State Effectively
For better organization, you can group multiple ref variables inside a reactive object. This approach combines the structured management of reactive() with the clarity of ref().
import { ref, reactive } from 'vue' export default { setup() { const state = reactive({ loading: ref(false), error: ref(null), data: ref([]), selectedItem: ref(null) }) return { state } } } Working with Computed Properties and Watchers
Vue’s computed properties and watchers are essential tools for managing derived state and responding to data changes.
Computed Properties for Derived State
Computed properties are perfect for creating values derived from reactive data. They automatically cache results and only recalculate when dependencies change. This makes them ideal for tasks like filtering data or calculating totals.
import { ref, computed } from 'vue' export default { setup() { const products = ref([ { name: 'Laptop', price: 999, category: 'electronics' }, { name: 'Book', price: 15, category: 'books' }, { name: 'Phone', price: 699, category: 'electronics' } ]) const selectedCategory = ref('electronics') const filteredProducts = computed(() => { return products.value.filter(product => product.category === selectedCategory.value ) }) const totalPrice = computed(() => { return filteredProducts.value.reduce((sum, product) => sum + product.price, 0 ) }) return { products, selectedCategory, filteredProducts, totalPrice } } } Watchers for Side Effects
Watchers are used to trigger actions, such as API calls, when reactive data changes. They are particularly useful for handling side effects and asynchronous tasks.
import { ref, watch } from 'vue' export default { setup() { const searchQuery = ref('') const searchResults = ref([]) const loading = ref(false) // Watching for changes in searchQuery watch(searchQuery, async (newQuery) => { if (newQuery.length > 2) { loading.value = true try { const response = await fetch(`/api/search?q=${newQuery}`) searchResults.value = await response.json() } catch (error) { console.error('Search failed:', error) } finally { loading.value = false } } }) return { searchQuery, searchResults, loading } } } Building Reusable Logic with Composables
Composables allow you to encapsulate reusable stateful logic. By isolating logic into functions, you can keep your prototype code modular and maintainable.
Creating Effective Composables
A good composable focuses on a single responsibility. It typically includes the primary state, supportive state (like loading or error indicators), and methods to manage these states. For example, a mouse tracking composable uses ref and event listeners to track cursor movement independently for each component that uses it.
import { ref, onMounted, onUnmounted } from 'vue' export function useMouse() { const x = ref(0) const y = ref(0) function update(event) { x.value = event.pageX y.value = event.pageY } onMounted(() => window.addEventListener('mousemove', update)) onUnmounted(() => window.removeEventListener('mousemove', update)) return { x, y } } Advanced Vue 3 Prototyping Patterns
Creating advanced prototypes with Vue 3 involves using sophisticated patterns that go beyond basic reactivity. These techniques are crucial for building interactive, high-performance prototypes that can handle intricate user scenarios and grow alongside your project. Below, we’ll dive into custom composables and methods for managing complex user interactions.
Building Custom Composables for Complex Logic
Custom composables are a game-changer when it comes to managing complex logic and state. The goal is to design composables that encapsulate specific functionality while remaining flexible for different scenarios.
For example, a data-fetching composable can manage loading states, error handling, and success responses all in one place:
import { ref, computed } from 'vue' import { toValue } from 'vue' export function useAsyncData(url, options = {}) { const data = ref(null) const loading = ref(false) const error = ref(null) const retryCount = ref(0) const isSuccess = computed(() => data.value !== null && !error.value) const canRetry = computed(() => retryCount.value < 3) async function execute() { loading.value = true error.value = null try { const normalizedUrl = toValue(url) const response = await fetch(normalizedUrl, toValue(options)) if (!response.ok) { throw new Error(`HTTP ${response.status}: ${response.statusText}`) } data.value = await response.json() } catch (err) { error.value = err.message } finally { loading.value = false } } async function retry() { if (canRetry.value) { retryCount.value++ await execute() } } function reset() { data.value = null error.value = null loading.value = false retryCount.value = 0 } return { data, loading, error, isSuccess, canRetry, execute, retry, reset } } Composable nesting is another useful technique. By combining smaller, focused composables, you can create more complex functionality. For instance, a form validation composable might build on a simpler field validation utility:
import { ref, computed, watch } from 'vue' function useFieldValidation(value, rules) { const errors = ref([]) const isValid = computed(() => errors.value.length === 0) watch(value, (newValue) => { errors.value = rules.filter(rule => !rule.test(newValue)) .map(rule => rule.message) }, { immediate: true }) return { errors, isValid } } export function useFormValidation(fields) { const fieldValidators = {} Object.keys(fields).forEach(fieldName => { fieldValidators[fieldName] = useFieldValidation( fields[fieldName].value, fields[fieldName].rules ) }) const isFormValid = computed(() => { return Object.values(fieldValidators).every(validator => validator.isValid.value) }) return { fieldValidators, isFormValid } } Vue Storefront’s team demonstrated that extracting complex logic into composables makes code easier to maintain and test. This modular approach also ensures that each component using a composable gets its own isolated state, preventing cross-component interference.
Handling Complex User Interactions
Managing dynamic user interactions is another key aspect of advanced prototyping. Modern interfaces often involve drag-and-drop, multi-step workflows, or dynamic forms. Vue 3’s Composition API is well-suited for handling these scenarios.
For drag-and-drop functionality, you can combine Vue’s reactivity with native HTML drag-and-drop APIs. Here’s an example of a composable to manage drag state and interactions:
import { ref, onMounted, onUnmounted } from 'vue' export function useDragAndDrop() { const draggedItem = ref(null) const dropZones = ref(new Map()) const isDragging = ref(false) function startDrag(item, event) { draggedItem.value = item isDragging.value = true event.dataTransfer.effectAllowed = 'move' event.dataTransfer.setData('text/plain', JSON.stringify(item)) } function handleDragOver(event) { event.preventDefault() event.dataTransfer.dropEffect = 'move' } function handleDrop(zoneId, event) { event.preventDefault() if (draggedItem.value && dropZones.value.has(zoneId)) { const zone = dropZones.value.get(zoneId) zone.onDrop(draggedItem.value, event) } endDrag() } function endDrag() { draggedItem.value = null isDragging.value = false } function registerDropZone(zoneId, config) { dropZones.value.set(zoneId, config) } function unregisterDropZone(zoneId) { dropZones.value.delete(zoneId) } return { draggedItem, isDragging, startDrag, handleDragOver, handleDrop, endDrag, registerDropZone, unregisterDropZone } } For multi-step workflows, you need to carefully manage state to track progress, validate inputs, and navigate between steps. A composable can help simplify this process:
import { ref, computed, watch } from 'vue' export function useMultiStepForm(steps) { const currentStep = ref(0) const stepData = ref({}) const completedSteps = ref(new Set()) const currentStepConfig = computed(() => steps[currentStep.value]) const isFirstStep = computed(() => currentStep.value === 0) const isLastStep = computed(() => currentStep.value === steps.length - 1) const canProceed = computed(() => { const step = currentStepConfig.value return step.validate ? step.validate(stepData.value) : true }) function nextStep() { if (canProceed.value && !isLastStep.value) { completedSteps.value.add(currentStep.value) currentStep.value++ } } function previousStep() { if (!isFirstStep.value) { currentStep.value-- } } function goToStep(stepIndex) { if (stepIndex >= 0 && stepIndex < steps.length) { currentStep.value = stepIndex } } function updateStepData(key, value) { stepData.value[key] = value } function resetForm() { currentStep.value = 0 stepData.value = {} completedSteps.value.clear() } return { currentStep, stepData, completedSteps, currentStepConfig, isFirstStep, isLastStep, canProceed, nextStep, previousStep, goToStep, updateStepData, resetForm } } These strategies allow you to manage intricate user interactions while keeping your codebase clean and maintainable. By leveraging Vue 3’s flexibility, you can create prototypes that feel seamless and intuitive, even when dealing with complex functionality.
Vue 3 Prototypes in Team Workflows
Vue 3’s modular design makes it a great fit for team workflows, especially when prototypes are integrated to ensure seamless transitions from design to code. The Composition API’s modular structure naturally supports collaboration, but success hinges on having clear processes and the right tools to bridge design and development.
Code-Backed Prototyping with UXPin
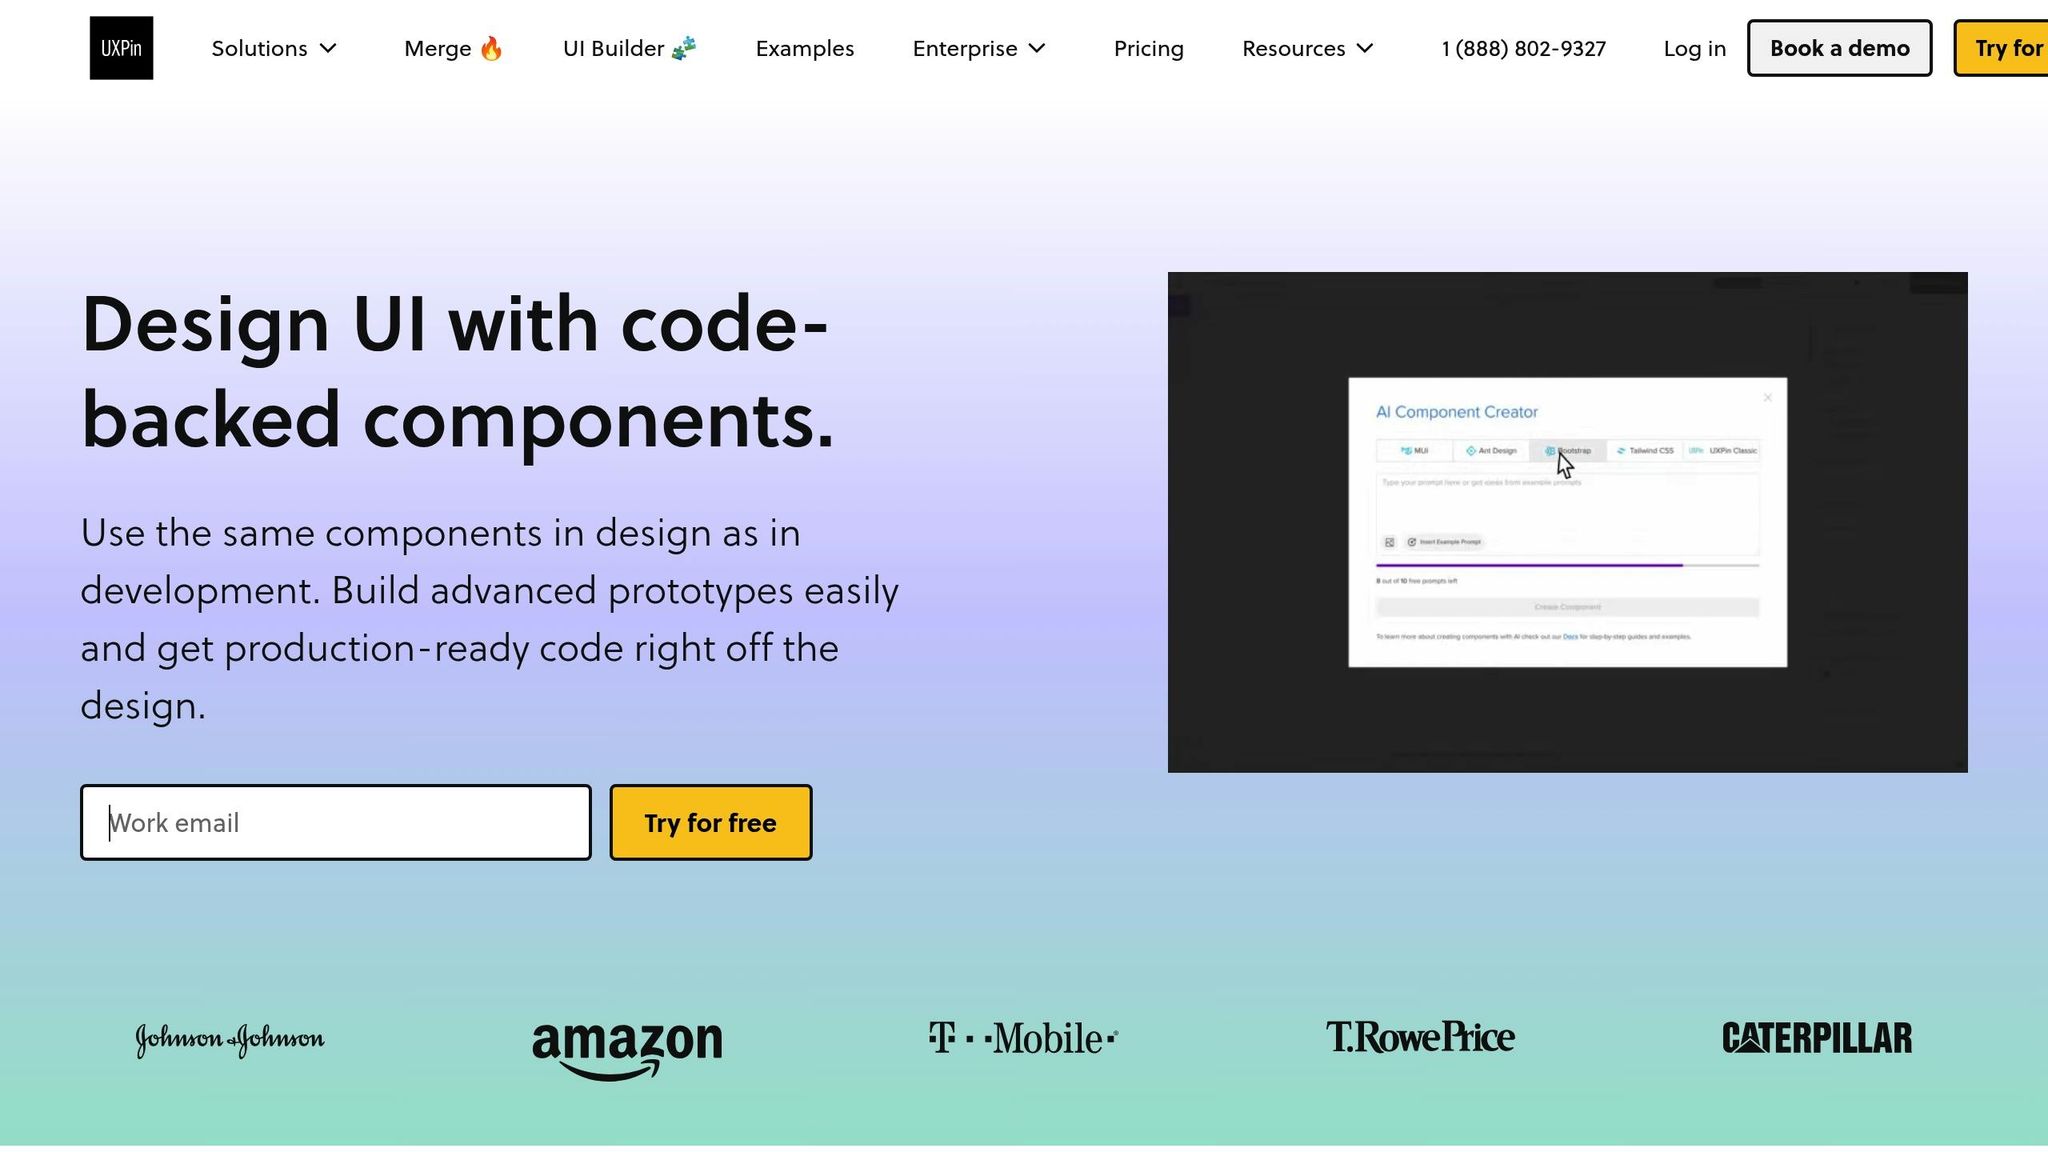
Code-backed prototyping simplifies the journey from design to production by enabling designers to work directly with code components. This approach ensures that designs stay aligned with the actual production code.
"Code-backed UI design is changing the way designers and developers work together. Tools like UXPin Merge are leading the charge by making it easy to integrate real code components into your design process."
- UXPin
UXPin’s code-backed prototyping allows designers to use React components within their design environment, creating highly interactive prototypes with real code. While UXPin Merge focuses on React, Vue 3 teams can adopt a similar strategy by building custom component wrappers or leveraging UXPin’s libraries.
In this workflow, developers create Vue 3 components, and designers replicate their behavior in UXPin. This results in a unified component library that ensures design and development stay in sync. Both the prototype and the final product share the same interaction patterns and visual consistency, streamlining handoffs and reducing miscommunication.
A study highlighted that code-to-design workflows using UXPin Merge are over six times faster than traditional image-based methods. This efficiency comes from minimizing the back-and-forth that often arises when designs don’t account for technical constraints.
Teams can start by using UXPin’s pre-loaded libraries to build interactive prototypes and then gradually incorporate custom components that reflect their Vue 3 implementations. Designers can toggle between component variants, adjust properties, and better grasp the technical limitations of Vue 3 logic. This integration fosters stronger collaboration between designers and developers.
Team Collaboration Best Practices
Once prototypes align with production standards, effective collaboration becomes even more important. The flexibility of the Composition API is a major advantage, but maintaining consistency is key to avoiding fragmented workflows.
- Establish clear coding standards. Agree on naming conventions for composables, component structures, and state management. Using the
<script setup>syntax consistently makes components cleaner and easier for everyone to understand. - Ensure design consistency. Define patterns for prop definitions, event handling, and composable creation so that contributors can work together smoothly.
- Conduct regular code reviews. These reviews catch errors early, enforce standards, and encourage knowledge sharing within the team.
- Document thoroughly. As prototypes grow more complex, document composables, component APIs, and patterns to help current and future team members.
- Use automated testing. While prototypes don’t need production-level testing, basic unit tests for composables and integration tests for user flows can catch regressions early.
- Adopt version control best practices. Use branching strategies that allow for parallel development while keeping the main branch stable. Feature branches are ideal for experimenting with new components or interactions.
- Leverage real-time collaboration tools. Regular sync meetings, shared documentation, and collaborative design reviews ensure that everyone remains aligned on goals and implementation details.
sbb-itb-f6354c6
Best Practices and Common Pitfalls
Creating effective prototypes with Vue 3’s Composition API requires knowing not just the best practices but also the potential missteps. While the Composition API offers a lot of flexibility, that same flexibility can lead to disorganized, hard-to-maintain code if not approached thoughtfully. Below, we’ll dive into strategies for keeping your prototypes clean and scalable, as well as common mistakes to avoid.
Organizing Prototypes for Growth and Maintenance
To ensure your Vue 3 prototypes remain easy to manage as they grow, focus on logical organization rather than rigid file structures. By structuring your code around specific concerns and using composables for reusable logic, you can create a foundation that’s both scalable and manageable.
Component Structure Tips
Keep your components focused and concise. If the <script> section of a component becomes too long, consider breaking it into smaller, more manageable components. Within each component, organize your setup function by placing refs at the top, followed by related code grouped logically. For example, group refs, computed properties, and methods based on their functionality. This approach makes it easier for others on your team to follow and update the code later.
File Organization Suggestions
A predictable folder structure can make a world of difference. Use dedicated folders for api, composables, constants, layouts, router, services, store, views, and components. Centralize API calls in an api folder, and include an index.js file for setting up Axios and handling interceptors.
State Management and Configuration
Pinia is a great choice for managing state, as it separates functional state from composition logic. For environment-specific settings, use multiple .env files tailored for local, staging, and production environments. This approach simplifies API integration across different setups. You can also implement variable-based theming with CSS variables to easily toggle between light and dark modes or other themes.
Common Mistakes and How to Fix Them
Even experienced developers can stumble over the Composition API’s new patterns. Understanding common pitfalls can save you from headaches and ensure your prototypes are more reliable.
Reactivity Missteps
One frequent issue is misusing reactivity primitives. Use reactive for objects, arrays, maps, and sets, and ref for strings, numbers, and booleans. A common mistake is using reactive for primitive values, which can disrupt reactivity. Also, avoid destructuring reactive objects directly, as this breaks their reactive connection. Instead, either access properties directly or use toRefs() to maintain reactivity. And don’t forget: .value is required when accessing ref values in JavaScript, but not in templates (except for nested refs).
Component Definition Errors
When using <script setup>, always declare emitted events using defineEmits. Developers sometimes mistakenly try to use Options API properties like name within <script setup>, which isn’t supported. For such properties, use a separate <script> tag to declare name, inheritAttrs, and custom options.
Lifecycle and Async Logic
Ensure that data fetching and event listener setup occur inside lifecycle hooks within the setup function. Placing these operations elsewhere can lead to memory leaks or unexpected behavior. For async components, use defineAsyncComponent instead of handling async logic manually. This ensures proper loading states and error handling.
Template Issues
Vue 3 supports fragments, so there’s no need for unnecessary wrapper elements in templates. Using outdated lifecycle event names is another common mistake. Additionally, neglecting to consult Vue’s updated official documentation can result in wasted debugging time.
Options API vs. Composition API Comparison
Deciding between the Options API and Composition API depends on your project’s needs, team experience, and long-term goals. Both have their strengths, as outlined below:
| Feature | Composition API | Options API |
|---|---|---|
| Best for | Medium to complex, multi-featured components requiring higher reusability | Small and simple, single-feature components requiring low reusability |
| Learning curve | Steep | Shallow |
| Code organization | Group by features | Group by options |
| Bundle size | Smaller | Bigger |
| TypeScript support | Yes (better) | Yes |
| Flexibility | More | Less |
| Reusability approach | Composables | Mixins |
When to Choose the Composition API
The Composition API is a strong choice for larger, more complex projects. Its modular approach simplifies code organization and enhances reusability. It’s also better suited for projects using TypeScript, as it offers more robust type inference. Additionally, the Composition API works well with advanced JavaScript features like async/await and third-party libraries, often resulting in smaller, more efficient bundles.
When the Options API Makes Sense
For smaller projects or teams new to Vue, the Options API is a simpler, more approachable choice. It’s ideal for quick prototypes or small components and provides a clear, declarative structure that many developers find intuitive. If you’re just starting with Vue.js, the Options API can be a great entry point.
Making the Right Choice
Ultimately, your decision should align with your project’s size and complexity. For prototypes that may evolve into full-scale applications, the Composition API often pays off despite its steeper learning curve. If you’re working with TypeScript, it’s generally the better option. However, both APIs are fully supported in Vue 3, so understanding their trade-offs will help you make the best choice for your specific needs.
Conclusion: Vue 3 Composition API for Better Prototypes
The Vue 3 Composition API is reshaping how prototypes are built, offering noticeable advantages that extend well beyond the initial development phase. For instance, 66% of developers have reported easier handling of complex components, along with a 30% reduction in time spent on refactoring tasks.
One of the standout features is the modularity enabled by composables, which significantly improves team collaboration. By breaking functionality into reusable, self-contained functions, teams can work more efficiently and with fewer conflicts. Real-world examples include companies like Shopify, Twitter Lite, and YNAB, which have seen tangible improvements: a 20% drop in bundle sizes, a 35% decrease in JavaScript footprint on mobile, and a 15% boost in developer productivity, respectively.
The API’s seamless integration with TypeScript is another game-changer. This integration not only minimizes bugs but also speeds up development. Applications using this approach have shown up to a 40% improvement in key performance metrics and a 20% reduction in memory usage. Additionally, development teams report a 25% increase in productivity and a 50% cut in onboarding time for new team members.
These technical improvements naturally lead to better collaboration. UXPin, for example, benefits from the Composition API’s modular and component-focused design. This approach allows for the creation of well-organized, reusable components that align perfectly with the fast-paced, iterative nature of modern product development.
FAQs
How does the Vue 3 Composition API simplify prototyping and improve development compared to Vue 2?
The Vue 3 Composition API and Prototyping
The Vue 3 Composition API simplifies the prototyping process by offering a more modular and streamlined structure. This approach makes it easier to manage complex interactions and application state. Unlike the Options API in Vue 2, the Composition API lets developers group related logic together, leading to cleaner, more organized code that’s easier to reuse and maintain.
This structure is especially helpful during prototyping, where rapid iterations and managing dynamic features are crucial. On top of that, the Composition API delivers improved performance and scalability, making it possible to create prototypes that feel much closer to fully-functional, production-level applications.
What are the best practices for managing state with the Vue 3 Composition API?
To manage state effectively with Vue 3’s Composition API, using composable functions can be a game-changer. These functions help you organize and encapsulate state logic, making your code more modular and easier to reuse across your application.
For more complex or larger projects, Pinia offers a modern and streamlined state management solution tailored for Vue 3. It provides a simpler and more intuitive API compared to Vuex, which is why it’s quickly becoming a favorite among developers.
By combining the flexibility of composable functions with tools like Pinia, you can build a state management system that’s clean, efficient, and perfectly aligned with Vue 3’s design principles.
How can teams use Vue 3 prototypes to improve collaboration and streamline their workflows?
Teams working with Vue 3 can take advantage of the Composition API to build modular and maintainable code, which is perfect for creating dynamic and interactive prototypes. This method not only strengthens the prototypes but also makes them easier to refine, helping bridge the gap between design and development.
For smoother workflows, integrating tools that support interactive, code-driven prototyping can make a big difference. Platforms like UXPin enable designers and developers to work together effortlessly by using reusable components and advanced interactions. This approach promotes clearer communication, speeds up iterations, and boosts overall team efficiency.

