Interactive prototyping with React components transforms static designs into functional models that closely resemble final products. This approach bridges design and development, streamlining workflows and reducing costly revisions. Here’s why it works:
- React’s component-based architecture: Creates reusable UI elements that integrate appearance and behavior.
- Realistic prototypes: Simulate user interactions and transitions for better validation and collaboration.
- Direct alignment with production code: Prototypes built with React components ensure smoother handoffs to developers.
To get started, you’ll need tools like Node.js, Vite, and a code editor like Visual Studio Code. Organize your project with type-based, feature-based, or hybrid structures depending on the project size and team. Tools like UXPin enhance the process by enabling designers to use real React components, offering advanced interactivity and seamless updates.
Key benefits include:
- Faster iteration cycles.
- Reduced design-to-code gaps.
- Improved long-term consistency and maintainability.
React prototypes aren’t just concepts – they’re a bridge to production-ready code.
Turn Design into React Code | From prototype to Full website in no time
Setting Up a React Prototyping Environment
Creating a React prototyping environment requires the right tools and a solid structure. A well-prepared setup not only speeds up development but also ensures your prototypes are production-ready when the time comes.
Prerequisites for React Prototyping
Before you start, there are a few essential tools and dependencies you’ll need. Node.js is the JavaScript runtime environment that powers your development, while npm or Yarn serve as package managers to handle dependency installation. These form the backbone of any React project.
Choose a code editor that supports React well. Visual Studio Code is a popular choice, thanks to its integrated terminal, Git support, and a wide range of React-specific extensions.
When it comes to project scaffolding, Vite has become the go-to tool, surpassing the now-outdated Create React App. Vite offers faster server start-up, better hot module reloading, and more efficient bundling, making it a great fit for the iterative nature of prototyping.
For more complex prototypes, additional tools can make your life easier:
- State management libraries like Redux or MobX to handle data flows.
- React Router to manage navigation.
- UI component libraries such as Material-UI or Ant Design to speed up development with pre-built components.
| Tool/Dependency | Description |
|---|---|
| Node.js | JavaScript runtime environment |
| npm/Yarn | Package managers for dependencies |
| Visual Studio Code | Popular code editor with React support |
| Vite | Build tool for fast development |
| Redux/MobX | State management libraries |
| React Router | Routing library for navigation |
| Material-UI/Ant Design | Pre-built UI component libraries |
Organizing Your Prototyping Project
Once your tools are ready, organizing your project is key to keeping things manageable. React doesn’t enforce a specific structure, so it’s up to you to choose one that matches your project’s needs. There are three main ways to organize your React code: type-based, feature-based, and hybrid structures.
- Type-based structure: Groups files by type, such as components, hooks, or utilities. This method works well for smaller projects (fewer than 50 components) and teams of 1–5 developers. It’s a simple approach that’s ideal for prototypes or quick setups.
- Feature-based structure: Organizes code by functionality, like user management or product listings. This is a great choice for larger projects with multiple teams or for applications that require long-term scalability. It fits well with projects exceeding 50,000 lines of code.
- Hybrid structure: Combines both approaches, balancing feature isolation with shared resources. It’s a middle ground that works best for midsize projects (5,000–50,000 lines of code) and teams of 5–20 developers.
To improve your workflow, consider these tips:
- Use absolute imports with
jsconfig.jsonortsconfig.jsonto simplify import paths. - Set up barrel files (e.g.,
index.js) to streamline exports. - Group related files – like components, styles, and tests – together to minimize context switching.
- Stick to consistent naming conventions, like kebab-case, and limit folder nesting to 3–4 levels to keep things manageable.
| Feature | Type-Based | Feature-Based | Hybrid |
|---|---|---|---|
| Project Size | Small | Large | Medium |
| Team Size | 1–5 | 20+ | 5–20 |
| Scalability | Low | High | Medium |
| Best Use Cases | Prototypes, small apps | Enterprise apps | Mid-size apps |
With a structured project setup, tools like UXPin can further streamline the prototyping process, ensuring a smooth transition from design to development.
Using UXPin for Prototyping
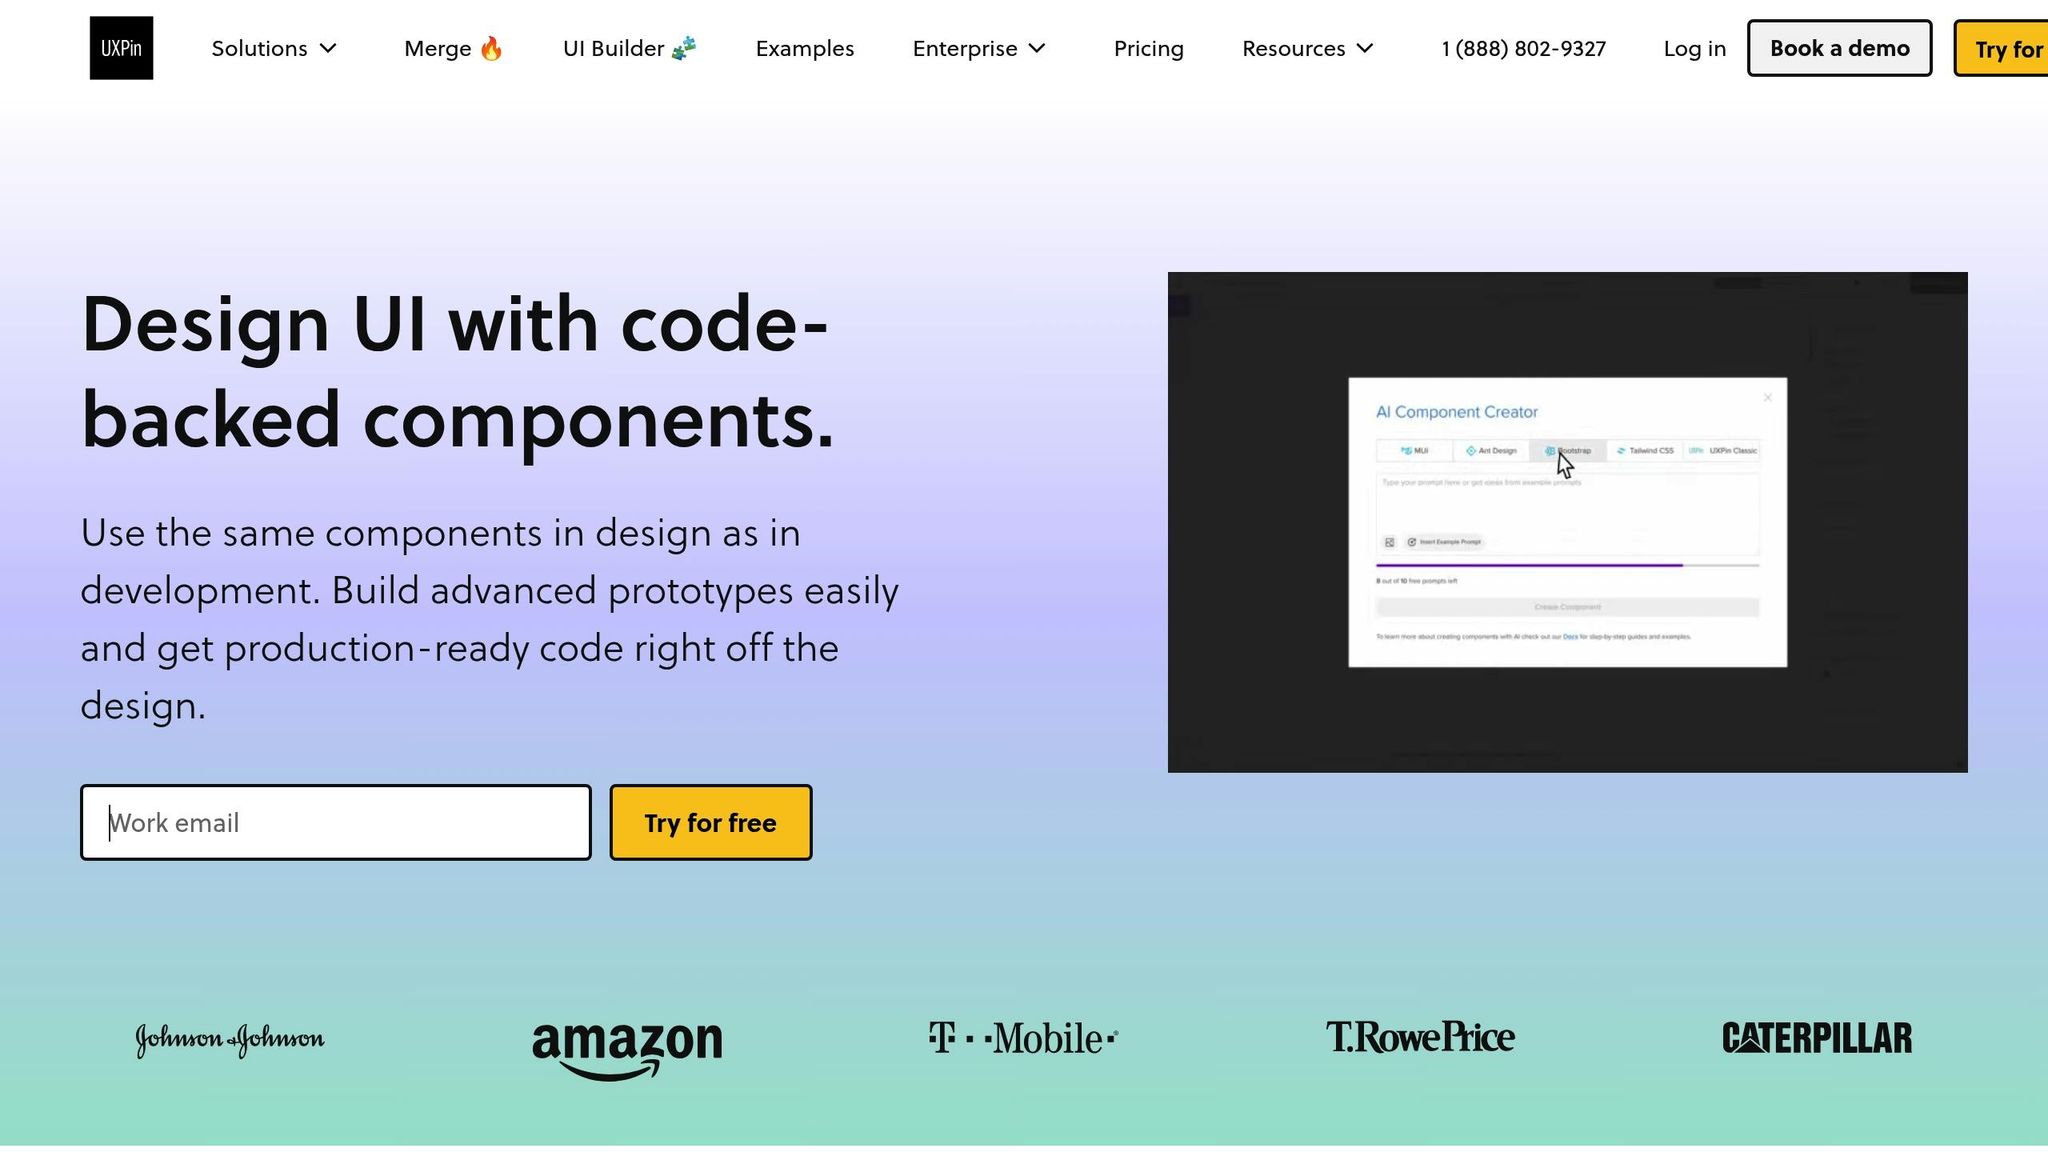
Once your environment and project structure are in place, UXPin can enhance your prototyping process by bridging the gap between design and development. This tool allows designers and developers to work with the same React components, creating realistic, high-fidelity prototypes that behave just like the final product.
One standout feature is UXPin’s AI Component Creator, which generates React components directly from natural language descriptions. This cuts down on manual coding, letting teams refine and customize components as needed.
UXPin also supports advanced interactions, like conditional logic and state management, to simulate real user flows. This means your prototypes can mimic actual functionality, giving stakeholders a clear preview of the end product.
To keep everything aligned, UXPin integrates seamlessly with tools like Storybook and npm. Any updates to your codebase automatically sync with your prototypes, ensuring consistency throughout the development process and reducing manual updates. This integration makes UXPin a powerful addition to your React prototyping toolkit.
Building Interactive Prototypes with React Components
Once your environment is ready, you can dive into building your prototype. The secret to a successful React prototype lies in a modular approach – breaking your interface into smaller, manageable parts, building them step by step, and then layering in the interactions that make your design functional.
Breaking Down UI into Components
The first step in creating a React prototype is breaking your user interface into a hierarchy of reusable components. This method ensures that each piece has a clear role and can be developed, tested, and updated independently.
Start by identifying the major sections of your interface – think headers, sidebars, main content areas, and footers. Then, divide these sections into smaller, more focused components. For example, if a section feels too complex, split it into simpler pieces, each with a single responsibility.
Take a searchable product listing page as an example. A top-level component, like FilterableProductTable, might manage the entire interface. Within it, you could have a SearchBar for user input, a ProductTable for displaying results, ProductCategoryRow components for section headings, and individual ProductRow components for each product. Each component should focus on one specific task.
When deciding how to structure your components, think about UI segments that can be reused. Common patterns like buttons, cards, form fields, and navigation elements can often be abstracted into reusable components with customizable properties. To keep things organized, use consistent naming conventions for your components, props, and event handlers. This not only improves readability but also simplifies collaboration with your team. Additionally, plan how data will flow between parent and child components before diving into the code.
Once you’ve mapped out your components, start by building a static prototype to establish the application’s structure.
Creating and Testing a Static Version
Before adding interactivity, focus on building a static version of your prototype. This step allows you to work on the layout and structure without worrying about dynamic behaviors – essentially creating a solid foundation for your app.
Begin by setting up the basic structure of your components. For example, if you’re using a tool like Vite, a simple Header component might look like this:
import React from 'react'; const Header = () => { return ( <header> <h1>Product Catalog</h1> </header> ); }; export default Header; Develop each component as a static element, using props to test different scenarios, such as long product names or missing images. This process is crucial for ensuring that your layout works well and that each component displays data as expected. For instance, a static ProductCard component should clearly present product details without handling features like cart management or data fetching.
A solid static prototype makes it easier to introduce interactive elements later. Once you’re confident in the layout, you can move on to adding dynamic behavior.
Adding Interactivity to Components
With the static version in place, it’s time to make your prototype interactive. This is where React’s state and event handling come into play.
Use the useState Hook to give components memory, allowing them to store and update information as users interact with them. For instance, in an image gallery, you could use useState to track which image is currently displayed or whether a description is visible.
To handle user actions, attach event handlers to JSX elements. For example, when a user clicks a "Next" button, the event handler updates the state, triggering React to re-render the component with the updated information. Keep in mind that React schedules state updates for the next render cycle, so changes won’t appear instantly.
When working with state, always create new copies of objects or arrays to ensure the UI updates correctly. For example, a ProductCard component might receive an addToCart function as a prop instead of managing cart logic itself. This keeps the component focused on displaying product details and maintains its single responsibility.
sbb-itb-f6354c6
Adding Advanced Features to Prototypes
Once you’ve nailed down basic interactivity, it’s time to take your React prototypes to the next level. Adding advanced features like animations, conditional logic, and realistic user flows can make your prototypes feel much closer to fully functioning applications. Let’s break down how you can bring these elements into your designs.
Implementing Advanced Interactions
Animations and transitions can breathe life into your prototypes, giving them a polished, professional feel. Tools like React Spring and Framer Motion make it easy to craft engaging animations. React Spring, for instance, uses physics-based motion to create smooth, natural interactions, while Framer Motion specializes in micro-interactions that provide immediate feedback to users. Picture a button that changes size and color when clicked or a seamless page transition that guides users through your design.
When adding animations, keep them intentional. They should serve a purpose, whether it’s highlighting a feature or providing feedback. For example, a shopping cart icon could give a subtle bounce when an item is added, or a search bar might expand smoothly when clicked to signal its functionality. Timing matters too – quick animations (200–300 ms) are great for small interactions, while longer ones (500–800 ms) work better for bigger transitions like moving between pages. Don’t forget accessibility; always provide options to reduce motion for users who prefer simpler animations.
Next, let’s look at how conditional logic can make your prototypes even smarter.
Simulating User Flows with Conditional Logic
Conditional logic takes your prototypes from static to dynamic by making them respond to user behavior. By using variables and conditional interactions, you can create designs that adapt to user input or specific scenarios. For example, in an e-commerce prototype, the cart’s status could determine whether the user sees a "Continue Shopping" button or a "Proceed to Checkout" option. Similarly, a logged-in user might have access to different navigation options than a guest.
In React, state variables are key to implementing this kind of dynamic behavior. They can track everything from form progress to user preferences. Imagine a news app prototype that remembers what categories a user prefers and adjusts the homepage content accordingly. For more complex flows, like onboarding, conditional logic can customize the experience – offering extra guidance for beginners while streamlining steps for seasoned users. To keep everything running smoothly, document your variables and logic clearly. This not only helps maintain consistency but also makes collaboration easier during handoffs.
Using UXPin for Advanced Prototyping Features
To tie it all together, tools like UXPin can help you integrate advanced features seamlessly. UXPin combines design precision with real code behavior, working with popular React libraries like Material-UI, Ant Design, and Tailwind CSS. This ensures that animations, transitions, and conditional logic in your prototype align closely with the final product. Plus, UXPin’s code-backed platform can speed up rendering by 40%.
UXPin also excels at handling conditional logic. You can set up variables to track user actions, create expressions to determine what content appears, and design interactions that adapt dynamically. This is especially useful during stakeholder presentations or user testing, where demonstrating realistic workflows is crucial.
As your prototypes grow more complex, performance optimization becomes essential. UXPin’s ability to integrate with real code ensures that your advanced features not only look good but also function smoothly during testing and reviews.
Testing, Iterating, and Handoff in Prototyping
Creating advanced React prototypes involves more than just building a functional model – it’s about testing, refining, and ensuring a smooth transition into production. This phase determines whether your prototype becomes a successful product or gets stuck in endless revisions.
User Testing Interactive Prototypes
Testing your React prototype with real users can uncover insights that internal reviews often miss. The goal is to engage your target audience and ask clear, focused questions that validate your design choices.
Instead of vague instructions like "explore the app", give users specific tasks that mirror real-world goals, such as "Find and customize a product" or "Complete the checkout process." This approach helps you observe how users naturally interact with your interface and identify any friction points.
Set clear expectations from the start. Use introductory messages to explain the prototype’s purpose, and provide pre-task prompts to guide participants without leading them to specific answers. After completing tasks, ask open-ended questions to encourage honest feedback about their experience.
Focus on recurring issues – like confusing UI elements or common pain points – that multiple participants encounter. Prioritize these problems based on their impact on user satisfaction and task completion. Patterns across different user groups can also highlight features that work well for experienced users but confuse newcomers. Structured feedback methods, such as the "I Like, I Wish, What If" framework, can help you systematically capture strengths, areas for improvement, and innovative ideas.
These insights guide targeted refinements and set the stage for a seamless handoff to development.
Efficient Iteration on Prototypes
User feedback is the foundation for improving your prototype. Iteration transforms a functional design into a polished product, but it’s important to approach changes strategically rather than making random updates.
"There’s no one perfect user-interface design, and you can’t get good usability by simply shipping your one best idea. You have to try (and test) multiple design ideas." – Therese Fessenden, Nielsen Norman Group
Start by categorizing feedback into themes and levels of impact. Separate critical issues that block users from completing tasks from minor annoyances that affect overall satisfaction. Address the most pressing problems first, while scheduling less urgent fixes for later iterations.
Collaborate with your team to brainstorm solutions before diving into changes. A fresh perspective can lead to better approaches, and sometimes the obvious fix isn’t the best one. Once updates are made, validate them through additional testing methods like A/B testing, targeted usability sessions, or quick feedback rounds with a small group of users.
Even testing with just five users can uncover up to 85% of usability issues.
"Stay humble but also confident. You’ve talked to customers, built intuition, so go build the prototype and ship the V1. Then be humble by listening to feedback and iterating." – Tomer London, Co-Founder at Gusto
Smooth Handoff to Development
Once your prototype has been refined through testing and iteration, the next step is ensuring a smooth transition to development. Since React prototypes are built with components that align with production code, this process can be significantly simplified.
Start by organizing your component library with clear naming conventions and detailed documentation. Each component should include information about its purpose, props, and expected behavior. Highlight reusable components and make design files easily accessible. Centralizing product instructions and interaction details in one location helps developers avoid confusion and reduces back-and-forth communication.
Code-backed prototypes act as a clear guide for interactions, component states, and element behaviors, minimizing misinterpretations during implementation.
A handoff checklist can further streamline the process. Include details such as:
- Component specifications
- Interaction behaviors
- Responsive design requirements
- Accessibility standards
- Performance considerations
Be sure to document any conditional logic, dynamic behaviors, and associated variables or states. The more thorough your documentation, the easier the development process will be.
Finally, schedule regular check-ins with the development team. Brief walkthroughs of the prototype allow you to address questions early and ensure the final product aligns with your design vision. This collaborative approach helps turn your interactive prototype into a user-friendly, production-ready product.
Conclusion and Key Takeaways
Interactive prototyping with React components has reshaped how design and development teams collaborate. By using a component-based approach, designers and developers can create reusable building blocks that streamline workflows from the initial prototype to the final product. According to the Design Tools Survey from UXTools.co, the use of React for prototyping soared from 21% to 47% between 2019 and 2020, highlighting its growing popularity.
React’s declarative syntax and Virtual DOM allow for quick iteration cycles while enabling prototypes to handle real user interactions and data. Unlike static mockups, React prototypes can simulate dynamic user flows and behaviors, offering a more accurate representation of how a real application will function. This dynamic nature ensures that prototypes are not just conceptual but practical, forming a direct bridge to production code.
One of React’s standout advantages is its ability to transition prototypes directly into production. This eliminates the traditional design-to-development handoff, where developers often need to interpret static designs and recreate functionalities from scratch. Instead, prototype components can serve as the foundation for the final product, reducing development time and ensuring the design intent remains intact.
Platforms like UXPin take these benefits a step further. With built-in React libraries such as MUI and Tailwind UI, along with tools like the AI Component Creator, UXPin enables teams to build advanced prototypes without requiring deep coding expertise. This approach simplifies the process for designers and developers alike, fostering a more integrated workflow.
Beyond individual projects, React prototyping helps establish a shared language between design and development teams. This shared framework promotes better collaboration and leads to more cohesive design systems and predictable development timelines. For organizations, this means smoother processes and stronger alignment across teams.
FAQs
How do React components enhance the design-to-development workflow in prototyping?
React components simplify the journey from design to development by seamlessly connecting prototypes with production-ready code. They give designers and developers access to dynamic, interactive elements that mimic real application behavior, ensuring designs are both accurate and consistent.
When teams use React components during prototyping, they can test functionality early, spot potential problems, and improve collaboration. This method minimizes miscommunication, accelerates implementation, and ensures a smoother transition between design and development.
What are the benefits of organizing React projects by features instead of file types?
Organizing React projects around features can make your codebase more structured and easier to work with. By keeping all the components, styles, and tests for a specific feature in one folder, you create a system that’s easier to navigate and maintain. This setup also helps minimize unnecessary dependencies and makes the development process more efficient. It’s particularly useful for larger applications or teams, where maintaining a clear separation of concerns is essential.
On the other hand, structuring by file types – like putting all components, styles, and tests in separate folders – can lead to confusion as the project expands. This approach often makes it harder to locate or update files because related pieces of functionality are scattered across the codebase. A feature-based structure solves this problem by keeping everything for a feature in one place, making it easier to refactor and iterate quickly.
How does UXPin’s AI Component Creator simplify prototyping for teams without advanced coding skills?
UXPin’s AI Component Creator simplifies prototyping for teams with little to no coding experience. It can automatically turn images, text prompts, or existing design elements into fully functional, code-supported UI components. This means less time spent on manual coding and more time for teams to focus on creativity and teamwork.
The tool empowers non-technical team members to actively participate in creating interactive prototypes, which helps streamline workflows and boosts overall productivity. It’s an effective way to connect design and development efforts while ensuring polished, high-quality results.

