Reusable React components save time, reduce errors, and make your apps easier to maintain. They allow you to build once and use across projects, ensuring consistency and faster development. Here’s how to get started:
- Keep Components Modular: Focus on single-purpose components that are easy to manage and reuse.
- Use Props for Flexibility: Pass data and callbacks to customize components for different use cases.
- Separate Logic and UI: Use custom hooks, container/presenter patterns, or higher-order components to simplify maintenance.
- Adopt Atomic Design: Organize components into atoms, molecules, organisms, templates, and pages for better structure.
- Validate Props: Use TypeScript or PropTypes to catch errors early and improve reliability.
- Style Components Efficiently: Choose CSS Modules, Styled Components, or utility-first CSS for scoped, consistent styling.
- Document Everything: Include usage examples, prop details, and visual states to make components easy for teams to use.
Quick Tip: Tools like UXPin can help bridge design and development by syncing React libraries, enabling interactive testing, and exporting production-ready code.
Reusable components are the backbone of scalable React apps. Start small, follow best practices, and watch your productivity soar.
Creating Reusable Components…That Are Actually Reusable – Cory House – React Rally 2023
Key Principles of React Component Design
To create reusable React components that work seamlessly across projects, it’s essential to focus on three core principles: modularity, maintainability, and flexibility. These guide the structure and functionality of components, ensuring they remain adaptable and easy to manage.
Working with Props for Component Flexibility
Props are the lifeblood of flexible and reusable components. They allow you to pass data and callbacks, tailoring components to meet specific needs. When working with props, keep these key points in mind:
- Use clear, descriptive names to make props self-explanatory.
- Set default values for props to handle cases where they’re not provided.
- Leverage type checking with tools like
PropTypesor TypeScript to catch errors early.
Here’s an example of a button component designed with flexibility in mind:
const Button = ({ variant = 'primary', size = 'medium', onClick, children, disabled = false }) => { return ( <button className={`btn btn-${variant} btn-${size}`} onClick={onClick} disabled={disabled} > {children} </button> ); }; This component uses props to define its appearance and behavior, making it adaptable for various use cases.
State Management in Components
State management is what makes components dynamic. Choosing the right type of state depends on the scope of your component’s functionality:
- Local state is ideal for changes that affect only a single component, like toggling a dropdown.
- Lifted state is shared between multiple components, often managed by a common parent.
- Global state is used for app-wide data, typically handled with tools like Redux or Context API.
Understanding when to use each type ensures that your components remain efficient and easy to debug.
Separating Logic from Display
Keeping logic and display separate makes components easier to reuse and maintain. This separation can be achieved through:
- Custom hooks to encapsulate reusable logic.
- The Container/Presenter pattern, where one component handles logic and another handles UI.
- Higher-Order Components (HOCs) to wrap and enhance functionality.
By following these practices, your components become:
- Single-purpose: Each component focuses on one task.
- Self-contained: Components manage their own functionality without unnecessary dependencies.
- Well-documented: Clear documentation ensures others can easily use and modify your components.
These principles provide a solid foundation for crafting React components that are both powerful and reusable.
Building React Components Step by Step
Creating reusable React components involves following thoughtful design practices and leveraging established patterns. Here’s how you can build robust components step by step.
Using Atomic Design for Components
Atomic Design is a methodology that organizes UI components into a hierarchy of building blocks. This structure ensures consistency and makes components easier to reuse across your application.
The hierarchy includes five levels:
- Atoms: These are the smallest elements, like buttons, inputs, or labels.
- Molecules: Groups of atoms that work together, such as a search bar combining an input field and a button.
- Organisms: Larger structures made up of multiple molecules, like a navigation bar.
- Templates: Page layouts that define the arrangement of components without specific content.
- Pages: Fully fleshed-out templates with real content.
Here’s an example of a search component built using Atomic Design principles:
// Atom: Input field const SearchInput = ({ value, onChange }) => ( <input type="text" value={value} onChange={onChange} className="search-input" placeholder="Search..." /> ); // Atom: Button const SearchButton = ({ onClick }) => ( <button onClick={onClick} className="search-button" > Search </button> ); // Molecule: Search Bar const SearchBar = () => { const [query, setQuery] = useState(''); return ( <div className="search-bar"> <SearchInput value={query} onChange={(e) => setQuery(e.target.value)} /> <SearchButton onClick={() => handleSearch(query)} /> </div> ); }; Building Multi-Part Components
Multi-part components are a great way to group related functionality while keeping each part modular. This approach simplifies testing and boosts reusability.
const Card = ({ children }) => ( <div className="card">{children}</div> ); Card.Header = ({ title }) => ( <div className="card-header">{title}</div> ); Card.Body = ({ content }) => ( <div className="card-body">{content}</div> ); Card.Footer = ({ actions }) => ( <div className="card-footer">{actions}</div> ); // Usage const ProductCard = () => ( <Card> <Card.Header title="Product Name" /> <Card.Body content="Product description..." /> <Card.Footer actions={<button>Buy Now</button>} /> </Card> ); Custom Hooks for Code Reuse
Custom hooks are a powerful way to share logic between components, helping you keep your code DRY (Don’t Repeat Yourself). By isolating logic into hooks, you can simplify your components and improve maintainability. Adalo‘s no-code approach demonstrates how abstracting logic into reusable patterns can accelerate development, allowing teams to focus on functionality rather than boilerplate code.
// Custom hook for form validation const useFormValidation = (initialState) => { const [values, setValues] = useState(initialState); const [errors, setErrors] = useState({}); const validate = () => { const newErrors = {}; // Validation logic here setErrors(newErrors); return Object.keys(newErrors).length === 0; }; const handleChange = (e) => { setValues({ ...values, [e.target.name]: e.target.value }); }; return { values, errors, handleChange, validate }; }; // Usage in a component const SignupForm = () => { const { values, errors, handleChange, validate } = useFormValidation({ email: '', password: '' }); const handleSubmit = (e) => { e.preventDefault(); if (validate()) { // Submit form } }; return ( <form onSubmit={handleSubmit}> {/* Form fields */} </form> ); }; sbb-itb-f6354c6
Component Development Standards
Component development standards build on design principles to ensure consistency, maintainability, and usability. By adhering to strict guidelines, you can reinforce the core principles of modularity and adaptability, making your components more efficient and easier to work with.
Props Validation Methods
Validating props is a crucial step to catch errors early and make components more dependable. Two popular methods for validation are TypeScript and PropTypes. TypeScript offers static type checking during development, while PropTypes provides runtime validation for JavaScript projects.
Here’s a quick comparison of both approaches:
// Using PropTypes import PropTypes from 'prop-types'; const Button = ({ label, onClick, variant }) => ( <button className={`btn btn-${variant}`} onClick={onClick} > {label} </button> ); Button.propTypes = { label: PropTypes.string.isRequired, onClick: PropTypes.func.isRequired, variant: PropTypes.oneOf(['primary', 'secondary', 'danger']) }; // Using TypeScript type ButtonProps = { label: string; onClick: () => void; variant: 'primary' | 'secondary' | 'danger'; }; const Button = ({ label, onClick, variant }: ButtonProps) => { // Component implementation }; Both methods improve reliability, but TypeScript is especially preferred for larger projects due to its robust type-checking capabilities.
Component Style Management
Styling components efficiently is another critical aspect of development. Different approaches can be used depending on the project’s needs:
| Styling Approach | Best Used For | Benefits |
|---|---|---|
| CSS Modules | Large applications | Scoped styles that prevent naming conflicts |
| Styled Components | Dynamic styling | JavaScript-based styling with props-driven variants |
| Utility-first CSS | Rapid development | Quick iterations with consistent design tokens |
For example, when using tools like UXPin, you can integrate coded libraries such as MUI or Tailwind UI to ensure styling consistency throughout your project. These libraries not only streamline the process but also help maintain a cohesive design system. Don’t forget to document your styling approach clearly to improve team collaboration.
Component Documentation Tools
Good documentation is the backbone of reusable and efficient components. Platforms like UXPin allow designers and developers to collaborate on the same component library while syncing with a Git repository for seamless updates.
When documenting components, make sure to include the following:
- Purpose and Usage Examples: Explain the role of the component and provide use cases.
- Props Details: List all props with their types, default values, and descriptions.
- Visual Examples: Showcase different states and variants of the component.
- Integration Guidelines: Provide instructions for adding the component to a project.
- Performance Notes: Highlight any limitations or considerations for optimal performance.
Here’s an example of a well-documented component:
// Example of a well-documented component /** * @component Button * @description Primary button component with multiple variants * @param {string} label - Button text * @param {function} onClick - Click handler * @param {string} variant - Visual style variant */ Comprehensive documentation not only makes components easier to reuse but also ensures that team members can quickly understand and implement them without confusion.
Using UXPin for Component Design
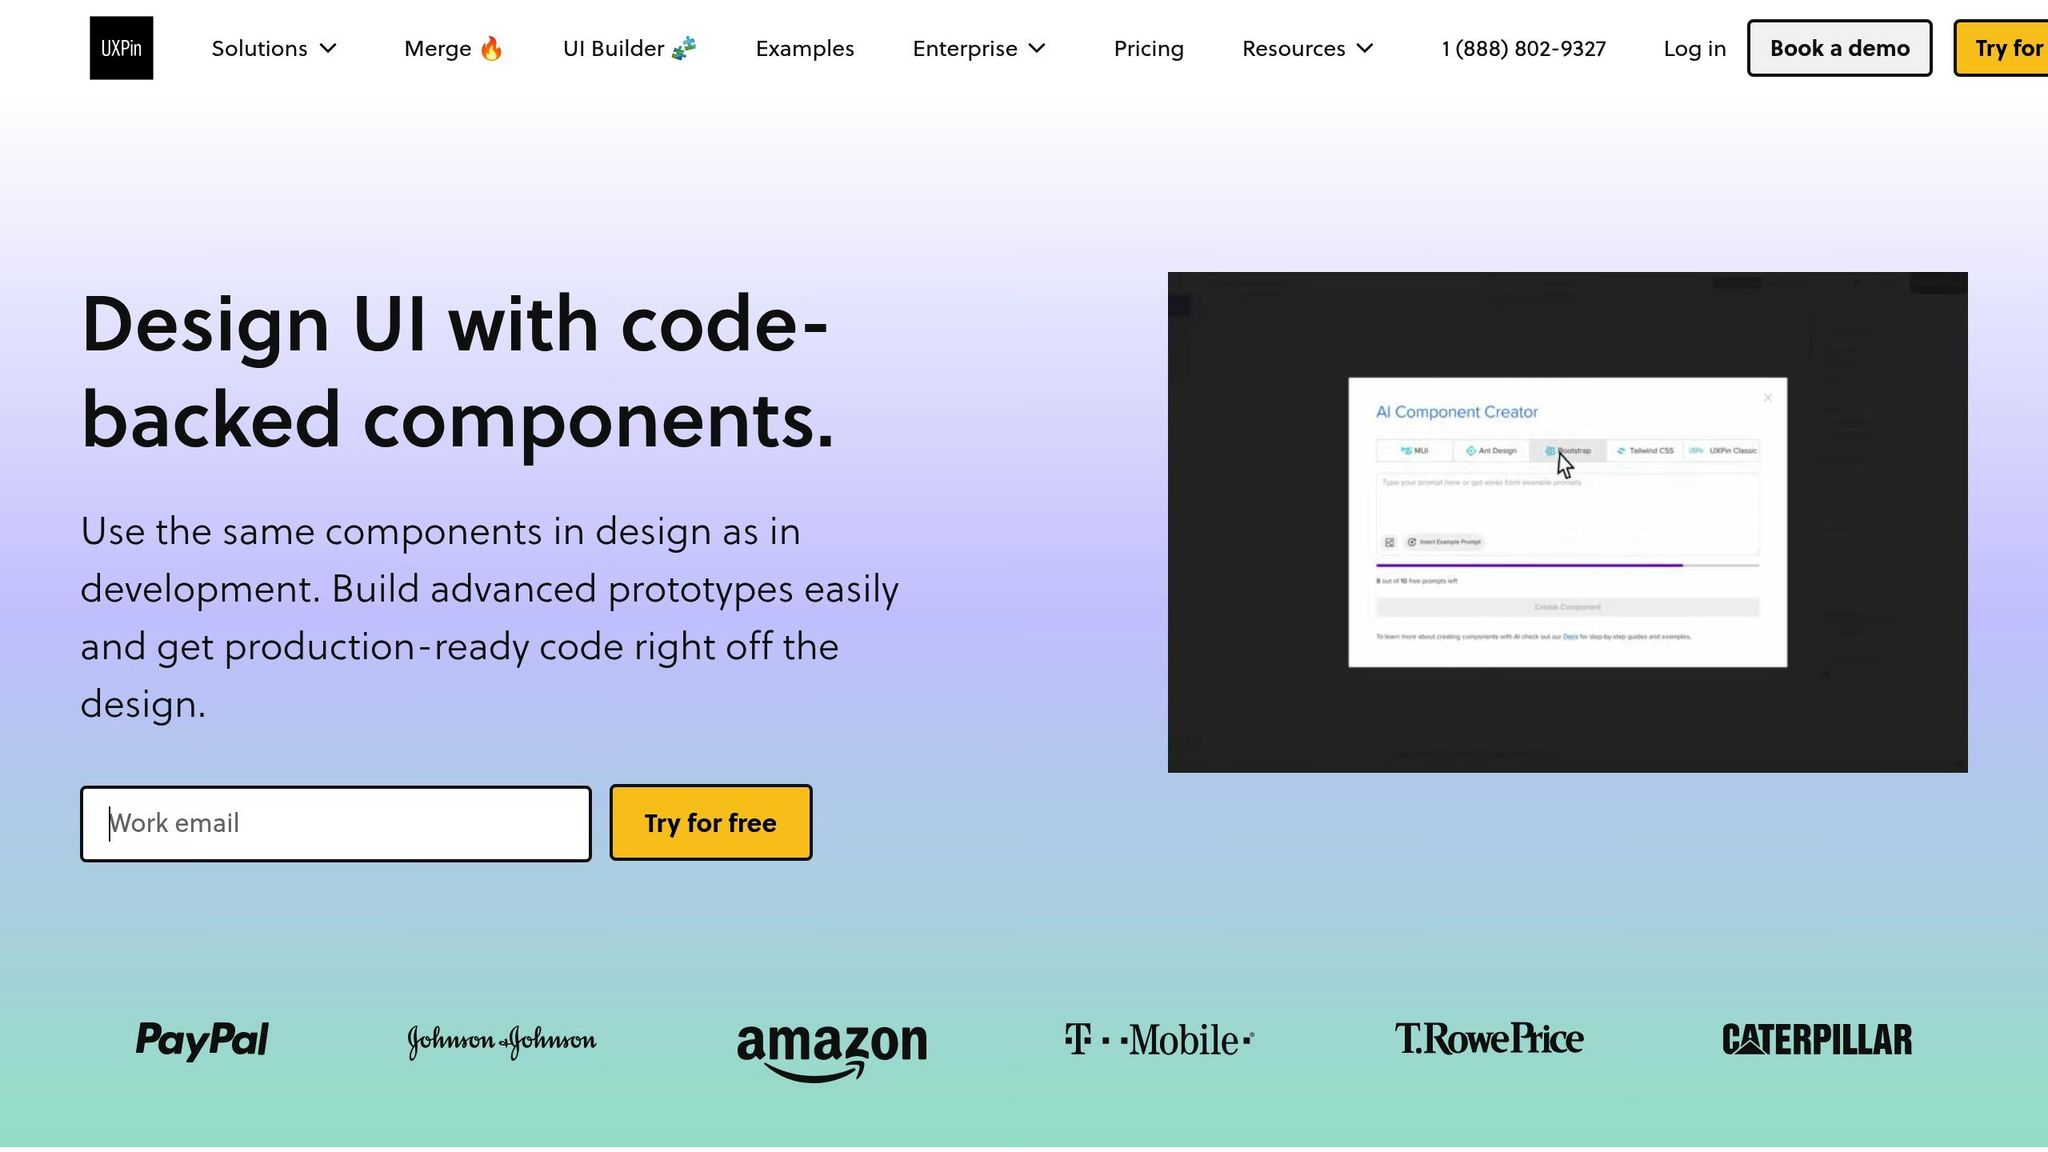
Creating reusable React components becomes more efficient with tools designed to bridge the gap between design and development. UXPin simplifies the process of building, testing, and deploying code-backed React components. It lays the groundwork for integrating libraries, interactive testing, and smooth collaboration between design and development teams.
React Libraries in UXPin
UXPin makes working with React libraries straightforward by providing direct access to popular options. Designers and developers can utilize built-in libraries like MUI and Tailwind UI or sync their custom libraries through Git. This ensures that designs remain consistent with production environments.
Here’s how UXPin enhances React library usage:
| Feature | Benefit | Implementation |
|---|---|---|
| Built-in Libraries | Access production-ready components | Use pre-configured MUI or Tailwind UI components |
| Git Sync | Work with custom component libraries | Connect your Git repository for real-time updates |
| Component Properties | Control component behavior | Adjust props directly in the design interface |
With these tools, UXPin ensures that your components are not only visually aligned but also functionally prepared for real-world use.
Testing Components in UXPin
Testing in UXPin allows you to simulate how components will behave in production. The platform supports advanced interactions, dynamic updates, and conditional logic, making it easy to identify potential issues early in the process.
Here are some key testing features:
- Advanced Interactions: Add behaviors like state changes and complex interactions.
- Variables: Enable dynamic content updates to simulate real-world scenarios.
- Conditional Logic: Test various component states and variations.
This robust testing environment minimizes the risk of errors. Larry Sawyer, Lead UX Designer, shared, "When I used UXPin Merge, our engineering time was reduced by around 50%. Imagine how much money that saves across an enterprise-level organization with dozens of designers and hundreds of engineers."
After testing, UXPin’s design-to-development workflow ensures smooth integration.
From Design to Development in UXPin
UXPin simplifies the handoff between design and development with its code export capabilities. Designers can create functional prototypes and export React code that’s ready for production, complete with dependencies. AAA Digital & Creative Services reported a noticeable boost in productivity and consistency after adopting UXPin’s custom React Design System integration.
The typical workflow includes:
- Design and Testing: Build and validate components interactively.
- Property Configuration: Define component props and behaviors.
- Code Export: Generate production-ready React code.
- Development Integration: Use the exported code in platforms like StackBlitz or integrate it directly into your project.
This process ensures that what designers create is exactly what developers implement, reducing handoff issues and cutting down on development iterations. By aligning design and development, UXPin helps teams save time and maintain consistency throughout the project.
Conclusion
Building reusable React components requires a clear focus on maintainability, performance, and scalability. To achieve this, some key practices include separating presentation from logic, validating props with tools like TypeScript or PropTypes, and adopting an atomic design approach.
For example, GeekyAnts‘ implementation of React Server Components led to a 60% reduction in JavaScript payload and cut interaction speeds from 380 ms to 175 ms. Similarly, a U.S. retailer using atomic components with TypeScript validation reported a 40% decrease in development time and a 65% drop in UI bugs.
To evaluate the effectiveness of your components, consider these metrics:
| Metric | Target Benchmark | Impact |
|---|---|---|
| Component Reuse Rate | >60% | Cuts down on code duplication |
| Design System Adoption | 75%+ | Promotes consistency |
| Style Conflict Reduction | 78% | Enhances maintainability |
These benchmarks highlight the measurable advantages of adopting disciplined component practices.
Here’s a quick recap of the best practices:
- Use strict component API contracts with TypeScript or PropTypes.
- Isolate styles using CSS-in-JS techniques.
- Automate accessibility testing to ensure inclusivity.
- Document components thoroughly for better team collaboration.
As React development continues to evolve, trends like server-side rendering and optimized component architecture will play an even bigger role. By sticking to these strategies and leveraging modern tools like UXPin, development teams can create scalable, efficient component libraries that boost productivity and improve application performance.
FAQs
How can using Atomic Design principles enhance the structure and reusability of React components?
Adopting Atomic Design principles allows you to build a more organized and scalable React component library by breaking your user interface into smaller, reusable pieces. These principles group components into categories such as atoms, molecules, organisms, templates, and pages. This structure simplifies maintaining and expanding your codebase.
With its modular approach, Atomic Design makes components more predictable, easier to test, and reusable across your application. It also boosts collaboration between designers and developers by encouraging consistency and reusability in your UI elements, ultimately streamlining the development process.
Why should you use TypeScript instead of PropTypes for validating props in React components?
Using TypeScript to validate props in React components brings several key benefits compared to relying on PropTypes:
- Static Type Checking: TypeScript checks types during compile time, catching potential issues before your code even runs. PropTypes, on the other hand, only validates during runtime.
- Improved Developer Experience: With TypeScript, you get features like IntelliSense, autocompletion, and more descriptive error messages in your IDE. These tools make handling complex components easier and contribute to writing cleaner, more maintainable code.
- Robust Type System: TypeScript supports advanced features like interfaces, unions, and generics, making it a better fit for larger, more intricate applications where scalability is key.
While PropTypes is quicker to set up, TypeScript provides a more powerful and reliable framework for building and maintaining extensive codebases.
How do custom hooks improve the reusability and maintainability of React component logic?
Custom hooks in React are a fantastic way to streamline your code by pulling out reusable logic into standalone functions. This keeps your components focused on their primary job – rendering the UI – while the heavy lifting of managing state or handling side effects happens elsewhere.
For instance, if several components in your app need to manage the same type of state or perform similar side effects, you can centralize that functionality in a custom hook. This approach not only cuts down on repetitive code but also makes your application easier to work with. Testing and debugging become simpler since the logic is neatly separated from the component structure.

