
Static mockups are fine for presentations, but to really test a product you need interactions and links between higher-fidelity mockups.
UXPin lets you import Sketch and Photoshop files with free plugins for each app. Doing so lets you make prototypes that demonstrate not just how an app should work, but also how it should feel.
Getting the plugins
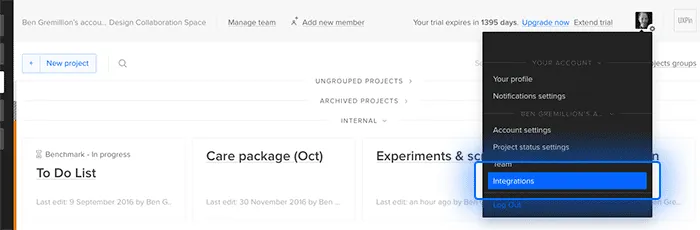
Look at the bottom left corner of the dashboard for a link to get the plugins, or under your profile icon in the upper right corner.
Double-clicking either plugin on a Mac will install it into the appropriate program.
On Windows, the plugin supports Photoshop CC 2014 and later. Once you unzip the downloaded file, copy the ‘UXPinExport’ folder into “Plug-ins/Generator/” in your Photoshop folder. Then restart Photoshop.
Using the plugins
Mac or Windows, when you open your design in Photoshop, the export option will be available under the “File > Generate” menu. In Sketch, look for “Export to UXPin” under the Plugins menu. Once you do, you’ll obtain a *.uxpin file which you can upload to any UXPin project folder.
You can then add interactions to any raster layer. At the time of this writing, text imported from Photoshop and Sketch are not editable, so plan accordingly.
Adding images
If you’d rather import assets into existing prototypes, then you can import files from your computer. Importing image files into UXPin is a matter of dragging and dropping the file from your computer to the canvas. Each image appears as its own layer, and you can import several at once.
UXPin supports JPGs, PNGs, GIFs (animated or not), and SVGs.
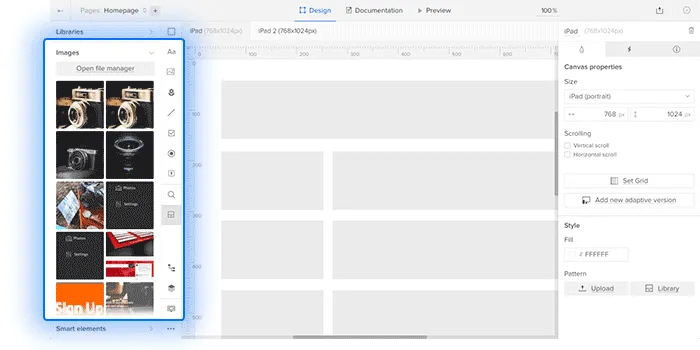
The image browser
UXPin remembers recent images you added to UXPin in any project, making them easy to access for all of your prototypes in a given project. Look in the left-hand panel for “Images” to see your recently imported files.
Importing from Sketch
The Sketch plugin lets you create projects from artboards that you can update later. Upon changing and re-exporting an artboard to UXPin, the changes will take effect. Except for elements you delete in Sketch, UXPin retains interactions imported from the popular illustration app.
After installing the plugin, select an artboard and go to Plugins > UXPin > Export selected artboards. From there you can choose a project folder and either add the artboard to an existing project, or create a new project.

Related resources
- Article: How to Use Sketch: 10 Shortcuts for UI Design
- Article: Top 10 Photoshop Shortcuts for UI Designers
- Download: Get 80 free handcrafted icons
- Get a free trial

