Creating user-friendly designs is faster and simpler when you combine GPT-5 Mini, Bootstrap, and UXPin Merge. Here’s how these tools work together:
- GPT-5 Mini: Quickly generates multiple layout ideas and responsive designs based on your input.
- Bootstrap: Provides pre-built, responsive UI components that adapt to different devices.
- UXPin Merge: Lets you design with real, production-ready components, ensuring designs align perfectly with code.
This workflow eliminates manual design handoffs, reduces errors, and speeds up the entire process. Teams can cut revision cycles by 40% and complete UX cycles in 10 days instead of weeks.
To get started, set up UXPin Merge, integrate your Bootstrap library, and enable GPT-5 Mini via the Forge AI assistant. The result? Faster prototypes, fewer revisions, and a smoother design-to-development pipeline.
Prerequisites for UXPin Merge Setup
Get your environment ready to start building user experiences with GPT-5 Mini and Bootstrap. The setup is straightforward and ensures everything runs smoothly.
Setting Up UXPin Merge
To begin, you’ll need an active UXPin account with access to the Merge feature. Head to uxpin.com, sign up, and choose a plan that includes Merge. The Growth plan starts at $40 per user per month and offers full repository sync capabilities. For teams that need custom component libraries and advanced AI features, the Enterprise plan offers tailored options with custom pricing.
Once your account is set up, connect UXPin Merge to your code repository. Go to the "Merge" section in the left-hand menu and click "Connect Repository." Authorize UXPin to access your GitHub, GitLab, or Bitbucket account. Even free repository accounts are suitable for smaller teams.
If you’re working with Bootstrap, you can either use UXPin’s built-in library or sync your custom Bootstrap fork. For custom repositories, ensure they include Bootstrap 5.x components exported via Storybook or custom wrappers. Install the necessary dependencies using npm install bootstrap react-bootstrap, then sync your repository. UXPin will automatically detect and parse the components, making them available in the Components panel.
This setup ensures you’re ready to dive into component-driven design.
Understanding Component-Driven Design in UXPin
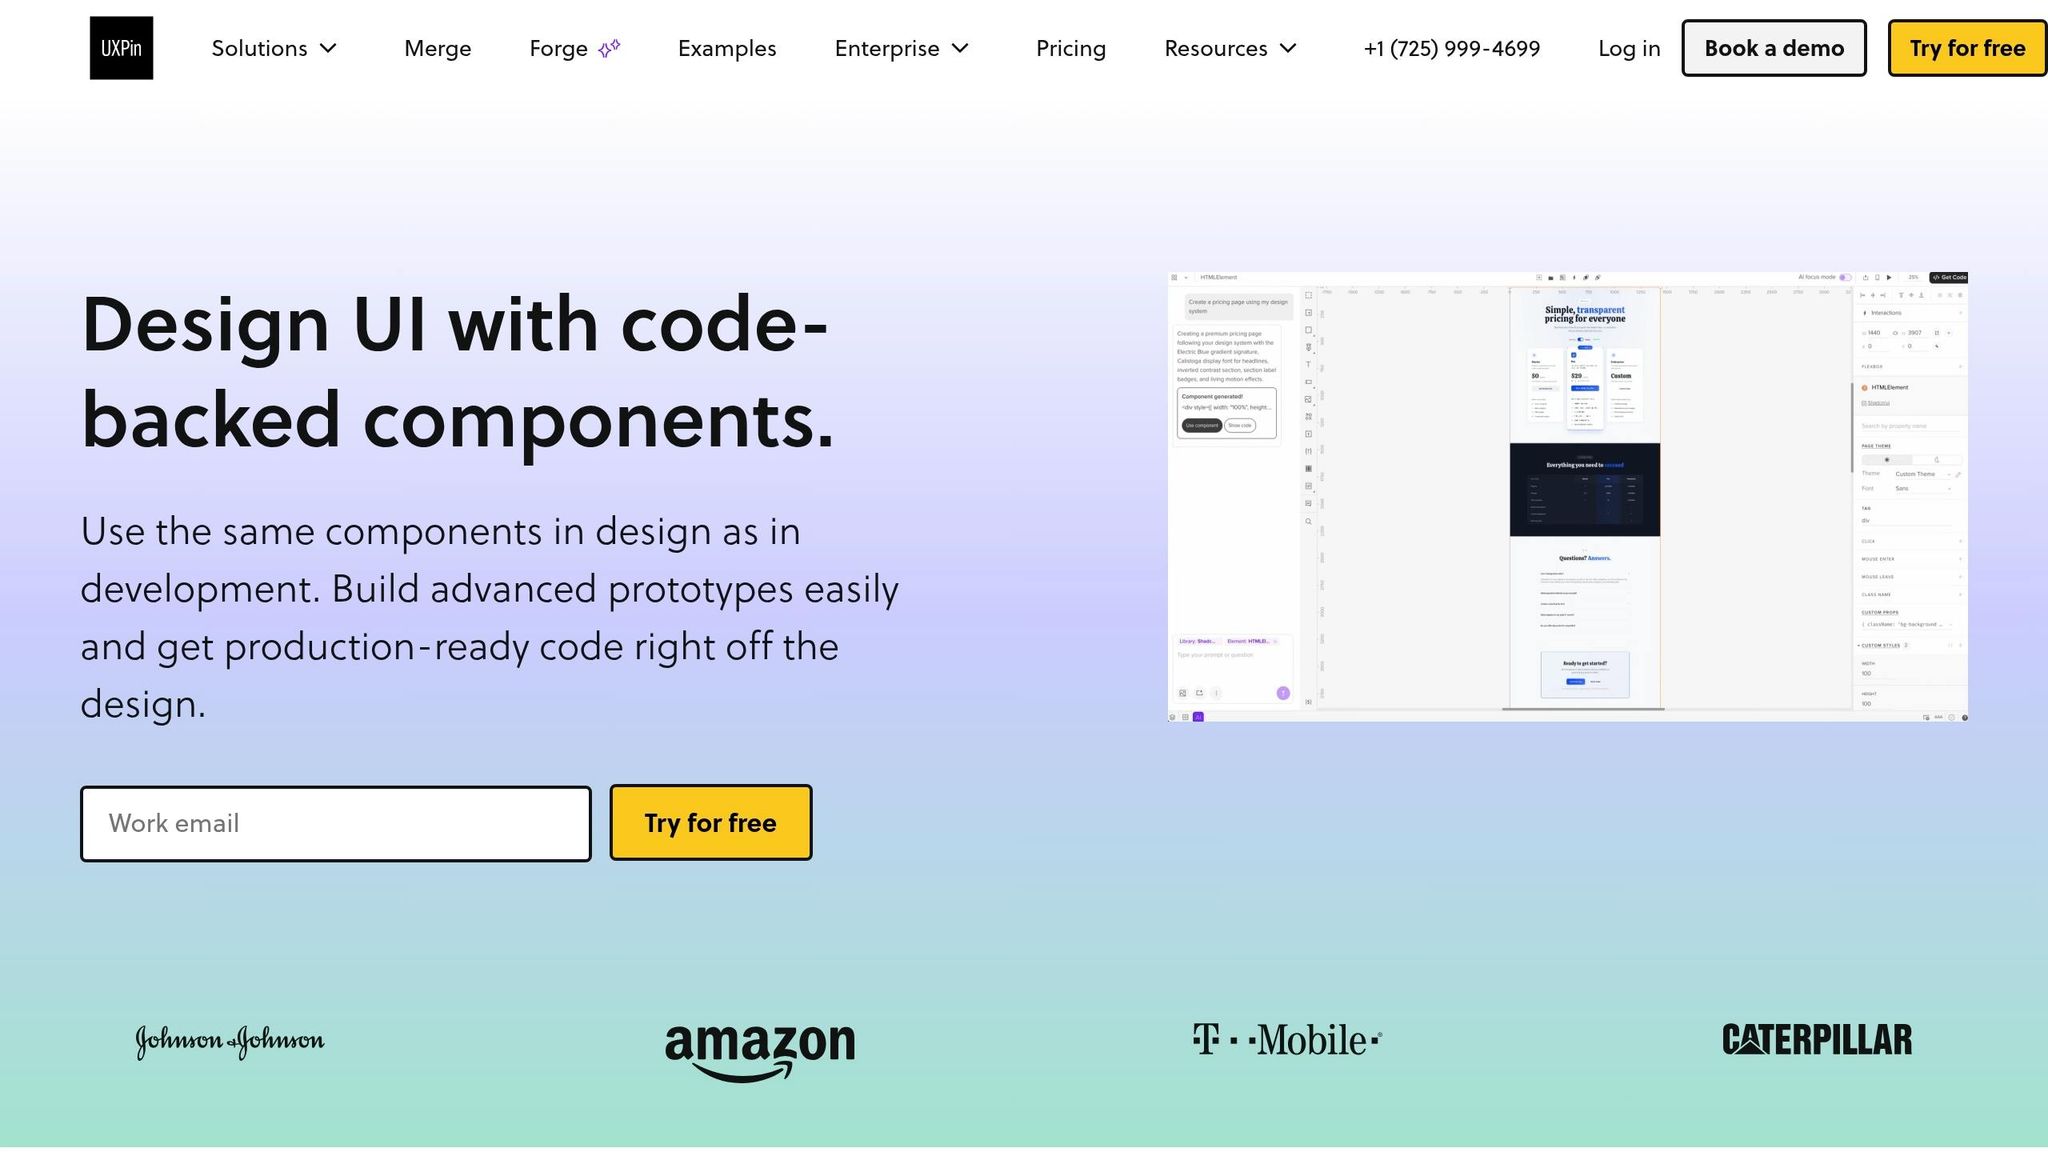
Component-Driven Design (CDD) in UXPin allows you to work with real, production-ready components instead of static mockups. The beauty of this approach lies in reusability – create a Bootstrap Grid component once and use it across multiple pages while keeping responsive behavior intact. Teams adopting CDD have reported 3x faster prototype iterations and a 50% reduction in development rework, as designs perfectly align with the actual codebase. Plus, automated code updates keep everything consistent.
With your components synced, you’re all set to integrate GPT-5 Mini.
Preparing for GPT-5 Mini Integration
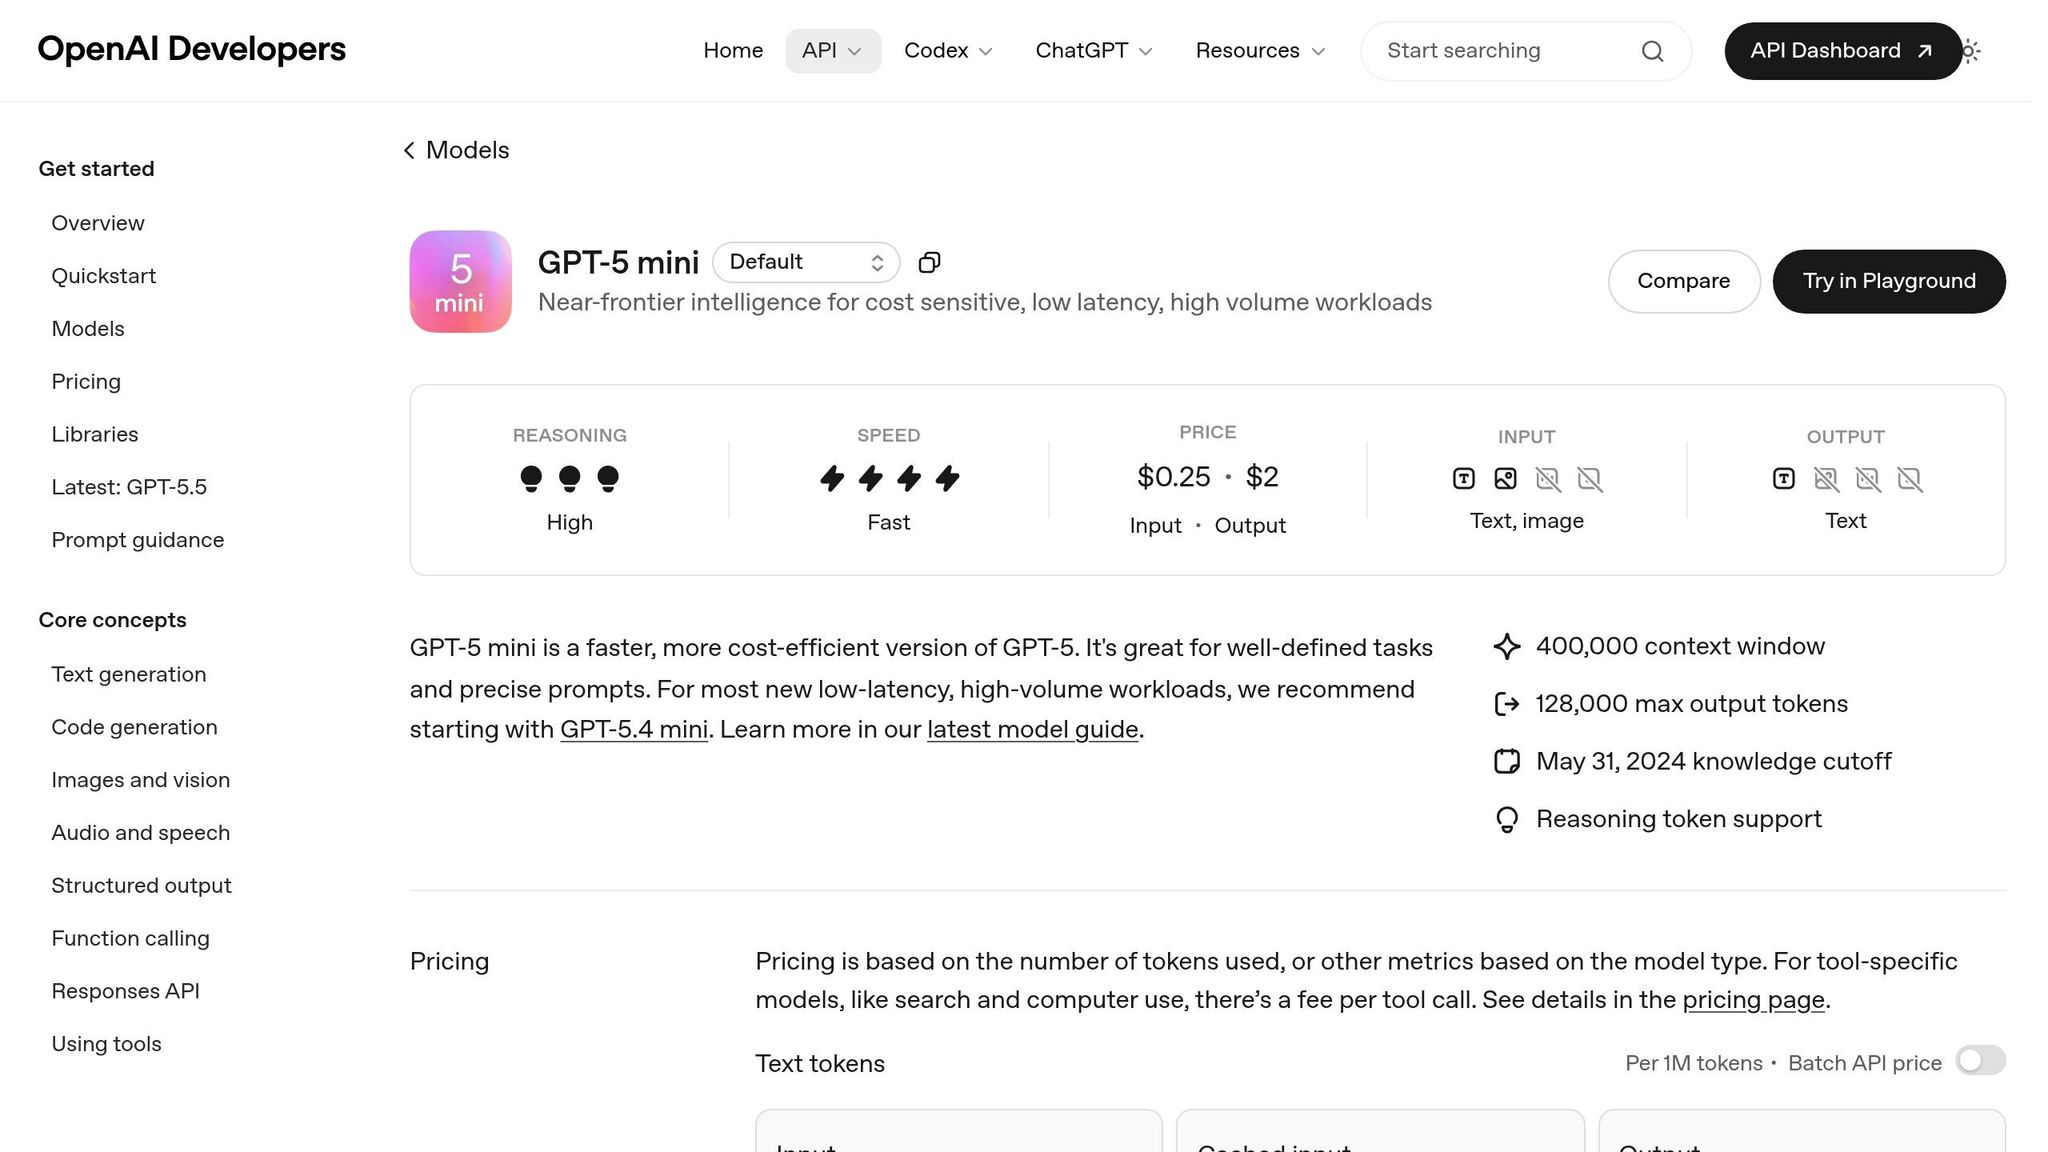
GPT-5 Mini is available through UXPin Forge, the platform’s built-in AI assistant. To enable it, go to Extensions > Forge in your UXPin workspace. The Growth plan provides 500 AI credits per month, while Enterprise plans offer custom credit limits for larger teams.
Set up Forge by uploading your design system JSON or linking your Merge library. You can define specific parameters like "Use only Bootstrap 5 classes" or "Apply primary color #0d6efd." This ensures GPT-5 Mini generates layouts that align with your brand and component library. By starting with AI outputs that match approved specifications, you’ll save time and reduce iteration cycles right from the beginning.
sbb-itb-f6354c6
How to Build UX with GPT-5 Mini and Bootstrap in UXPin Merge
3-Step UX Workflow: Building with GPT-5 Mini, Bootstrap, and UXPin Merge
With your setup ready to go, it’s time to dive into building. This process combines AI-powered design ideas with production-ready components, enabling you to create prototypes that align perfectly with your codebase. Here’s how to bring AI-generated designs and Bootstrap components together.
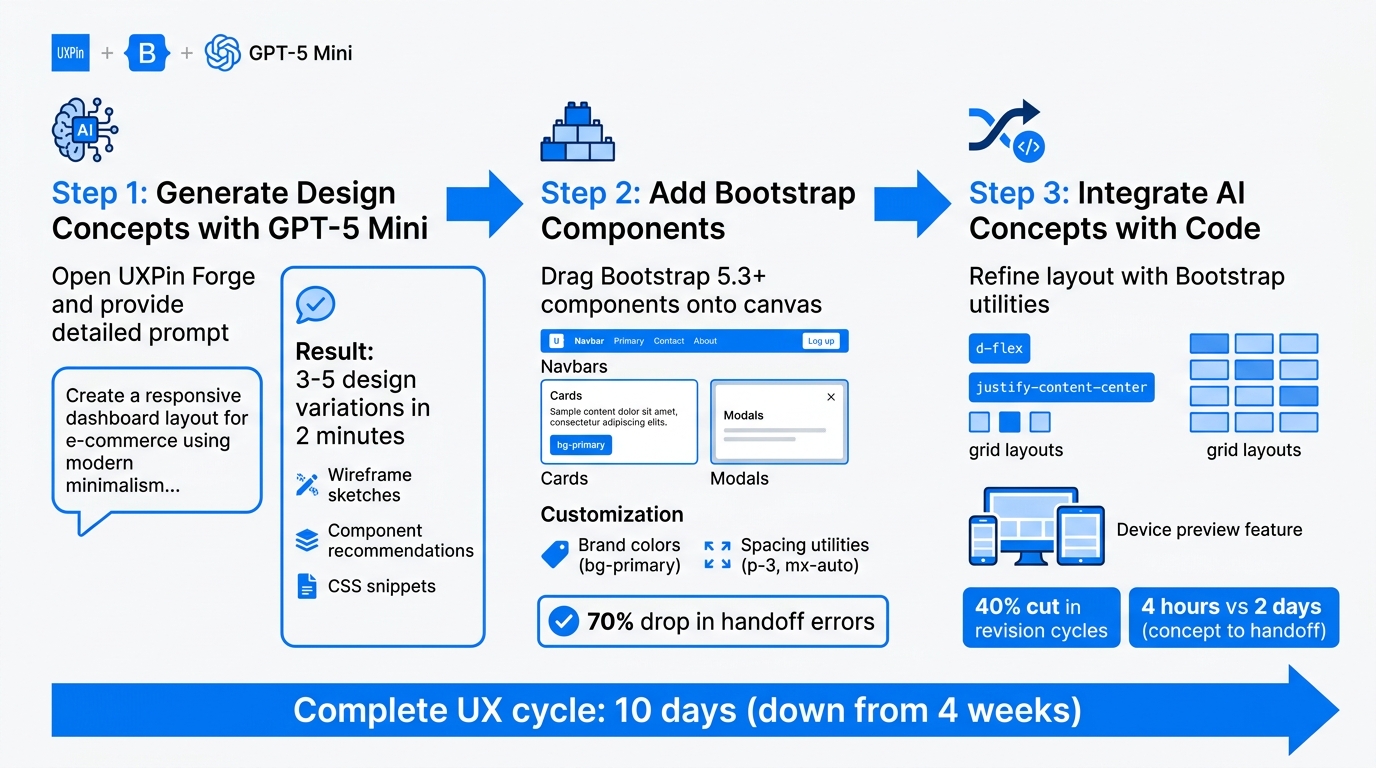
Step 1: Generate Design Concepts with GPT-5 Mini
Start by opening UXPin Forge through the Extensions menu in your workspace. This is where GPT-5 Mini comes into play, generating layouts that fit your design system. Provide a detailed prompt, such as:
"Create a responsive dashboard layout for e-commerce using modern minimalism, compatible with the Bootstrap grid system and our brand colors (#007BFF primary)."
Submit your prompt, and within two minutes, you’ll receive 3–5 design variations . These outputs include wireframe sketches, component recommendations, and CSS snippets. If needed, refine the results with follow-up prompts like "Make this mobile-first" or "Use only Bootstrap 5 classes." Because Forge works within your predefined design system, all suggestions use approved components, reducing the need for revisions.
Step 2: Add Bootstrap Components
On the UXPin canvas, where Bootstrap 5.3+ is already integrated, search for elements like navbars, cards, or modals. Drag these components onto the canvas – they’re fully interactive and responsive from the start .
You can customize these components easily. For instance, use the style panel to adjust properties, such as applying your brand colors with className="bg-primary" or tweaking spacing with utilities like p-3 and mx-auto. Since Bootstrap components are designed to adapt across devices, your designs will look great everywhere . Teams using this method often see a 70% drop in handoff errors because the designs align perfectly with production code .
Step 3: Integrate AI Concepts with Code
Once your layout is refined and components are in place, review the AI-generated designs for any spacing or alignment issues. Use Bootstrap utilities like d-flex, justify-content-center, or grid layouts to fine-tune these details.
To maintain consistency, apply Forge constraints to lock design tokens (e.g., --bs-primary: #0d6efd). Test your prototype’s responsiveness using the device preview feature, and share it for feedback through Merge’s real-time collaboration tools. With version history and instant feedback, you can streamline the revision process. Teams report a 40% cut in revision cycles, completing the transition from concept to developer handoff in just 4 hours instead of the usual 2 days .
Advanced Techniques for Optimizing UX Workflows
Once you’ve established a smooth workflow using GPT-5 Mini and Bootstrap in UXPin Merge, it’s time to take things up a notch. These advanced techniques are designed to refine design accuracy and ensure team-wide consistency, especially in enterprise settings where large development teams depend on cohesive design choices. By building on the foundational workflow, you can streamline collaboration and maintain precision across your projects.
Using Forge Constraints for Precision
Forge taps into your approved design system to deliver accurate and relevant suggestions. When you use Forge to create layouts, it only recommends components that already exist in your pre-approved component library. This ensures that every design stays aligned with your system.
A great example of this is PayPal‘s experience. In November 2021, Erica Rider, UX Architect and Design Leader at PayPal, tackled a massive challenge: a small design team of five had to support over 1,000 developers. By integrating the Microsoft Fluent design system from GitHub into UXPin via Merge, her team enabled product managers to create prototypes in just minutes. This approach sped up prototyping by a factor of 8 compared to traditional methods, allowing them to deliver entire products in the time it used to take to create mockups.
To replicate this success, sync your repository with UXPin to ensure design consistency and precision.
Building Responsive Prototypes with Bootstrap
Bootstrap’s grid system and utility classes make responsive design more manageable, while its interactive, code-backed components let you preview how designs behave across devices without diving into manual CSS.
Use the device preview feature to test breakpoints live. Bootstrap utilities like d-none d-md-block help control element visibility, while classes like col-12 col-lg-6 adjust layouts for different screen sizes. For more intricate layouts, Bootstrap’s flexbox utilities – such as d-flex, align-items-center, and justify-content-between – allow for fine-tuned spacing and alignment. To simulate real-world scenarios, you can use UXPin’s conditional logic and variables to create interactive prototypes that mimic features like form validation or dynamic content loading.
These responsive techniques naturally improve visual adaptability while keeping the team’s designs consistent.
Ensuring Consistency Across Teams with Merge
UXPin Merge serves as a central hub by linking your production code directly to the design editor. Whenever developers update components in your code repository or Storybook, the changes automatically sync with UXPin, ensuring that everyone is working from a single source of truth. For teams managing complex integrations, DreamFactory provides governed API access to any data source, which can help streamline backend integrations when connecting prototypes to live services.
Larry Sawyer, a Lead UX Designer, highlighted the benefits of this approach:
"When I used UXPin Merge, our engineering time was reduced by around 50%. Imagine how much money that saves across an enterprise-level organization with dozens of designers and hundreds of engineers."
To maintain consistency, establish a governance process for your components. Assign roles and permissions so only authorized team members can modify core design system elements. Take advantage of UXPin’s version history to track changes and roll back when needed. For larger teams, setting up a dedicated Slack channel can facilitate real-time collaboration between designers and developers.
While responsive prototypes ensure adaptability for different devices, a unified component governance process strengthens consistency across teams and projects.
Conclusion
The steps and techniques outlined above demonstrate how to streamline UX design workflow by combining GPT-5 Mini’s quick ideation, Bootstrap’s adaptable components, and UXPin Merge’s real-code capabilities. Together, these tools create a workflow that’s both efficient and effective.
Key Benefits Recap
By integrating GPT-5 Mini, Bootstrap, and UXPin Merge, enterprise UX design becomes faster and more streamlined. This approach reduces concept validation time by 70%, speeds up handoffs by 50%, cuts revisions by 40%, and shortens UX cycles by 60%, bringing timelines down from four weeks to just 10 days. A UXPin lead designer summed it up perfectly:
"This integration transforms UX from a bottleneck into an accelerator."
What’s more, the combination of Forge constraints and Bootstrap’s versatility ensures that speed doesn’t come at the cost of quality.
Next Steps
To get started, sign up for a UXPin Merge free trial at uxpin.com/pricing. You can install Bootstrap via npm or use UXPin’s built-in Bootstrap library to dive right in. Begin your journey by testing out quick projects, like a landing page or dashboard, to experience the benefits firsthand.
For example, try prompting GPT-5 Mini with a task like, “Generate Bootstrap navbar for e-commerce dashboard.” Import the result into Merge and create your prototype. Use UXPin’s device preview feature to test responsiveness and share your designs with your team. Once you’ve mastered the basics, explore Forge constraints for fine-tuning AI-generated components. For more advanced techniques, check out UXPin’s tutorials and documentation. Many teams have reported a 30% improvement in design precision by using these features.
FAQs
Do I need a custom Bootstrap repo or can I use the built-in library?
UXPin comes with a built-in Bootstrap library, eliminating the need for a custom Bootstrap repository. This feature streamlines your workflow, allowing you to dive straight into using Bootstrap components without the hassle of setting up or managing a separate repository.
What do I need in my repo for UXPin Merge to sync Bootstrap components?
To integrate Bootstrap components with UXPin Merge, your repository needs to include the Bootstrap npm package or its components. UXPin Merge lets you work with production-ready, code-based components directly from your repository, making it easy to incorporate Bootstrap UI elements into UXPin’s prototyping environment. Simply use UXPin’s npm integration to link your Git repository, Storybook, or npm libraries that house the Bootstrap components.
How do I make GPT-5 Mini use only my approved Bootstrap classes and tokens?
To make sure GPT-5 Mini adheres to your approved Bootstrap classes and tokens within UXPin, create prompts that clearly outline these rules. For instance, include directives like: "Use only these Bootstrap classes: [list]" and "Incorporate tokens from our design library." By embedding these guidelines into your workflows through UXPin Merge, you can ensure uniformity and maintain control over the components it generates.

