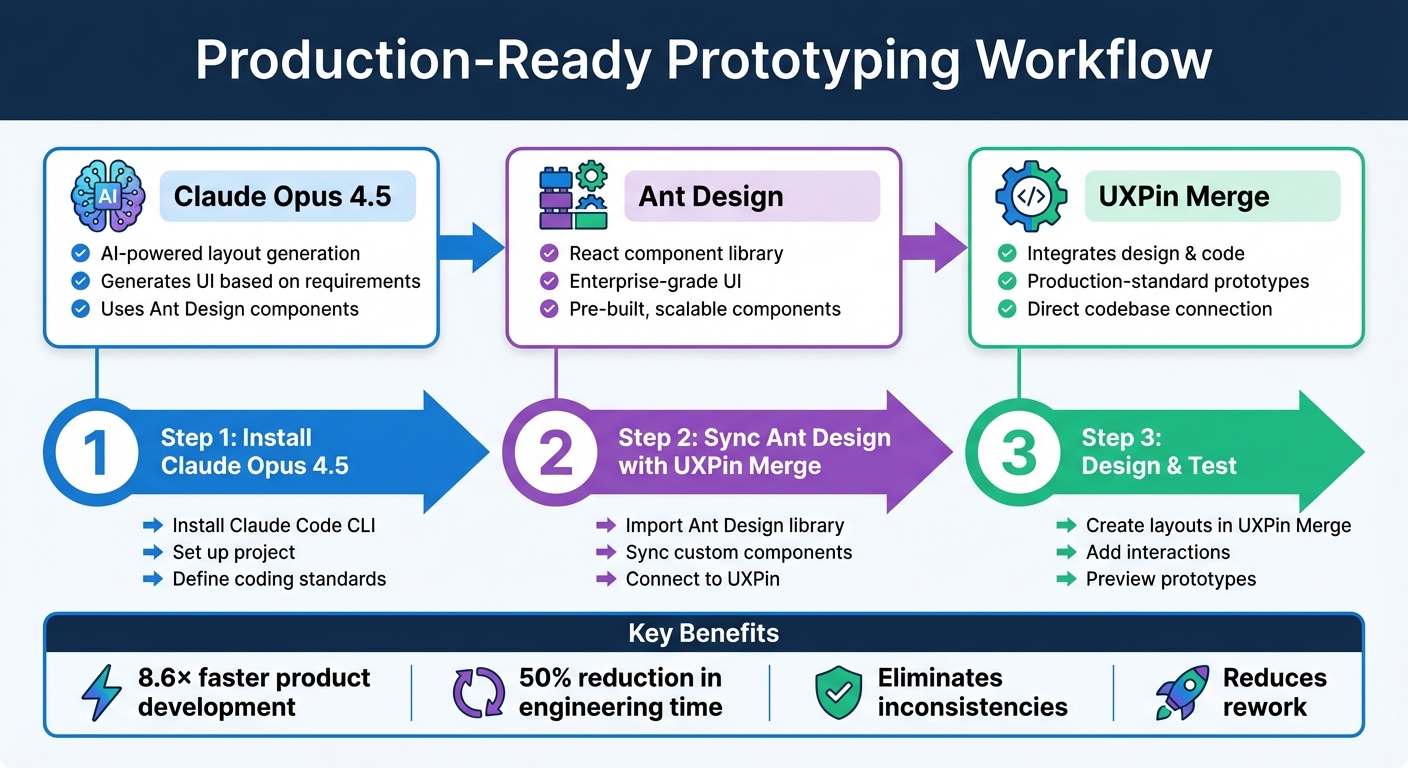
Want production-ready prototypes without wasting time on handoffs? Combine Claude Opus 4.5, Ant Design, and UXPin Merge to design with real code components from the start. Here’s how this workflow helps:
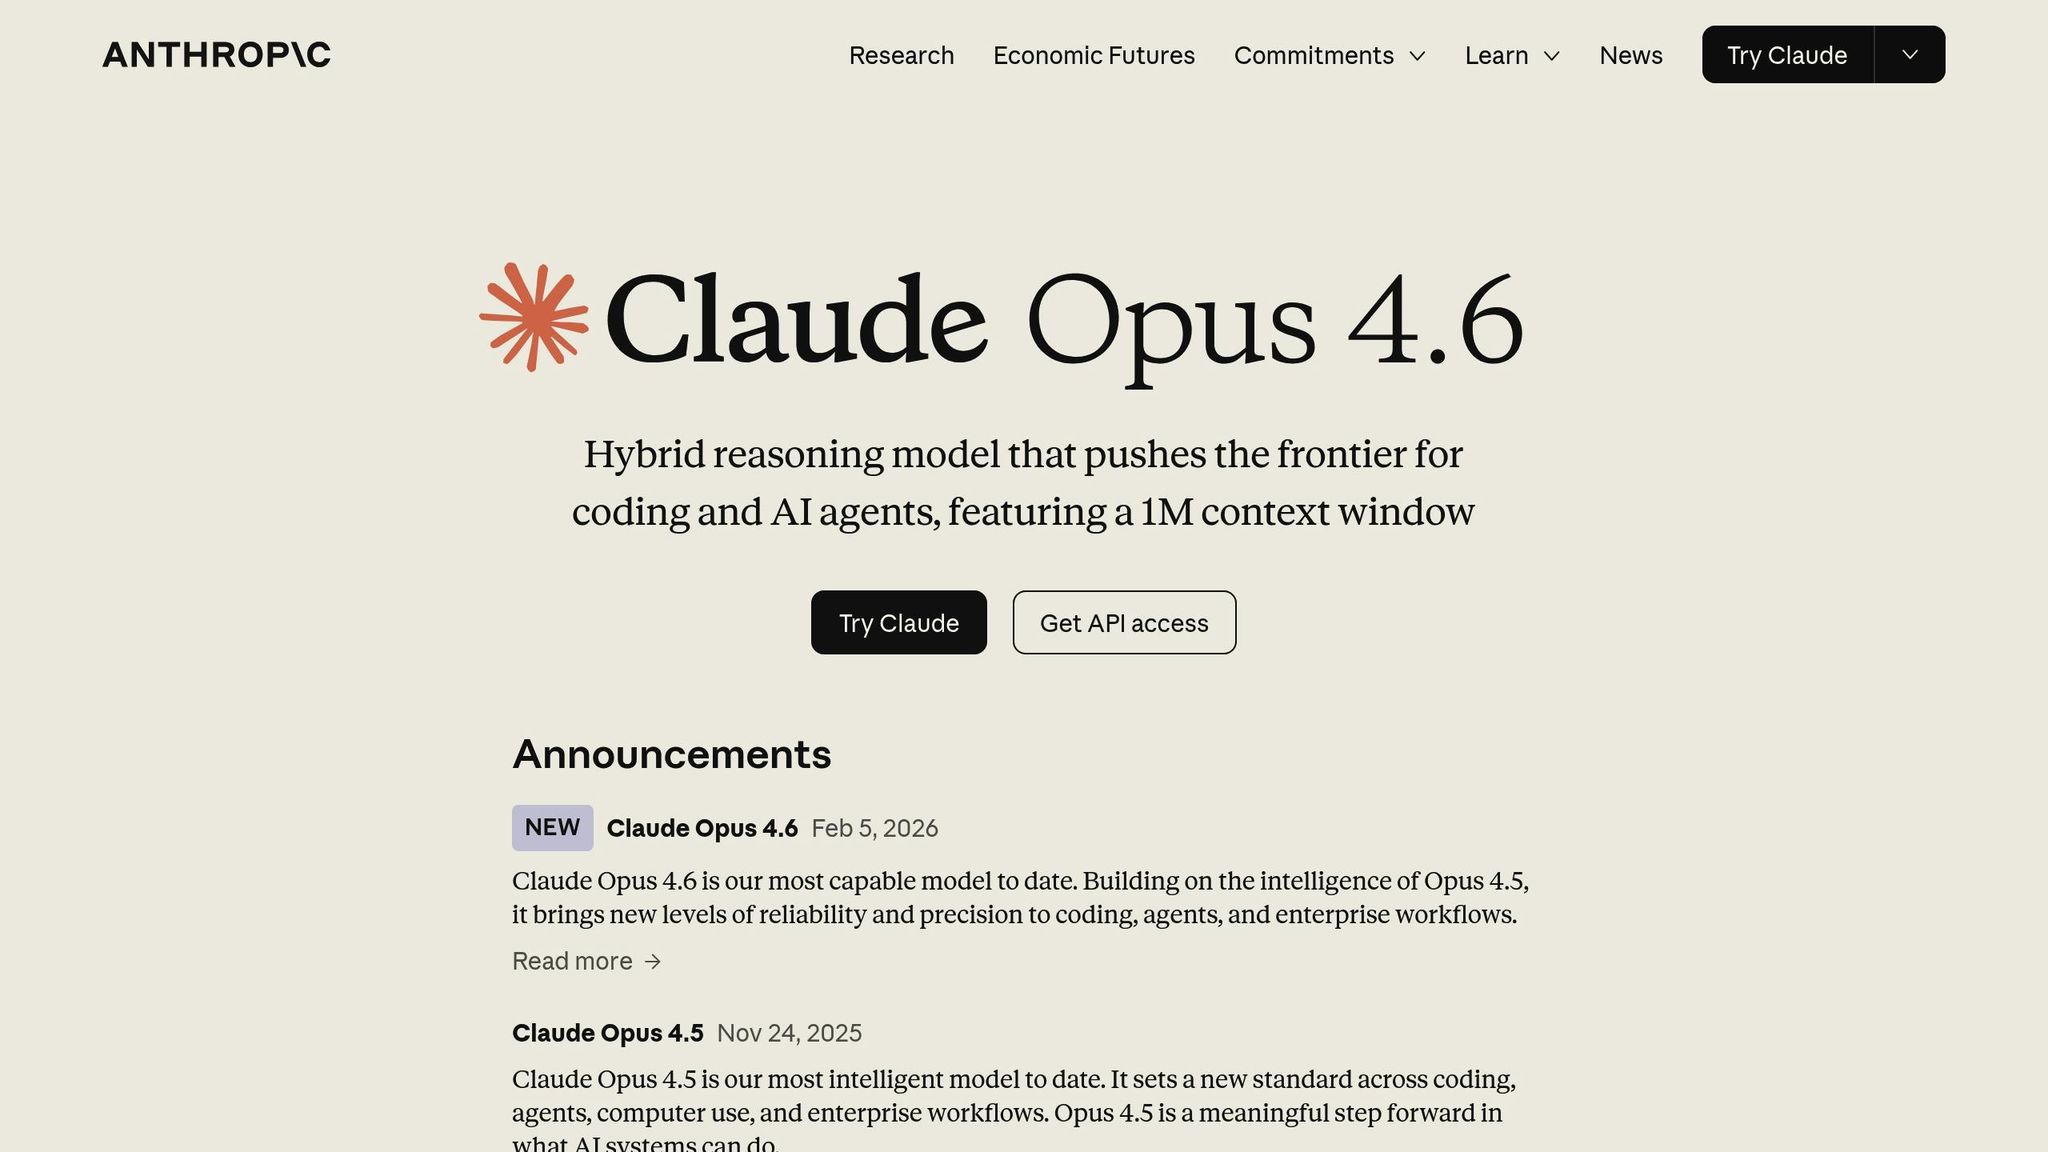
- Claude Opus 4.5: AI that generates UI layouts based on your requirements, using Ant Design components.
- Ant Design: A React component library for scalable, enterprise-grade UI.
- UXPin Merge: integrates design and code, ensuring prototypes match production standards.
This approach eliminates inconsistencies, reduces rework, and speeds up the design-to-development process. Use Claude Opus 4.5 for layout generation, Ant Design for pre-built components, and UXPin Merge to connect your designs directly to your codebase. Follow these steps to get started:
- Install Claude Opus 4.5: Use the Claude Code CLI, set up your project, and define coding standards.
- Sync Ant Design with UXPin Merge: Import the Ant Design library or custom components into UXPin.
- Design & Test: Use UXPin Merge to create layouts, add interactions, and preview prototypes.
This method is ideal for teams working on complex applications or managing design systems. It saves time, keeps designs consistent, and aligns them with production code. Ready to prototype smarter? Start by setting up these tools today.
Claude Opus 4.5 + Ant Design + UXPin Merge Prototyping Workflow
UXPin Merge Tutorial: Intro (1/5)
sbb-itb-f6354c6
Setting Up Your Tools
Before diving into prototyping, you’ll need to set up Claude Opus 4.5, integrate Ant Design components, and prepare your UXPin Merge workspace. Each tool serves a specific purpose in streamlining your workflow, and getting them ready beforehand ensures everything works smoothly together.
Configuring Claude Opus 4.5
To access Claude Opus 4.5, start by installing the Claude Code CLI globally. Run the following command:
npm install -g @anthropic-ai/claude-code Once installed, activate the Opus model by entering:
/model opus This enables its advanced reasoning capabilities, which are particularly helpful for handling complex design and coding tasks.
Authentication is required, and you have a couple of options:
- Subscribe to Claude Pro or Max plans, which cost between $100–$200/month.
- Use an API key for pay-as-you-go pricing by setting it as an environment variable:
export ANTHROPIC_API_KEY=your-api-key-here To align Claude Opus with your project, create a CLAUDE.md file in your project’s root directory. Use this file to define your tech stack (e.g., React, Ant Design) and coding standards. This ensures the components Claude generates are compatible with UXPin Merge. Additionally, you can use Model Context Protocol (MCP) to integrate Claude with your design system documentation. This provides real-time context for your Ant Design implementation.
"Opus 4.5 isn’t just incrementally better. It demonstrates a fundamentally improved understanding of complex codebases, multi-file architectures, and the subtle nuances that separate working code from production-ready code." – LaunchKit Team
Before generating layouts, use the /plan command to identify the required component properties, ensuring everything is accounted for. To maintain clarity, use /clear when switching between UI patterns to avoid context overlap.
Using Ant Design Components
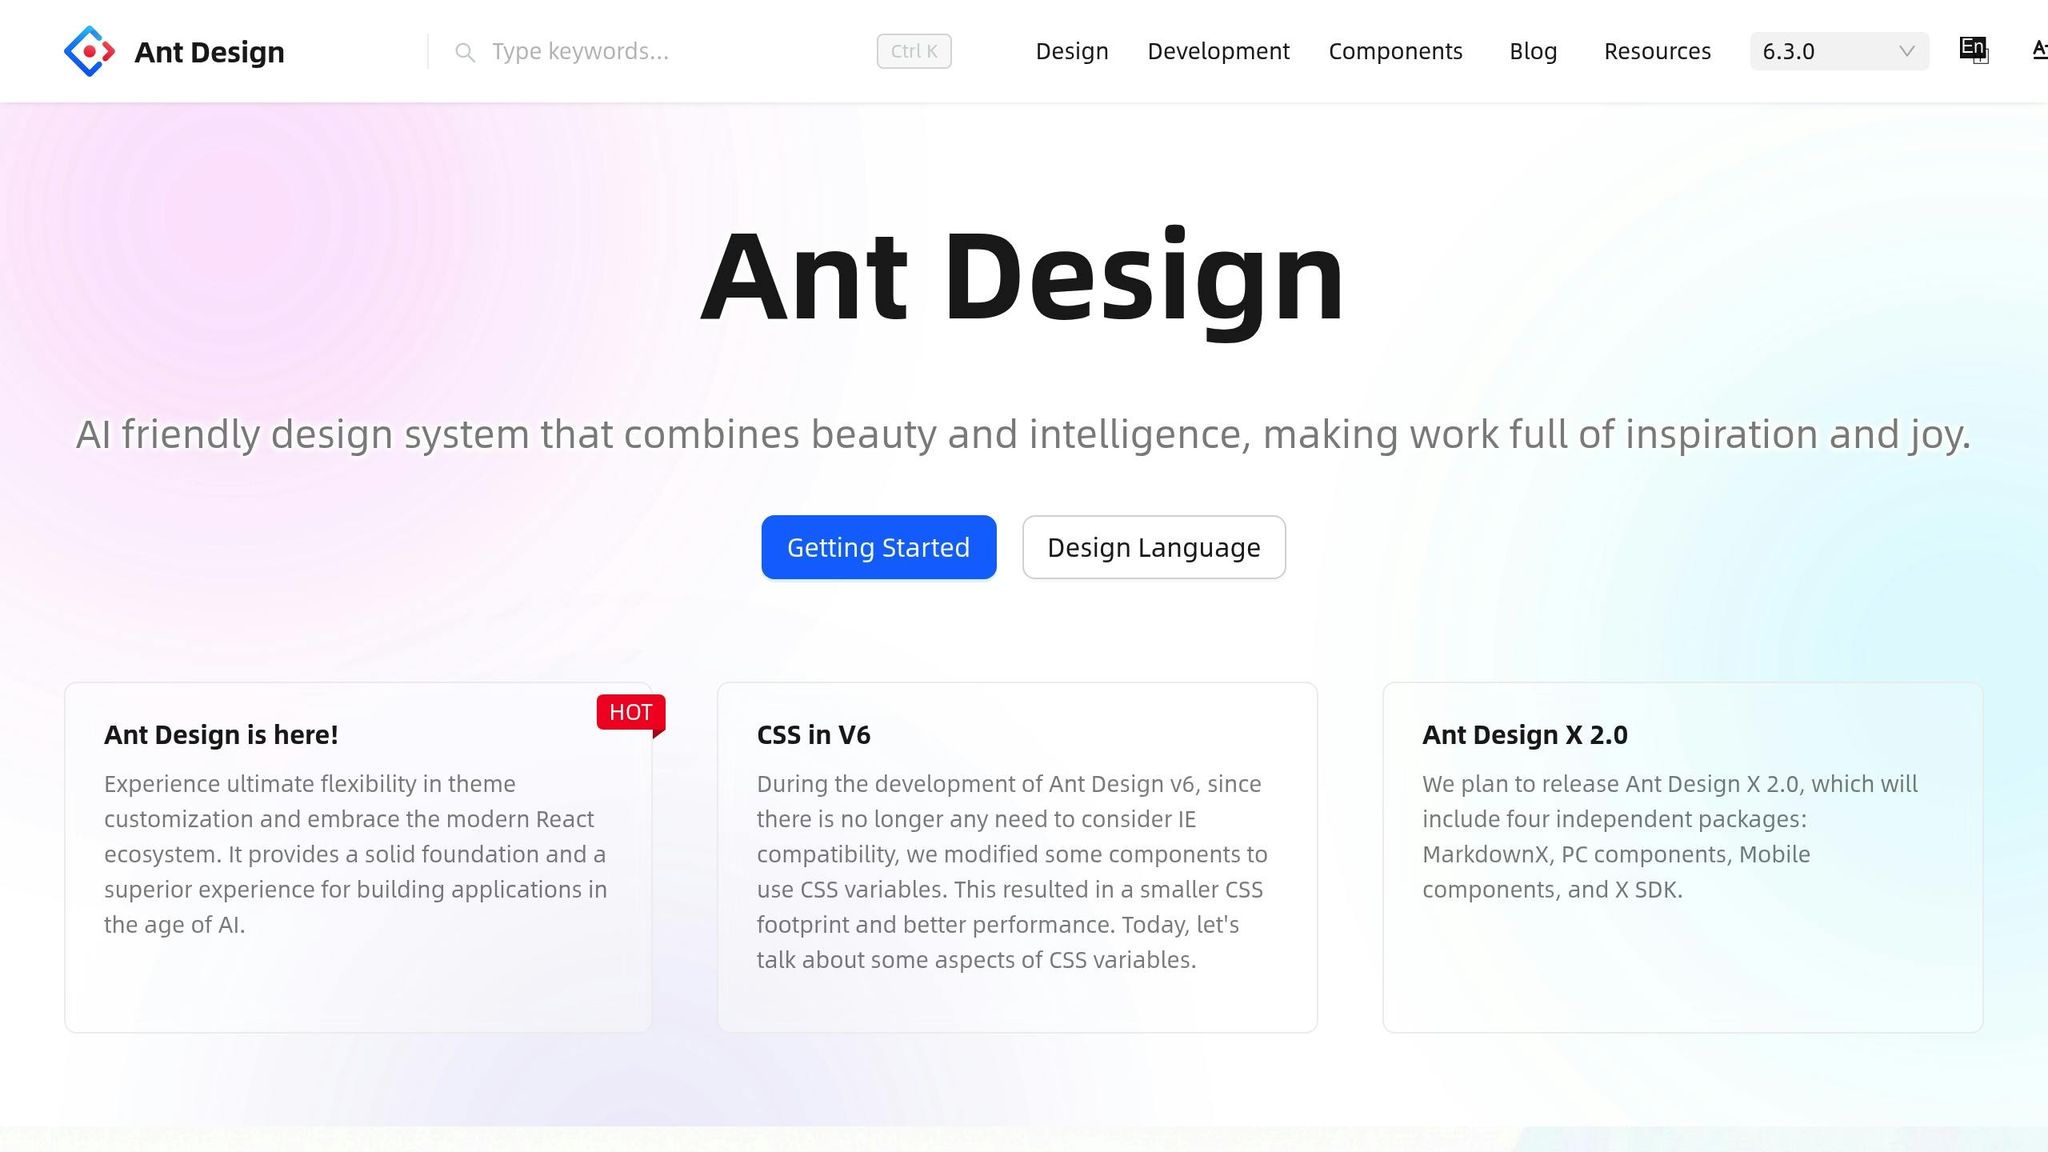
Once Claude is ready, the next step is to integrate Ant Design components into your workflow. UXPin Merge comes with a built-in Ant Design library, allowing you to work with production-ready React components right away.
If you need a custom version or a specific open-source package, you can sync it via npm. Simply enter the package name (antd) and set the version to "latest". Wait for the sync status to hit 100% before proceeding. For layout generation, the AI Component Creator in UXPin can use text prompts or images to build initial designs with Ant Design components.
"When I used UXPin Merge, our engineering time was reduced by around 50%. Imagine how much money that saves across an enterprise-level organization with dozens of designers and hundreds of engineers." – Larry Sawyer, Lead UX Designer
Starting with UXPin Merge
With Ant Design synced, connect your design environment to your codebase using UXPin Merge. This integration is straightforward – no imports, developer setup, or paid LLM accounts are required. You can start designing immediately with real Ant Design components.
For more advanced setups, UXPin Merge supports Git and Storybook integrations, which are ideal for proprietary design systems. These options might require developer collaboration. Additionally, Merge AI uses models that are constrained by your design system, ensuring all suggested components are pre-approved, tested, and ready for production.
This seamless integration maintains design consistency and speeds up the move from prototype to production. Pricing starts at $29/month for individuals and small teams, with Enterprise plans available for custom library integrations and advanced AI features. For more details, reach out to sales@uxpin.com.
Creating Prototypes with Claude Opus 4.5 and Ant Design in UXPin Merge
Let’s dive into creating production-ready prototypes by combining the reasoning power of Claude Opus 4.5, Ant Design’s comprehensive component library, and UXPin Merge’s design tools. This workflow ensures every component stays consistent with your production code.
Step 1: Plan Your Design Flow with Claude Opus 4.5
Start by using Claude Opus 4.5 to map out your design logic before jumping into visuals. Its "Plan Mode" helps create detailed plans, ensuring user flows align with your goals. For instance, if you’re designing a multi-step checkout process, you can prompt Claude with something like, "create a plan for a multi-step checkout flow." Review the suggested logic to make sure it matches your intent before moving forward. As Anthropic notes:
"Opus 4.5 handles ambiguity and reasons about tradeoffs without hand-holding… tasks that were near-impossible just a few weeks ago are now within reach."
Claude can even coordinate subagents to handle complex, multi-page prototypes, improving performance by nearly 15 percentage points while maintaining context during extended design sessions.
Once your design plan is set, it’s time to assemble the interface using Ant Design components.
Step 2: Assemble with Ant Design Components
With your structure outlined, bring it into UXPin Merge by leveraging Ant Design’s pre-built components. Use the Merge Component Manager to drag and drop elements like buttons, forms, tables, and navigation menus directly onto the canvas.
Follow Ant Design’s CamelCase naming conventions when assigning properties such as enums, booleans, or nodes, as outlined in their documentation. After making adjustments, click "Publish Library Changes" to save and update your library.
Looking for a quicker start? Try UXPin’s AI Component Creator to generate layouts based on text prompts or images. The "Modify with AI" feature, marked by a purple icon, allows you to tweak themes, layouts, or content using natural language commands.
Step 3: Refine and Test in UXPin Merge
With your layout in place, fine-tune the details. Add interactions, conditional logic, and variables directly within UXPin. Use the Properties Panel to adjust component behavior and appearance, then preview your prototype in a browser. UXPin even supports password-protected previews for secure stakeholder reviews.
The AI Helper can assist in refining styles, spacing, and content. Since your prototype uses real Ant Design components, developers can easily reference the exact properties and structure, eliminating the usual design-to-code translation step.
Here’s a quick summary of the integration process to keep things clear:
| Integration Step | Action Required | Key Detail |
|---|---|---|
| 1. Connect npm | Import React components via New Library | Package: antd; Asset: antd/dist/antd.css |
| 2. Import Component | Access Merge Component Manager | Use CamelCase naming from Ant Design docs |
| 3. Define Props | Add properties (e.g., enum, boolean, node) | Map to Ant Design React API props |
| 4. Publish | Click "Publish Library Changes" | Wait for 100% status and refresh browser |
| 5. Prototype | Drag components to canvas and customize | Align with production codebase |
This streamlined process keeps your designs tightly aligned with your codebase, ensuring every component is ready for production right from the start.
Tips for a Better Workflow
Streamlining your workflow involves more than just setting up tools and prototyping. By focusing on consistency, team collaboration, and smart AI usage, you can ensure your prototypes are ready for production.
Maintaining Consistency with Ant Design
To avoid configuration mismatches, import the production-ready antd package into UXPin Merge. The Merge Component Manager limits design options to valid React props, ensuring your designs align perfectly with the code.
Stick to Ant Design’s CamelCase naming conventions for properties, and always cross-check with their official documentation to ensure every prop matches the actual library. This simple step prevents unnecessary errors.
Leverage the AI Helper to fine-tune layouts while staying within your design system’s guidelines. Instead of manually adjusting spacing or colors, describe your desired changes in plain language, and let the AI modify the Ant Design properties for you. Always review AI-generated components to ensure they align with your brand and meet accessibility standards. This approach not only improves design consistency but also strengthens collaboration between team members.
Working Across Teams with UXPin Merge
UXPin Merge acts as a bridge between designers and developers, creating a unified workspace where everyone uses the same coded components. This eliminates the guesswork often involved in handoffs. Microsoft provides a great example of this efficiency. Erica Rider, UX Architect and Design Leader, explained:
"We synced our Microsoft Fluent design system with UXPin’s design editor via Merge technology. It was so efficient that our 3 designers were able to support 60 internal products and over 1000 developers."
To make collaboration seamless, establish clear handoff protocols that outline what each team needs. Linking UXPin Merge to your Git repositories or Storybook ensures everyone is working with the latest component versions. Involve developers early in the design process to identify technical limitations before significant work begins. With this foundation in place, you can shift focus to optimizing AI contributions.
Using AI Effectively
Start by assigning AI low-risk tasks like creating initial layouts or drafting documentation. As you refine your prompts, you can gradually use AI for more complex workflows.
Use Claude’s effort parameter to tailor the depth of reasoning to your needs. For straightforward layouts, standard mode is sufficient. For intricate tasks like architecture decisions or security reviews, increase the effort level for a more detailed analysis.
To speed up context-setting, create a .claude/memory/ directory containing your project documentation and coding standards. This setup reduces session prep time from 15 minutes to just 2 minutes and cuts the number of iterations needed from 3–5 down to 1–2.
If the AI suggests layouts that don’t fully match your Ant Design standards, refine your prompts by specifying details like color schemes, typography, and spacing. This ensures the output aligns with your design requirements while saving time and effort.
Conclusion
Main Benefits Summary
Bringing together Claude Opus 4.5, Ant Design, and UXPin Merge creates a streamlined path to production-ready prototyping. With AI generating intricate layouts in seconds and production-ready components replacing static mockups, teams experience faster prototyping. In fact, teams using UXPin Merge report that their product development process becomes 8.6× faster.
This workflow eliminates unnecessary rework by bridging design and development through shared code. By working with real React code, you can skip redundant steps and directly speed up development. This design-to-development alignment allows developers to extract JSX and CSS directly from prototypes, moving straight into implementation without delays.
Scalability is built into the system when your design system is rooted in code. Component libraries sync effortlessly, with updates made by engineers automatically reflected in the design tool. This ensures everyone works from a single, consistent source of truth, keeping products and teams aligned without manual syncing. The combination of AI and coded design paves the way for seamless implementation.
Getting Started
Start by using the Ant Design library to build your foundation, and gradually introduce AI for generating layouts. This step-by-step approach ensures that every design decision is production-ready while cutting down on development time. Use Claude Opus 4.5 for tasks like layout generation or drafting documentation, and make sure to provide clear, detailed prompts with accurate component names for the best AI results.
As you refine your process, explore pricing options to find the best fit for your team. The Growth plan offers advanced AI models and design system features, while the Enterprise plan includes integrating your own components and unlimited AI credits. To streamline your sessions, set up a .claude/memory/ directory with project documentation, which reduces preparation time and improves AI accuracy. Carefully review AI outputs, refine your prompts, and expand to more complex workflows as your team gains confidence with these tools.
FAQs
Do I need to know React to prototype with Ant Design in UXPin Merge?
No, you don’t need to have React experience to prototype with Ant Design in UXPin Merge. You can work with real Ant Design components directly in your prototypes – no coding required. This makes it easy to create functional designs, even if you’re not familiar with React.
How do I keep Ant Design props in UXPin Merge aligned with production code?
To ensure Ant Design props in UXPin Merge match your production code, you can use UXPin’s prop parsing feature. This involves setting up parsers to handle expected values, validate inputs, and maintain consistency between your prototypes and the final code implementation.
When importing Ant Design components through npm, it’s crucial to properly map and configure the props during the setup process. This step ensures that the alignment between your prototypes and production code remains seamless throughout the design and development workflow.
What should I store in CLAUDE.md and .claude/memory/ for better results?
For improved performance with Claude Opus 4.5, keep essential context in a CLAUDE.md file. This file can include details like project goals, design guidelines, or commonly used prompts. To track ongoing conversations, past prompts, and AI responses, use the .claude/memory/ directory. Regular updates to these files help the AI retain context across sessions, which can lead to more accurate and relevant outputs.

