Prototyping faster and more accurately is possible by combining Claude Sonnet 4.5, MUI, and UXPin Merge. Here’s how it works:
- Claude Sonnet 4.5: AI generates layouts based on prompts or images, ensuring they align with your design system.
- MUI (Material-UI): Offers over 90 React components that are production-ready, interactive, and accessible.
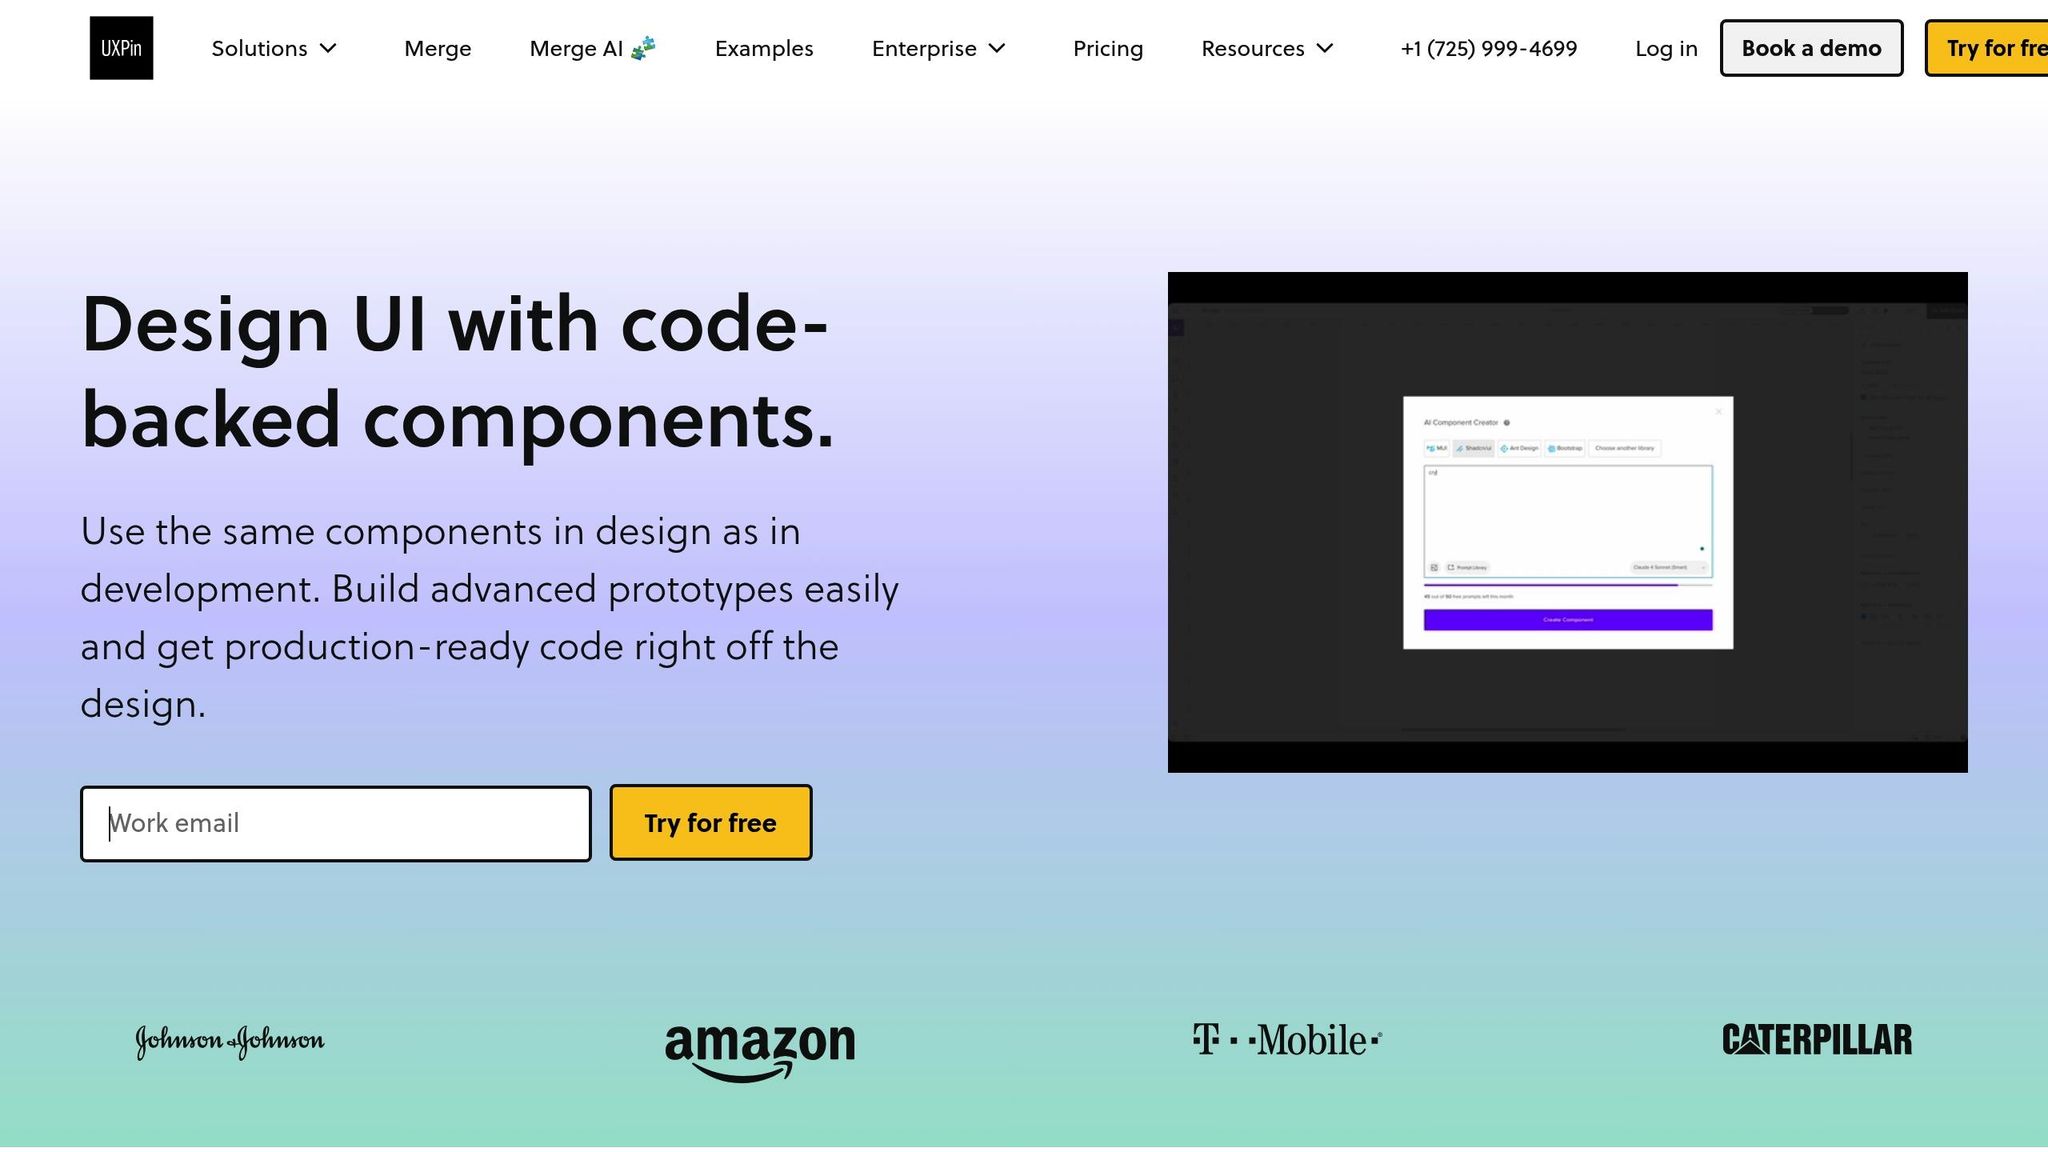
- UXPin Merge: Bridges design and development by letting designers work directly with real React components.
This workflow eliminates design-to-code translation, reduces engineering time by up to 50%, and speeds up product cycles by 8.6x. Teams like Microsoft and PayPal have used this approach to support large-scale projects with fewer resources.
Key Steps:
- Integrate MUI with UXPin Merge: Import MUI components via npm, map props, and sync changes.
- Activate Claude Sonnet 4.5: Use AI for layout generation and refinement, leveraging prompts or wireframe uploads.
- Add Interactivity: Use UXPin features like States, Variables, and Conditional Interactions to simulate real user behavior.
This method ensures prototypes are functional and ready for production, saving time and improving collaboration between designers and developers.
From Prompt to Interactive Prototype in under 90 Seconds
sbb-itb-f6354c6
Setting Up Your Environment
How to Integrate MUI with UXPin Merge in 4 Steps
Before diving into prototyping, you’ll need to connect three essential tools: MUI’s component library, Claude Sonnet 4.5’s AI capabilities, and UXPin Merge. Since UXPin already includes MUI within its platform, you can start working with components right away. The setup process focuses on ensuring these tools work together seamlessly.
How to Integrate MUI with UXPin Merge
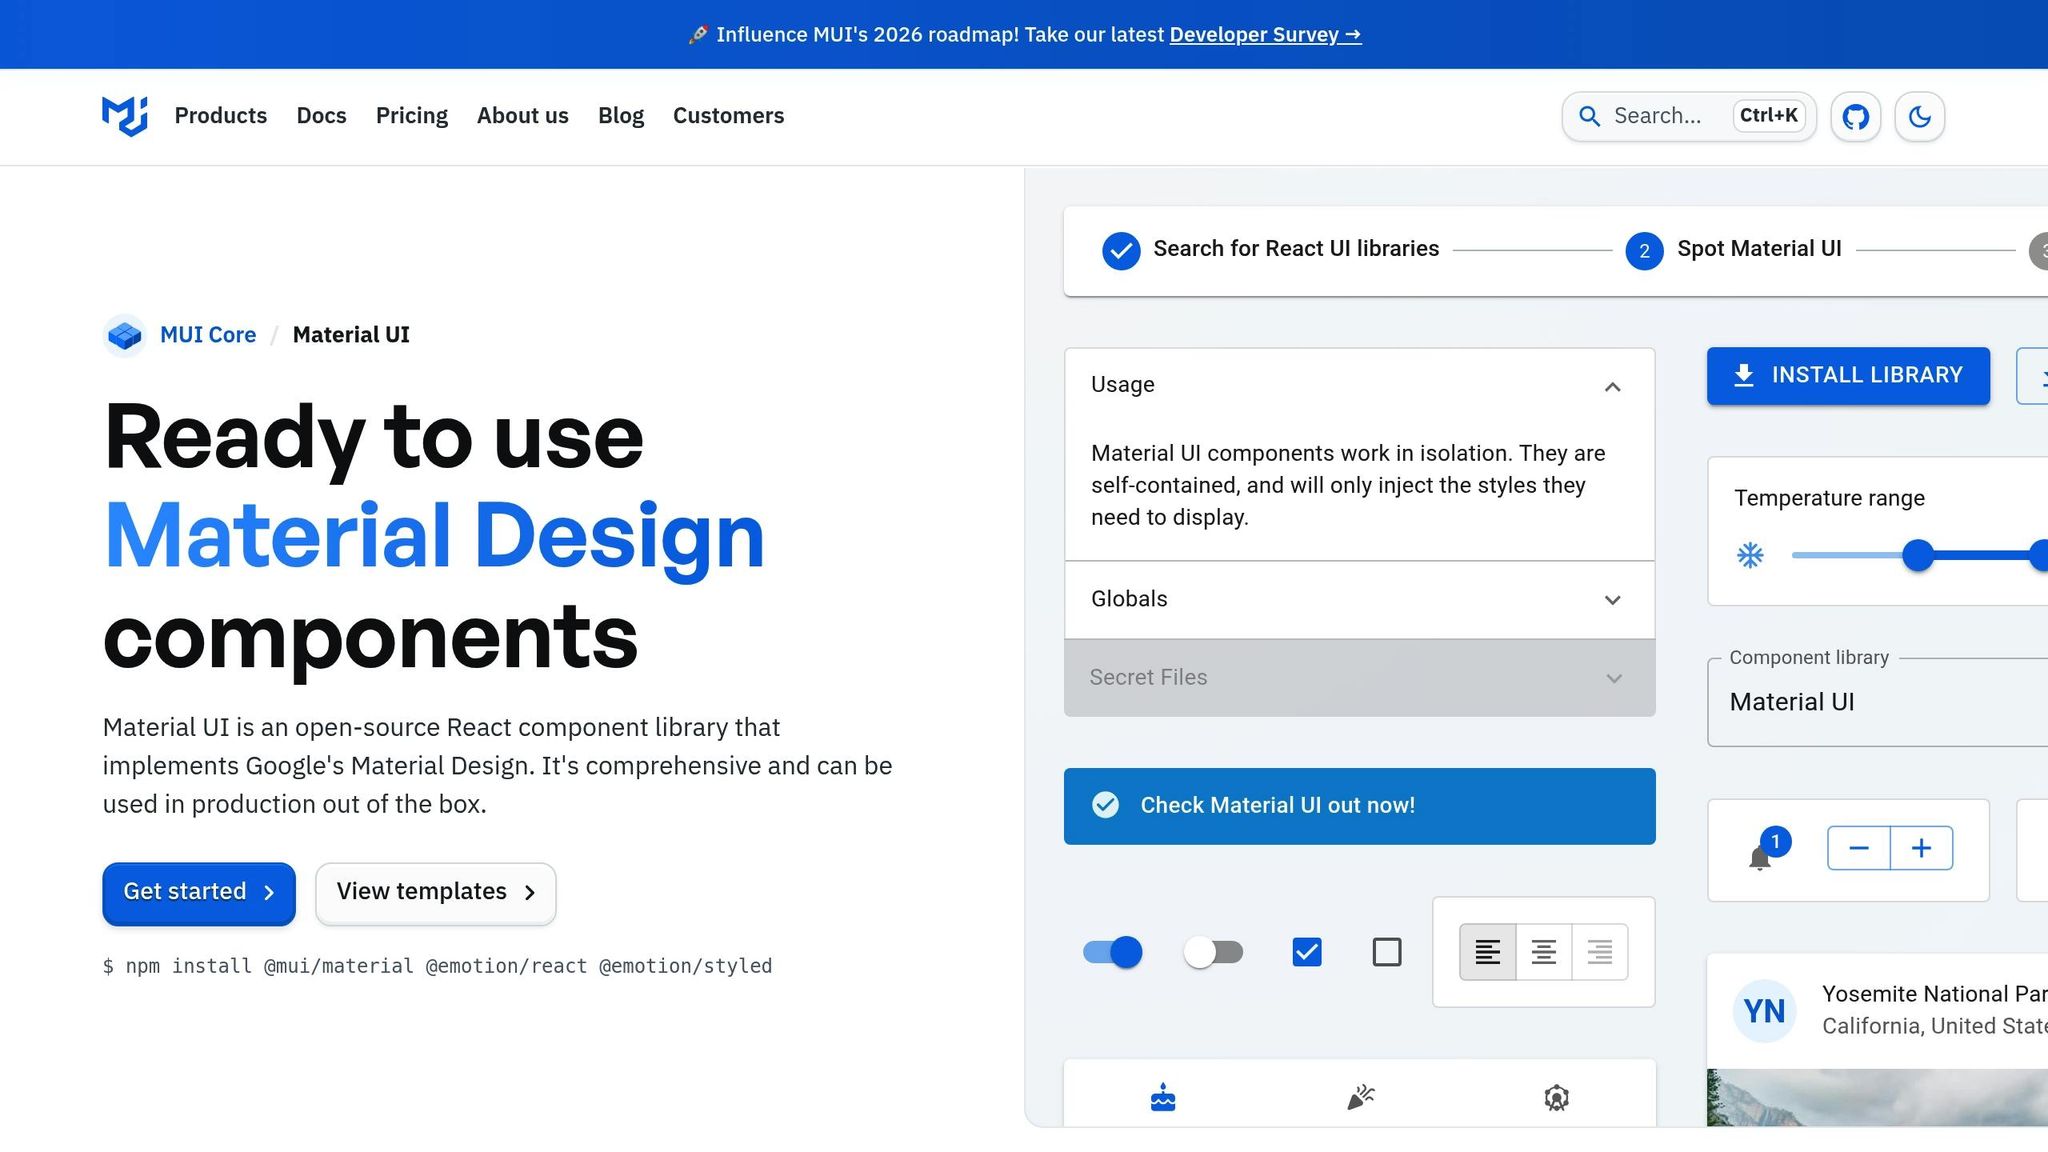
UXPin Merge comes with MUI components preloaded, but if you’re using a custom component library or want a deeper understanding of the integration process, here’s how to set it up using npm.
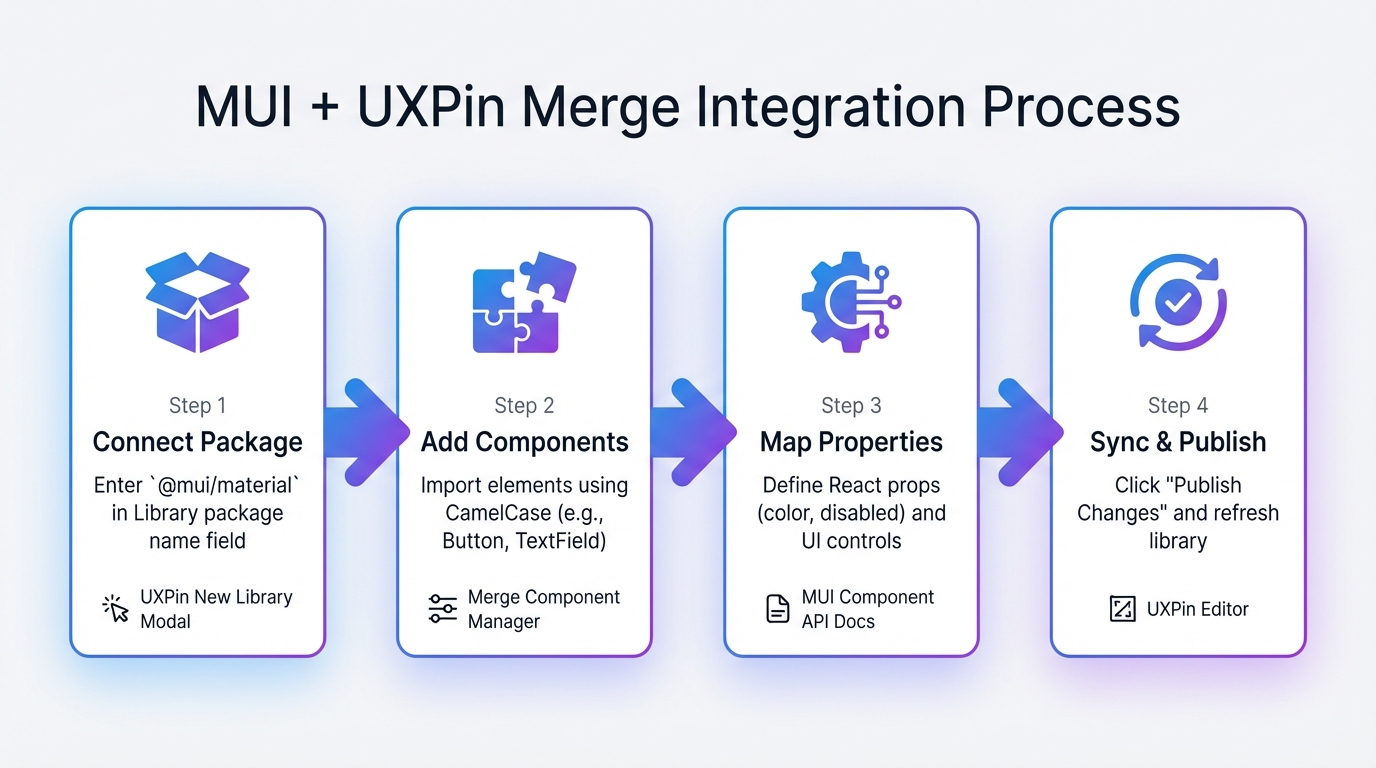
- Go to the Design System Libraries tab in UXPin and select "Import React Components." Enter
@mui/materialas the Library package name – this is MUI’s official npm package. Only include the package name here. - Once connected, open the Merge Component Manager to add specific components. Use MUI’s documentation to find the correct component names, ensuring they start with a capital letter (e.g.,
Button,TextField,BottomNavigation). This step ensures components render properly in the editor. - Map the React props for each component. For instance, a Button component might need props like
color,variant, andchildren(the label text). Check MUI’s Component API documentation for the correct property names – case sensitivity matters! In the Component Manager, assign the right Property control for each prop: use "textfield" for strings, "select" for enums, and "boolean" for toggles likedisabled. - After mapping the components and their properties, click "Publish Changes." Wait until the status bar reaches 100%, then refresh the library to see your interactive MUI components in action.
| Integration Step | Action Required | Key Tool/Resource |
|---|---|---|
| 1. Connect Package | Enter @mui/material in the Library package name field. |
UXPin New Library Modal |
| 2. Add Components | Import elements using CamelCase (e.g., Button). |
Merge Component Manager |
| 3. Map Properties | Define React props (e.g., color, disabled) and UI controls. |
MUI Component API Docs |
| 4. Sync & Publish | Click "Publish Changes" and refresh the library. | UXPin Editor |
After setting up MUI, you’re ready to configure Claude Sonnet 4.5 for AI-driven prototyping.
How to Activate Claude Sonnet 4.5 for Prototyping
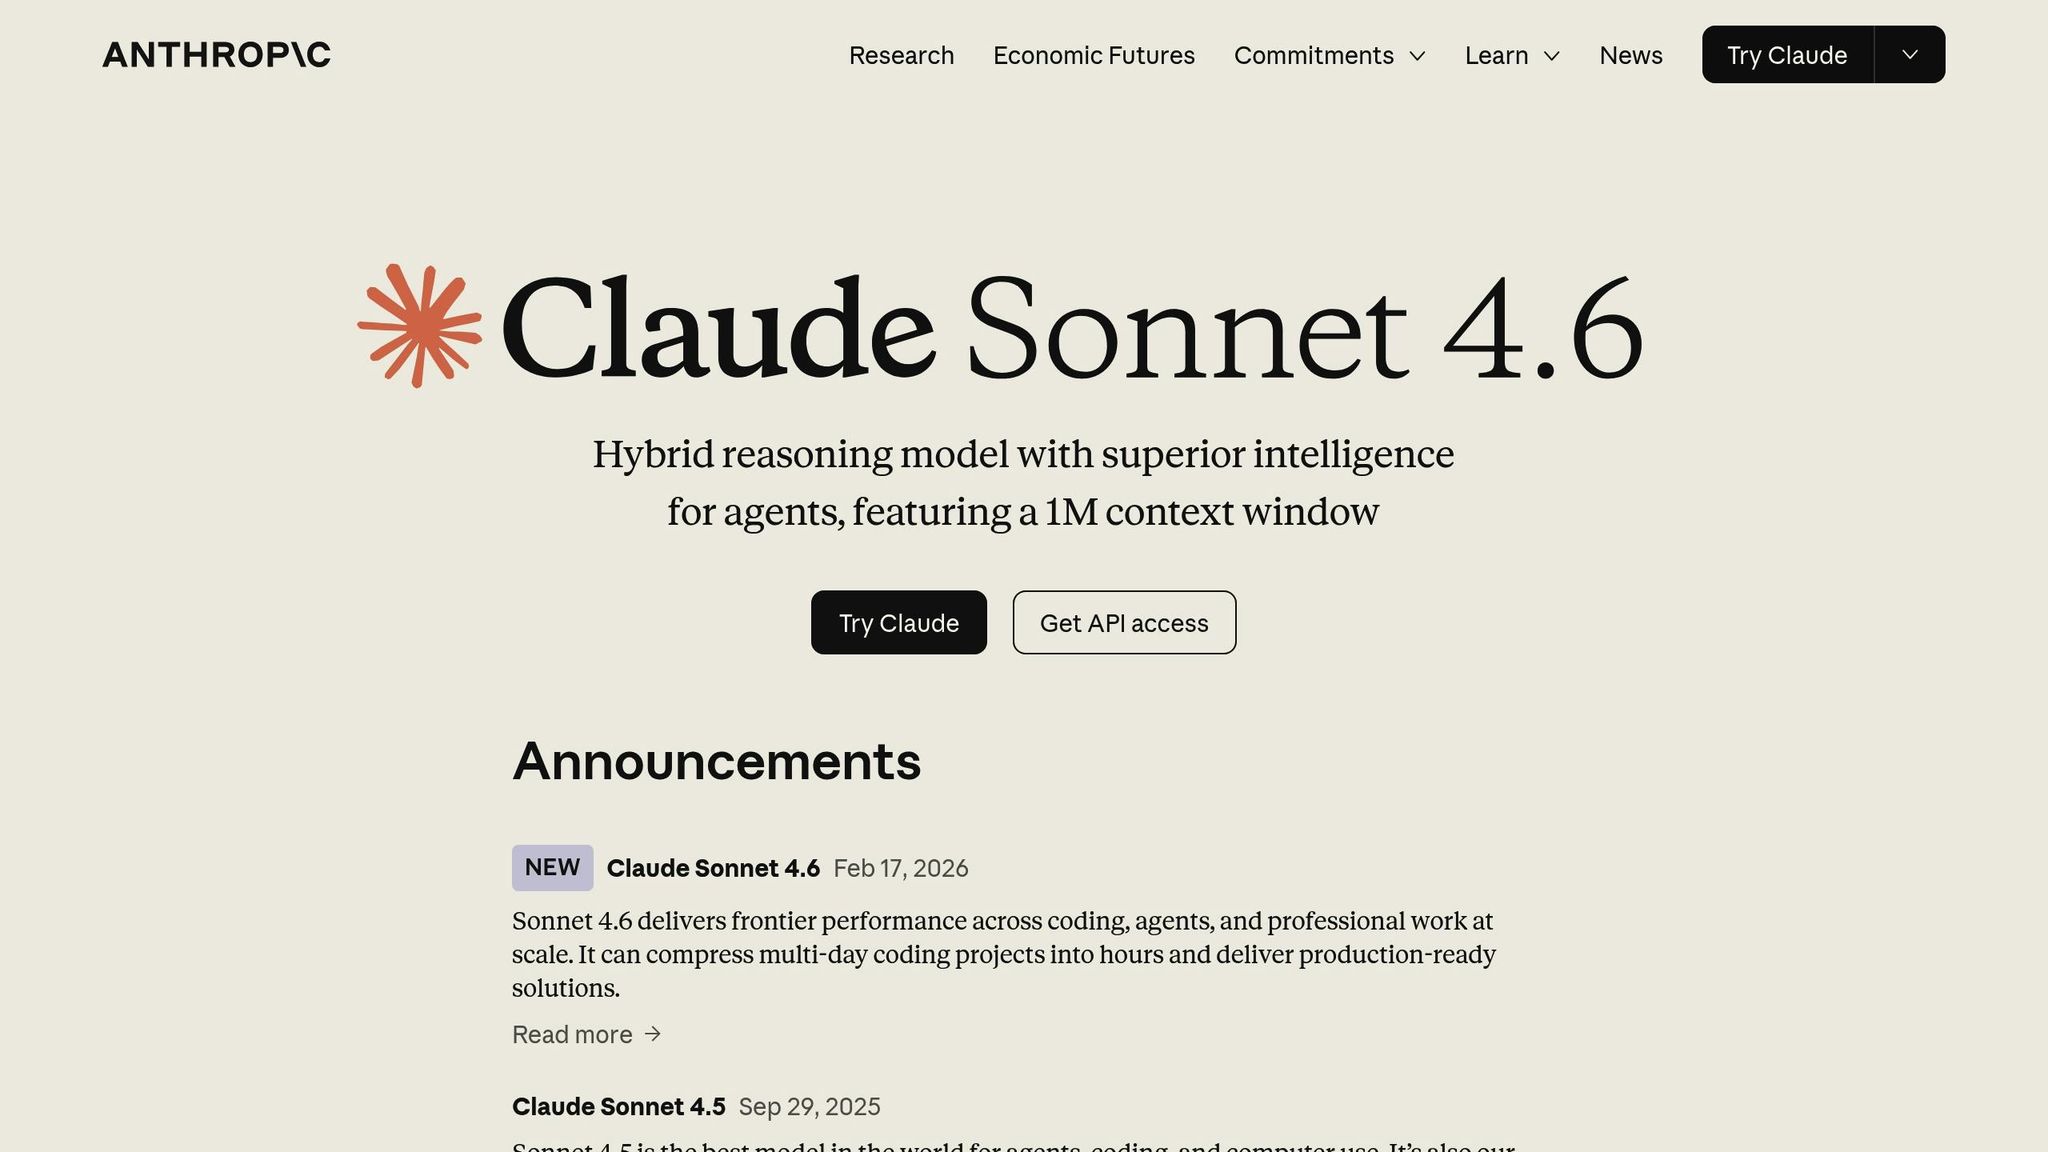
Now that MUI is integrated, it’s time to set up Claude Sonnet 4.5. If you’re on an Enterprise plan and need a custom API configuration, start by obtaining an API key from the Anthropic API console.
Use the Model ID claude-sonnet-4-5 to ensure you’re accessing the correct version. The standard API endpoint is https://api.anthropic.com/v1/messages. For headers, include x-api-key (your unique key) and X-Title (e.g., uxpin-prototype). Set the context window to 200,000 tokens and the max output to 64,000 tokens to handle complex UI generation.
To test the connection, input "Hello" and verify the endpoint responds correctly. Be sure to save your API key in a secure password manager immediately after generating it – you may not be able to view it again.
Claude Sonnet 4.5 operates on a pay-as-you-go pricing model:
- $3 per 1M input tokens
- $15 per 1M output tokens
- $0.30 per 1M cached tokens
There’s no monthly subscription fee beyond the credits you add to your account.
Tools and Resources You’ll Need
To streamline your prototyping workflow, ensure you have the following resources ready:
- UXPin Account with Merge Access: This is necessary for working with code-backed components. UXPin offers a free trial for new users. Plans start with the Core plan at $29/month, which includes basic AI models and 200 AI credits per month. The Growth plan at $40/month provides advanced AI models and 500 AI credits. For custom AI credit limits and Git integration, Enterprise plans are available – contact sales@uxpin.com for details.
- MUI Component API Documentation: This is your go-to resource for finding correct component names and React props. Bookmark
mui.com/material-ui/api/for easy access. - Merge Component Manager: This UXPin tool lets you import, manage, and configure React properties for MUI components. You’ll find it directly within the UXPin editor.
- Claude Sonnet 4.5: This AI tool powers layout generation. If you’re using the built-in Merge AI, no extra setup is needed. For custom integrations, you’ll work with the Anthropic API.
With these tools in place, you’re equipped to create prototypes that transition effortlessly from design to production.
Creating Your First Prototype
Ready to bring your prototype to life? This section walks you through combining Claude Sonnet 4.5’s AI layouts, MUI components, and UXPin Merge’s interactivity tools to create a functional prototype.
Generating Layouts with Claude Sonnet 4.5
Start by opening the UXPin Editor and selecting the AI Component Creator. From the dropdown menu, choose Claude Sonnet 4.5 – a model known for producing consistent, style-aligned designs. Fun fact: Claude Sonnet 4.5 boasts a 61.4% success rate on the OSWorld benchmark for complex tasks and a flawless 0% error rate on internal code editing tests, a major improvement from its earlier version.
You can generate layouts by either describing your desired interface in the Prompt tab or uploading wireframes or mockups using the Image-to-Layout feature. Be specific in your instructions – mention form fields, component types, or spacing details to guide the AI.
Once the layout is generated, use the purple AI Helper icon ("Modify with AI") to make adjustments. For example, you can tweak spacing, update text, or refine styles with simple commands like “increase padding to 16px” or “change the button variant to outlined”. Pro Tip: Keep the component selected while processing commands. If the system slows down during busy times, consider switching to OpenAI models like GPT-4.1 or GPT-3.5 for quicker results.
After finalizing the layout, it’s time to add and customize MUI components.
Designing with MUI Components in UXPin Merge
With your layout ready, enhance it by incorporating MUI components. UXPin comes preloaded with MUI’s library, so you can simply drag and drop elements like Button, TextField, or Card onto your canvas. These components are production-ready and include preset states like hover, active, and disabled.
To customize, use the Properties Panel, which maps React props to visual controls. For instance, with a Button, you can adjust:
- Color: Choose between primary, secondary, or success.
- Variant: Select from contained, outlined, or text.
- Size: Opt for small, medium, or large.
- Children: Edit the button label text.
Teams using UXPin Merge have reported designing, testing, and delivering products 8.6x faster compared to traditional workflows. Larry Sawyer, Lead UX Designer, shared that integrating Merge cut engineering time by around 50%.
You can also use the AI Helper with MUI components to make changes effortlessly. Select any element and issue natural language commands like, “change the button color to success and make it large” or “add a 2px solid bottom border to the TextField.” This feature supports React libraries like MUI, Ant Design, Bootstrap, and Tailwind.
With your layout and styling complete, the next step is to add interactivity.
Adding Interactivity and Logic
To simulate real user interactions, leverage UXPin’s four core features: States, Variables, Expressions, and Conditional Interactions.
| Feature | Function | Application Example |
|---|---|---|
| States | Defines component variants | Showing a button as "Loading" or "Disabled" after a click. |
| Variables | Stores user data | Displaying a user’s name in a welcome header. |
| Expressions | Handles logic/math functions | Calculating a shopping cart total based on quantity. |
| Conditional Interactions | Enables if-then logic | Redirecting users based on form selections. |
For example, States can be used to display a "Loading" button after a user clicks it. Variables store data like a user’s name from a login form, which can then appear in a personalized header. Expressions manage calculations, such as updating a shopping cart total. And with Conditional Interactions, you can redirect users to a specific page only if they’ve checked a "Terms and Conditions" box.
Many MUI components already include built-in interactivity. For example, date pickers, steppers, and autocomplete fields handle user data and states without extra configuration. For more advanced scenarios, combine the four features above to create prototypes that mimic real-world functionality.
Since MUI components in UXPin are production-ready, your prototypes go beyond static visuals – they’re functional interfaces developers can use directly, cutting out the need for translation between design and code.
Best Practices for Prototyping with AI and Code Components
Prototyping with production-ready components ensures consistency and reliability. When using MUI components in UXPin Merge, you’re working with the exact elements developers will implement. This approach ensures layouts adhere to established design rules and component structures, avoiding the creation of unnecessary new patterns.
Maintaining Design Consistency Across Teams
A unified design system is essential for avoiding inconsistencies within large teams. By syncing your component library with UXPin Merge, both designers and developers work with the same components, eliminating mismatches between mockups and production code. This method is scalable, enabling small design teams to support numerous products and developers without sacrificing quality.
To keep designs consistent, craft precise AI prompts that include specific design details like hex codes, font weights, and spacing values (e.g., "add a 2px solid bottom border"). For more complex interfaces, break down instructions into smaller steps and use the AI Helper to fine-tune adjustments, ensuring they align with your design system.
Once consistency is established, it becomes much easier to prototype quickly and effectively.
Using AI to Speed Up Prototyping
AI tools can significantly accelerate prototyping when paired with consistent components. Claude Sonnet 4.5, for instance, delivers smoother and more polished designs, making it a great choice for maintaining a professional aesthetic across projects.
To speed up your workflow, leverage the Image-to-Layout feature for quick iterations. You can upload anything from rough wireframes to polished mockups to generate a basic structure, then refine it using text prompts that combine visual elements with detailed instructions for interactivity and spacing.
Instead of starting over each time, use the AI-generated output as a draft and make small adjustments with the "Modify with AI" tool. This method ensures alignment with MUI’s React props – just reference MUI’s documentation for exact prop names (like "children" for labels) to ensure the final design is ready for production.
Improving Collaboration Between Designers and Developers
Creating a seamless collaboration process is just as important as speeding up design. With UXPin Merge, the traditional design-to-development handoff is eliminated. React components sync directly from your Git repository into the design editor, allowing designers to use real MUI components and developers to extract clean, production-ready JSX code. This streamlined workflow ensures prototypes behave exactly like the final product.
PayPal’s experience highlights the value of this approach. They found that high-fidelity prototypes built with code components were "worth a thousand words" in simplifying internal development. Teams using this method have significantly reduced engineering time and costs for enterprise-scale projects.
To further enhance collaboration, start with UXPin’s pre-built MUI library. This ensures consistency in color, typography, and assets without requiring a custom design system. Developers can copy JSX code directly from UXPin, avoiding manual redlining or conversions. For testing, use the command yarn run uxpin:test to launch a Merge test environment and verify component behavior.
Claude Sonnet 4.5 also supports this workflow by handling complex reasoning and understanding code, making it easier to iterate on functional prototypes. Since the components are identical to those used in production, your prototypes don’t just look functional – they are functional, ready for deployment.
Conclusion
Summary of Key Benefits
Using Claude Sonnet 4.5, MUI, and UXPin Merge streamlines the entire design-to-production process by working directly with real, production-ready components. This approach eliminates the inefficiencies of traditional design-to-code handoffs, cutting engineering time by up to 50% and speeding up product cycles by a factor of 8.6×.
Claude Sonnet 4.5 doesn’t just create visually appealing layouts – it generates designs that are deployment-ready. When paired with MUI’s component library, teams can ensure consistent design standards while benefiting from faster iterations powered by AI.
One design team, consisting of only three people, successfully supported 60 internal products and over 1,000 developers using this workflow. The key to this efficiency lies in the use of components that function exactly as they will in the final product. By combining AI-driven layouts with MUI’s library, your prototypes align seamlessly with production requirements, setting your team up for scalable and rapid success.
Next Steps and Resources
Ready to take advantage of this streamlined workflow? Start by signing up for a free UXPin account at uxpin.com to access the built-in MUI editor. To activate Claude Sonnet 4.5, all you need is an OpenAI API key, which you can quickly add under the Settings tab in the UXPin Editor.
For enterprise teams aiming to scale across multiple products or integrate custom design systems, UXPin’s Enterprise plan offers additional features, including custom AI credit limits, Git integration, and dedicated support. Visit uxpin.com/pricing for more details, or reach out to sales@uxpin.com to discuss your specific requirements. You can also find helpful resources like webinars, video tutorials, and case studies on UXPin’s documentation site.
FAQs
Do I need a custom MUI library in UXPin Merge?
You don’t need to create a custom MUI library when working with UXPin Merge if you’re already using standard MUI components. UXPin allows you to connect and sync existing MUI or other component libraries directly through npm integration, making the process straightforward and efficient.
How do I make Claude Sonnet 4.5 follow my design system?
To make sure Claude Sonnet 4.5 works seamlessly with your design system, start by embedding your design guidelines into the AI model. Begin by using Sonnet 4.5 to create a design system based on your current product screens. Once this system is established, use it as a reference when generating prototypes. This approach helps ensure consistency and delivers outputs that align with your brand identity.
What’s the fastest way to add real app logic in UXPin prototypes?
The quickest way to incorporate actual app logic into your UXPin prototypes is through UXPin Merge. This tool allows you to sync production-ready code components, such as React libraries like MUI or Ant Design. By doing so, you can create interactive prototypes using real code blocks that closely resemble the final product, cutting down on the need for manual coding.
To get started, connect Merge to your code repository, import the components, and use them directly to add interactivity and logic seamlessly.

