

How to build a landing page using Claude Opus 4.5 + Custom Design Systems – Use UXPin Merge!
Use AI for copy and map it to code-backed design-system components to build production-ready landing pages faster.
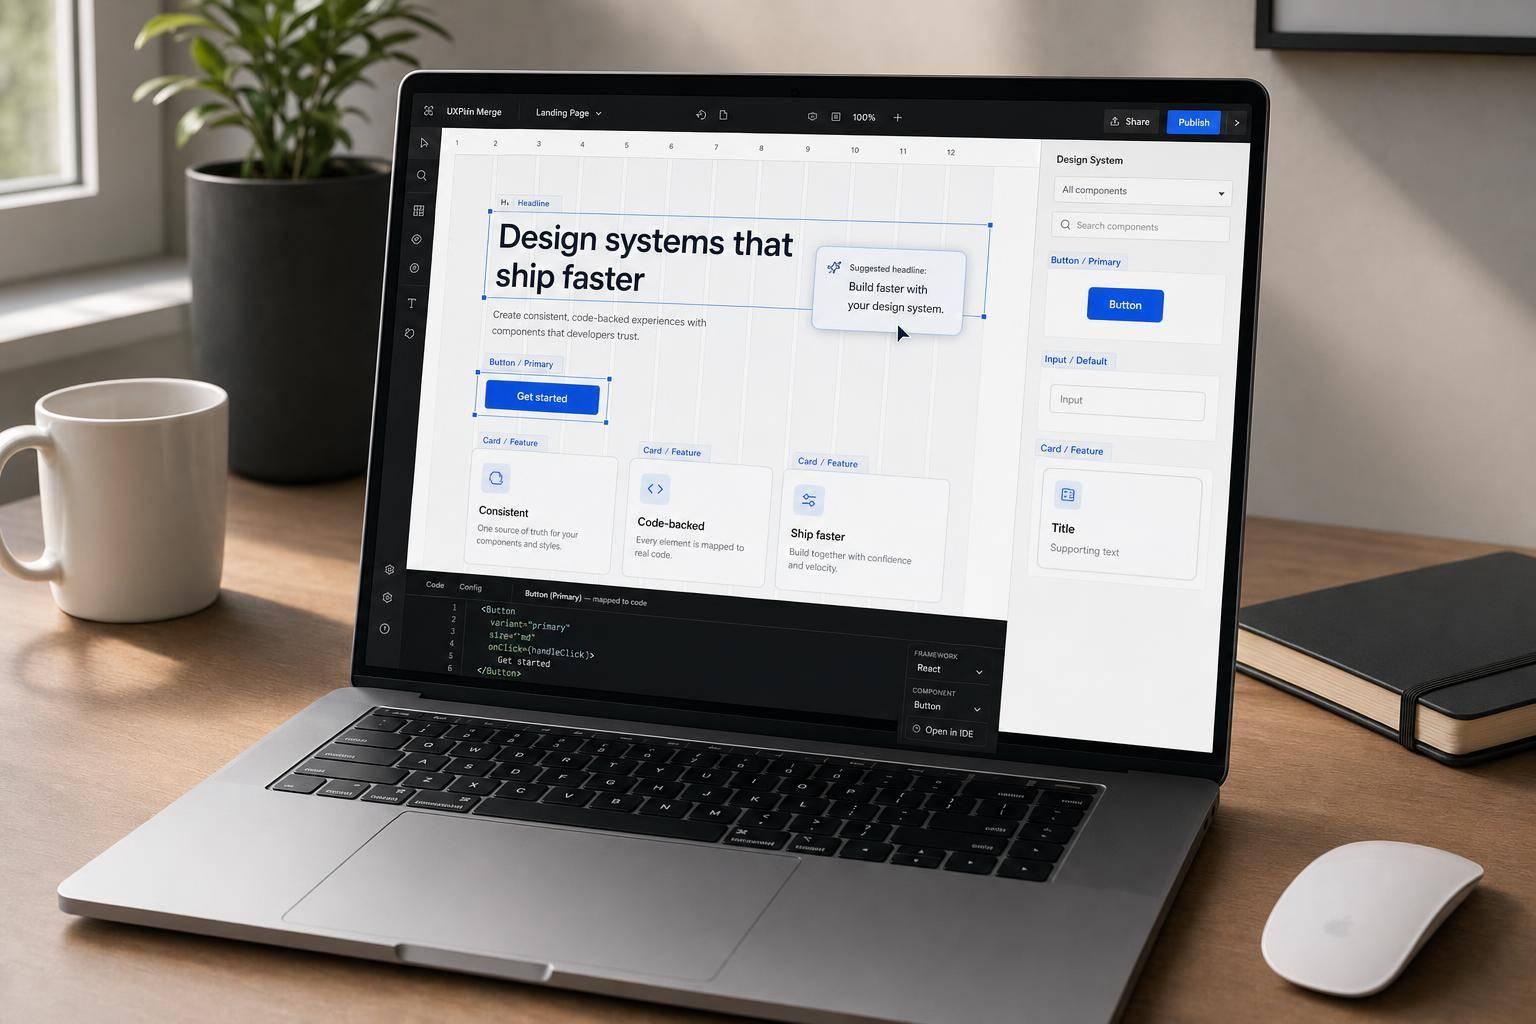
You can build a landing page in less time if you split the job in two: I use Claude Opus 4.5 for copy and page structure, then I use UXPin Merge to build the page with the same React or Vue components my team already ships.
That matters because landing pages often slow down in two places: writing and design drift. This workflow fixes both by keeping Claude inside clear rules: page goal, audience, CTA, messaging, and a defined component list. Then I map Claude’s draft to Merge components, build section by section, and check states, mobile layout, and handoff quality before review.
Here’s the full idea in plain English:
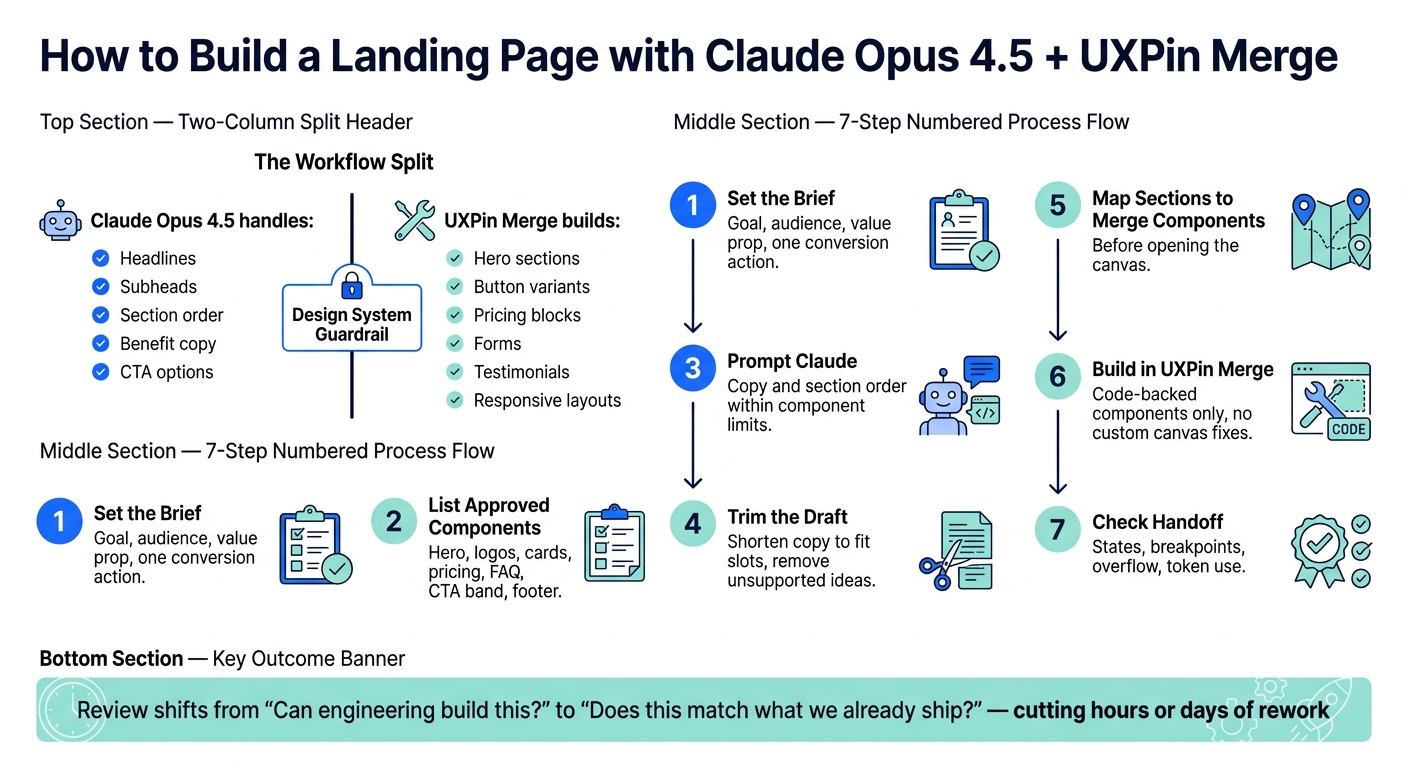
- Claude plans the page
- headlines
- subheads
- section order
- benefit copy
- CTA options
- UXPin Merge builds the page
- hero sections
- button variants
- pricing blocks
- forms
- testimonials
- responsive layouts
- The guardrail is the design system
- character limits
- allowed variants
- spacing and type rules
- interaction states
- supported layouts only
The big rule: I only let Claude suggest sections my design system can already support. If a section does not map to an approved component, I cut it or rewrite it.
A simple flow looks like this:
- Set the brief – goal, audience, value prop, and one main conversion action
- List approved components – hero, logos, cards, pricing, FAQ, CTA band, footer
- Prompt Claude – ask for copy and section order inside those limits
- Trim the draft – shorten copy to fit slots and remove unsupported ideas
- Map sections to Merge components – before opening the canvas
- Build in UXPin Merge – use code-backed parts, not custom canvas fixes
- Check handoff – states, breakpoints, overflow, and token use
One detail I like here: this turns review from “Can engineering build this?” into “Does this match what we already ship?” That can cut rework, which matters when teams lose hours or days to one-off landing page patterns.
If I want a landing page that stays close to production from day one, this is the path I follow.
How to Build a Landing Page with Claude Opus 4.5 + UXPin Merge
Claude Design First Impressions (and how to build a killer landing page)
sbb-itb-f6354c6
Set up the page brief and design system constraints
Set the page goal and component set before you prompt Claude. If you skip either one, Claude can write copy and suggest a layout that doesn’t fit your approved components.
Define the page goal, audience, and conversion action
Use the brief to spell out the inputs Claude needs to follow before it writes a single line. A tight brief keeps the copy, section order, and CTA choices lined up with the page goal and the components you already have.
Your brief should answer four questions:
- What is the business goal? For example: generate more demo requests, increase trial sign-ups, or support a direct purchase.
- Who is the audience? Be specific – "U.S.-based product managers at mid-market B2B SaaS companies evaluating tools to speed developer handoff."
- What is the primary conversion action? Pick one clear action: "Book a 30-minute demo", "Start a 14-day free trial", or "Download the white paper."
- What is the value proposition? Write one or two sentences, then add three to five benefit bullets and two to four proof points – metrics, customer logos, or testimonials.
Each input affects a different part of the page. The conversion action tells Claude how often to show the CTA and where to place it. The audience profile guides tone and helps surface the objections that matter. Proof points fill testimonial cards and benefit grids without Claude making up claims.
Add an en-US localization block too: U.S. spelling, Month Day, Year dates, U.S. dollars, comma-formatted numbers, imperial units, and qualified performance claims. That keeps the copy in line with U.S. marketing norms and directly affects how Claude formats the next output.
Document the components Claude should design around
Your design system is the guardrail. Claude should shape structure and copy to fit existing components – not dream up new UI patterns your team has to build from scratch.
Document the tokens and interaction rules behind those components: spacing, typography, color, and interaction states. That gives Claude the limits it needs so the output stays inside what the system can render.
Create a short component inventory for landing pages and include it in your prompt. At a minimum, list your hero variants, button variants, form fields, testimonial cards, pricing blocks, content sections or grids, and footer pattern. For each component, note the slot structure and any hard limits.
For example: "HeroVariantA – slots: headline (max 60 characters), subheadline (120–180 characters), primary CTA label, secondary CTA label, image. One primary CTA only; no equal-weight secondary buttons."
For pricing blocks: "PricingTierGrid – max 3 visible tiers, price formatted as $X/month or $Y/year, 3–6 feature bullets per tier, one CTA per tier."
Then tell Claude, plainly and directly: "Only suggest section structures and copy that can be implemented using this component set. Do not introduce layouts outside this list." That one line stops the most common problem: Claude suggesting a section your system can’t support.
Once these limits are written down, Claude can produce a page structure that maps cleanly to approved components. That inventory then becomes the base for mapping Claude’s draft to sections and components.
Next, turn Claude’s draft into a section-to-component map.
Generate landing page copy and section structure with Claude Opus 4.5
Once your brief and component list are set, Claude can draft copy that fits your system. The point here isn’t to get a polished final version. It’s to get a draft that matches your component set and maps straight into what you’ll build in UXPin Merge.
Prompt for headlines, copy, and section order
Use one prompt that includes the brief, the allowed sections, and the output format. Give Claude the product description, the main conversion action, and the list of section types available in your design system. Then ask for all deliverables in a single request.
Here’s a practical prompt structure for a B2B SaaS landing page:
"You are writing landing page copy for a B2B SaaS product targeting U.S.-based product managers at mid-market companies. The primary conversion action is ‘Start a 14-day free trial.’ Using only these section types [hero, 3-column benefits, customer logos row, testimonial block, feature detail section, pricing table, FAQ, final CTA banner], do the following: 1) Write 5 headline options, each under 60 characters. 2) Write a matching subheadline for each, under 120 characters. 3) Propose a section order using only the available sections. 4) Write 4 benefit card titles (max 3 words each) with one-sentence descriptions focused on outcomes. 5) Suggest 3 CTA label variants for the primary button. Use U.S. English spelling, U.S. dollar formatting, and avoid buzzwords."
This gives you copy and section order in one shot, already matched to your component slots. In plain terms, it’s build-ready for UXPin Merge. Ask Claude to return each section name, the mapped component, and its job in the page flow. That draft then becomes the input for your section-to-component map.
Refine the draft to fit the design system
Claude’s first draft will usually need a trim to fit component max lengths. Start by checking every line against your component limits. If a card heading runs long, send back a tight instruction like: "Rewrite this card title under 25 characters, keep the core benefit, remove adjectives." Claude tends to handle these small edits fast, and short follow-up prompts help keep the reply from getting too long.
Remove any section that doesn’t have a matching component in your inventory. If Claude suggests an interactive pricing slider but your system only supports a static pricing table, rewrite it to fit an approved component. For example, prompt Claude with: "Replace the interactive slider with a 3-tier static pricing table. Rewrite the section description accordingly." Strip out unsupported sections and rework them to fit approved components before implementation.
Next, translate the approved draft into Merge components by designing with code.
Map Claude’s output to Merge components and build the page
Create a section-to-component map before building
Start by turning Claude’s approved draft into a three-column mapping table before you open the canvas. This gives you a clear plan and helps you spot problems early.
The table should include:
- the Claude-generated section
- the matching Merge component
- implementation notes for content limits, needed variants, or state rules
Here’s what that looks like for a standard B2B SaaS landing page:
| Claude-Generated Section | UXPin Merge Component | Implementation Notes |
|---|---|---|
| Hero headline + subhead + CTA | Hero/Primary | Headline max 2 lines; optional image slot |
| Customer logo strip | Logo Strip | Monochrome logos only; 5–8 logos max |
| Benefits list | Feature Card Grid | Use existing spacing and card rules |
| Testimonial quote + attribution | Testimonial Block | Use the sanctioned testimonial component and keep text within the component’s limits |
| Pricing area | Pricing Cards | Use the approved pricing variant and keep content within the component’s limits |
| Final CTA banner | CTA Band | Short headline + single primary button; light or dark background variant |
If any section from Claude’s draft doesn’t map cleanly, fix that before you move into UXPin Merge. Mark it as a design-system gap for a future sprint.
Assemble the landing page in UXPin Merge with real components
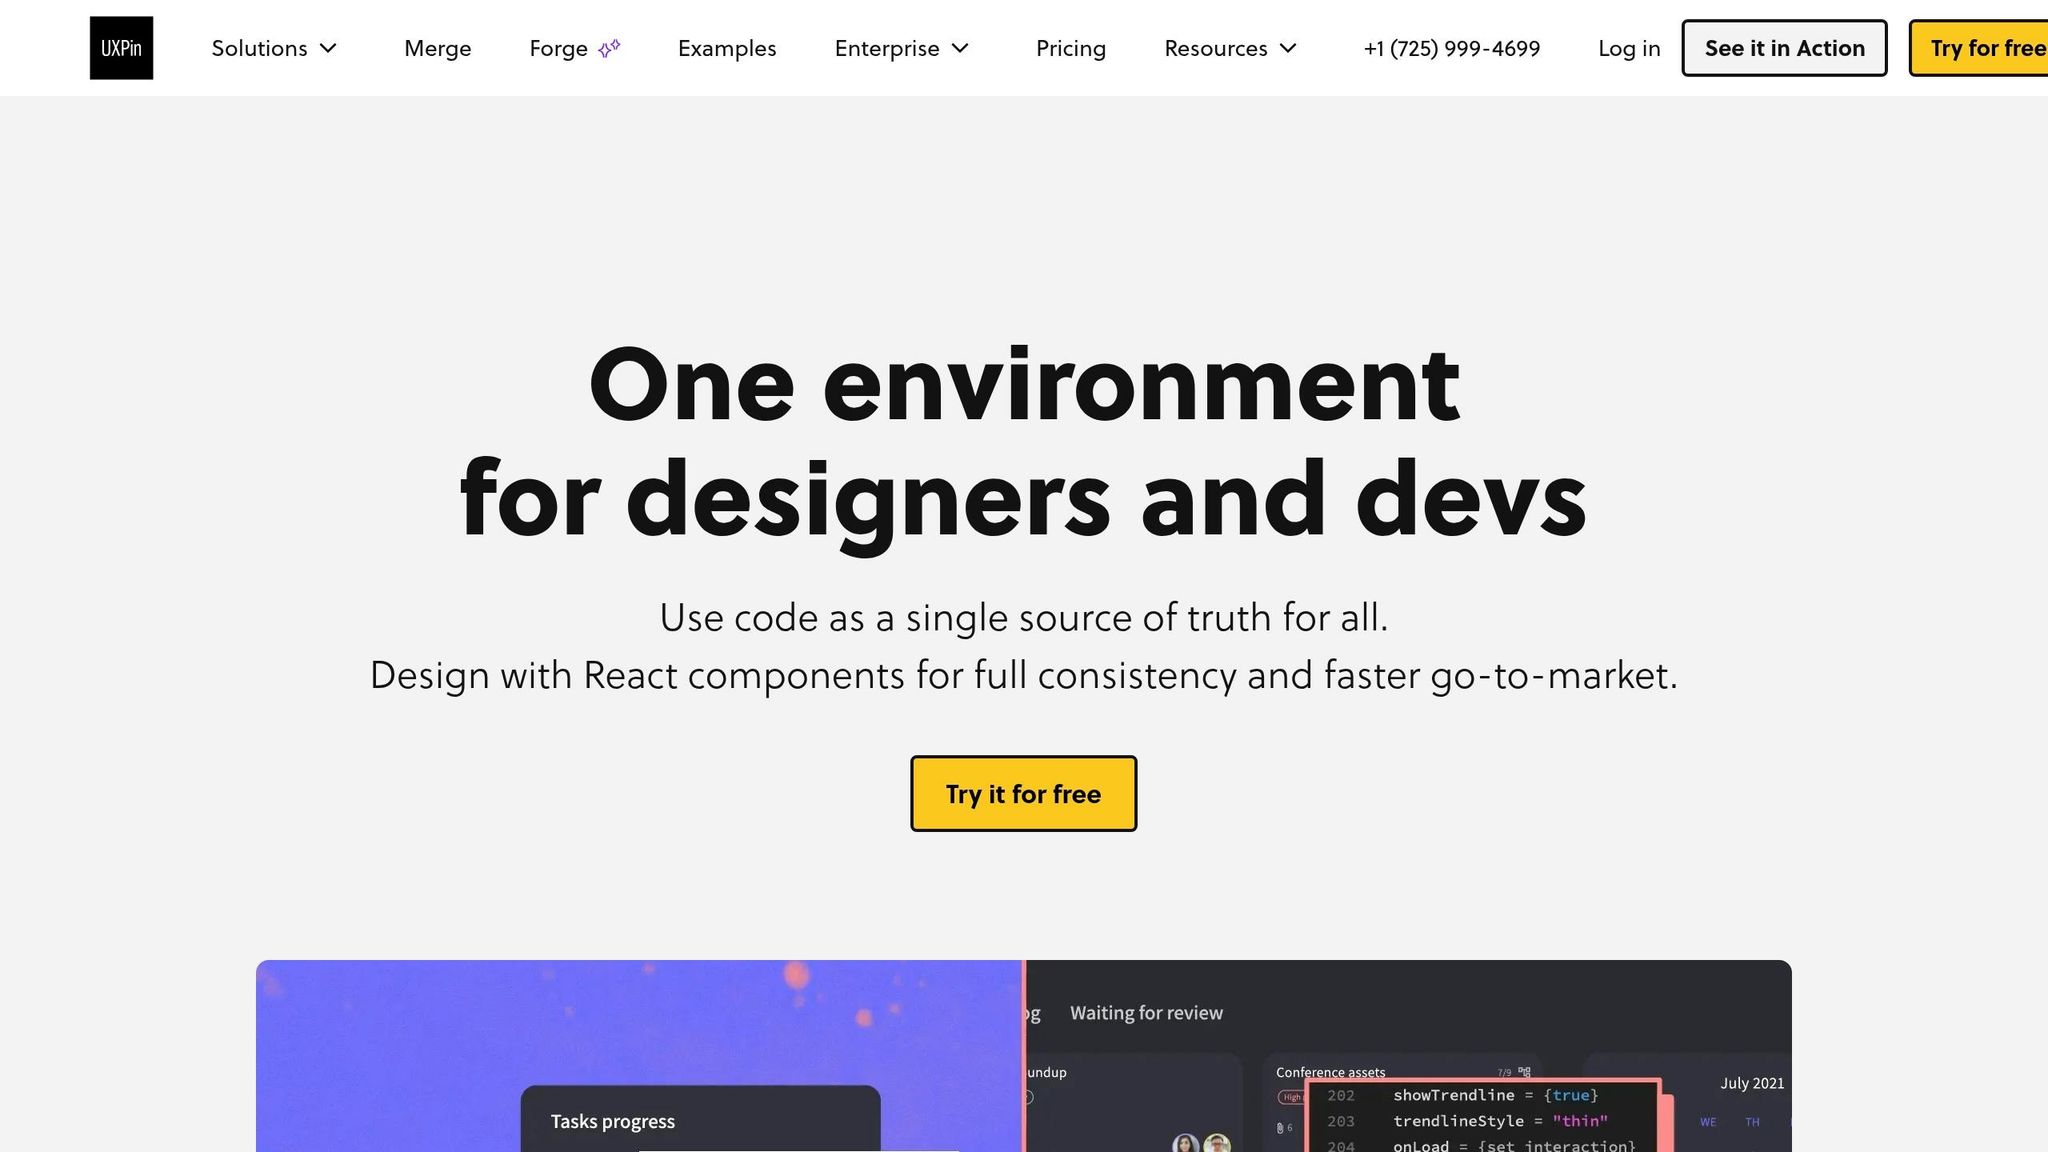
Once the map is locked, build the page section by section in the same order. Work component-first: drag each approved Merge component onto the canvas, set the right variants and design tokens, and then add the copy from Claude’s approved draft.
Because Merge components are code-backed, the prototype stays tied to production. When you place the Hero/Primary component and update the text, you’re using the same component engineering will ship – not a lookalike drawn on the canvas. That’s the whole point. It keeps the prototype useful after design review instead of turning it into a throwaway mockup.
Stick to approved changes only:
- variants
- backgrounds
- CTA styles
- optional slots
If a section doesn’t fit, adjust the copy or swap to another approved variant. Don’t override spacing. Don’t draw custom shapes.
Add interactions and responsive behavior without breaking system rules
After the sections are in place, add the interactions that matter most for a marketing page: hover states, focus states, button click behavior, form submissions, accordion or menu states, and sticky CTA patterns – but ONLY if those states already exist in the component library.
Use the built-in component states, not canvas-level workarounds.
Then test desktop and mobile reflow. If something breaks, fix it in the component definition – not on the canvas.
Review consistency, handoff quality, and next steps
Run a final design system and handoff check
Do one last pass to make sure the canvas still lines up with the design system. Once the page is built in Merge, review it again before it goes to stakeholders or engineering.
Check these items in order:
- Approved components and tokens – each section uses a Merge component plus the system’s spacing, color, and type scale
- Interaction states – hover, focus, disabled, error, and loading states appear anywhere the component supports them
- Responsive reflow – the layout stays in shape across desktop, tablet, and mobile breakpoints, with no clipped text or broken alignment
- Copy fits the component – button labels don’t wrap, hero headlines don’t overflow, and card descriptions stay within their content limits
If something is off, fix it in the component library, not on the canvas.
This step matters most to DesignOps and engineering. A code-backed prototype changes the review from “Can this be built?” to “Does this match production?” That keeps handoff moving and cuts down back-and-forth.
Key takeaways for faster, cleaner landing page delivery
The workflow is pretty simple: set constraints first, use Claude Opus 4.5 for copy and structure, map that output to approved components, and then build in UXPin Merge with real code-backed elements.
Claude helps with copy and structure. Merge keeps the page tied to the system, so handoff starts from a production-ready prototype. The result is a landing page prototype that matches the system, shortens review cycles, and lowers rework.
FAQs
How detailed should my brief be before prompting Claude?
Your brief should be very specific so the output lines up with your production-ready components. Include your value proposition, target audience, conversion goal, tone of voice, brand constraints, and the page sections you need.
Set Claude’s role up front, ask for a labeled outline, and give clear rules for formatting, components, and content limits. That makes the draft fit your design system and cuts down on manual cleanup.
What should I do if Claude suggests a section my design system doesn’t support?
Ask Claude to revise the output so it fits the sections and component layouts your design system already supports.
That makes the result far more usable. Instead of handing you something that looks good in theory but doesn’t map to your UI, Claude can shape the response around what your team can build in UXPin Merge right now.
For the best outcome, give it a clear brief from the start. Share the section patterns, layout rules, and component types you support so the output stays actionable and ready to implement.
A simple brief might include:
- Supported page sections
- Allowed component types
- Layout patterns and spacing rules
- States, variants, and interaction limits
- Any content or brand constraints
The more specific you are, the less cleanup you’ll need later.
How does UXPin Merge reduce handoff rework on landing pages?
UXPin Merge cuts handoff rework by letting designers build prototypes with the same production-ready components and props used in the codebase.
Because those components are code-backed, they keep responsive layouts, states, and form validation intact. That helps design and development stay in sync, cuts layout drift and UI mismatches, and saves developers from rebuilding mockups from scratch.
Related Blog Posts
- How to build UI using Claude Opus 4.5 + shadcn/ui – Use UXPin Merge!
- How to build UI using Claude Sonnet 4.5 + shadcn/ui – Use UXPin Merge!
- How to build a landing page using Claude Opus 4.5 + shadcn/ui – Use UXPin Merge!
- How to build a landing page using Claude Opus 4.5 + Bootstrap – Use UXPin Merge!