
How to build a landing page using GPT-4.1 + Custom Design Systems – Use UXPin Merge!
Use GPT-4.1 for structured copy and UXPin Merge with Forge to assemble production-aligned landing pages from your design system.
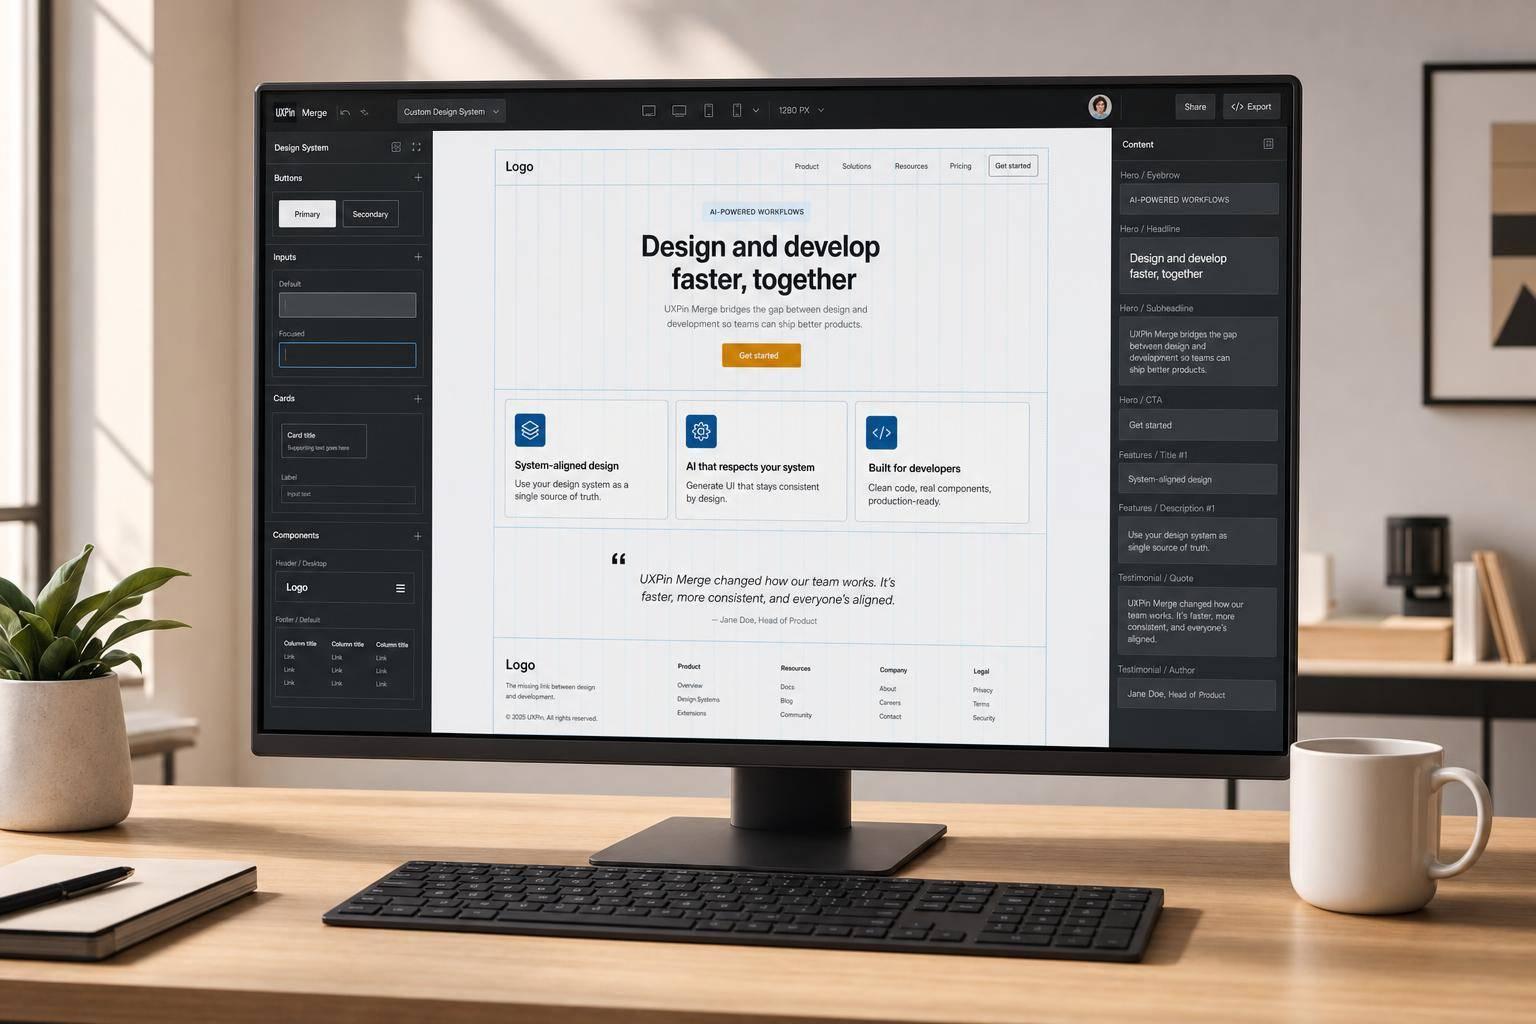
You can cut landing page rework by splitting the job in two: use GPT-4.1 to plan the page and write draft copy, then use UXPin Merge to build it with the same components your team already ships.
Here’s the short version:
- I use GPT-4.1 for:
- headlines
- section order
- CTA text
- form field ideas
- layout guidance
- I use UXPin Merge for:
- design system components
- props and variants
- tokens and spacing
- interactive prototype assembly
- cleaner handoff to engineering
- I use Forge to:
- generate layouts from connected components
- keep UI inside system limits
- speed up section assembly
This workflow works best when I start with 6 clear inputs:
- product value proposition
- target audience
- single conversion goal
- tone of voice
- brand rules
- required sections
For example, instead of asking for “a landing page,” I ask for a section-by-section outline with a hero, proof block, feature grid, testimonials, CTA, and form. That gives me content I can map straight into components.
A few points matter most:
- GPT-4.1 is for structure and draft copy, not the final page
- Merge is for building with code-backed UI
- copy edits should happen inside component limits
- strong sections should be saved as reusable patterns
One reason this process helps is simple: teams often lose time in review loops and static mockup handoffs. When the page is built from production-linked components, there’s less redraw work and fewer UI mismatches later.
Here’s a quick side-by-side view:
| Approach | How it works | Main issue |
|---|---|---|
| Static mockups | Draw layouts first, rebuild later | More handoff and rebuild work |
| GPT-4.1 + Merge | Plan with AI, build with system components | Needs clear prompts and a ready library |
In short: I’d use GPT-4.1 to shape the page, Merge to assemble it, and Forge to place approved components faster. That turns AI output into a branded prototype your team can review and ship with less cleanup.
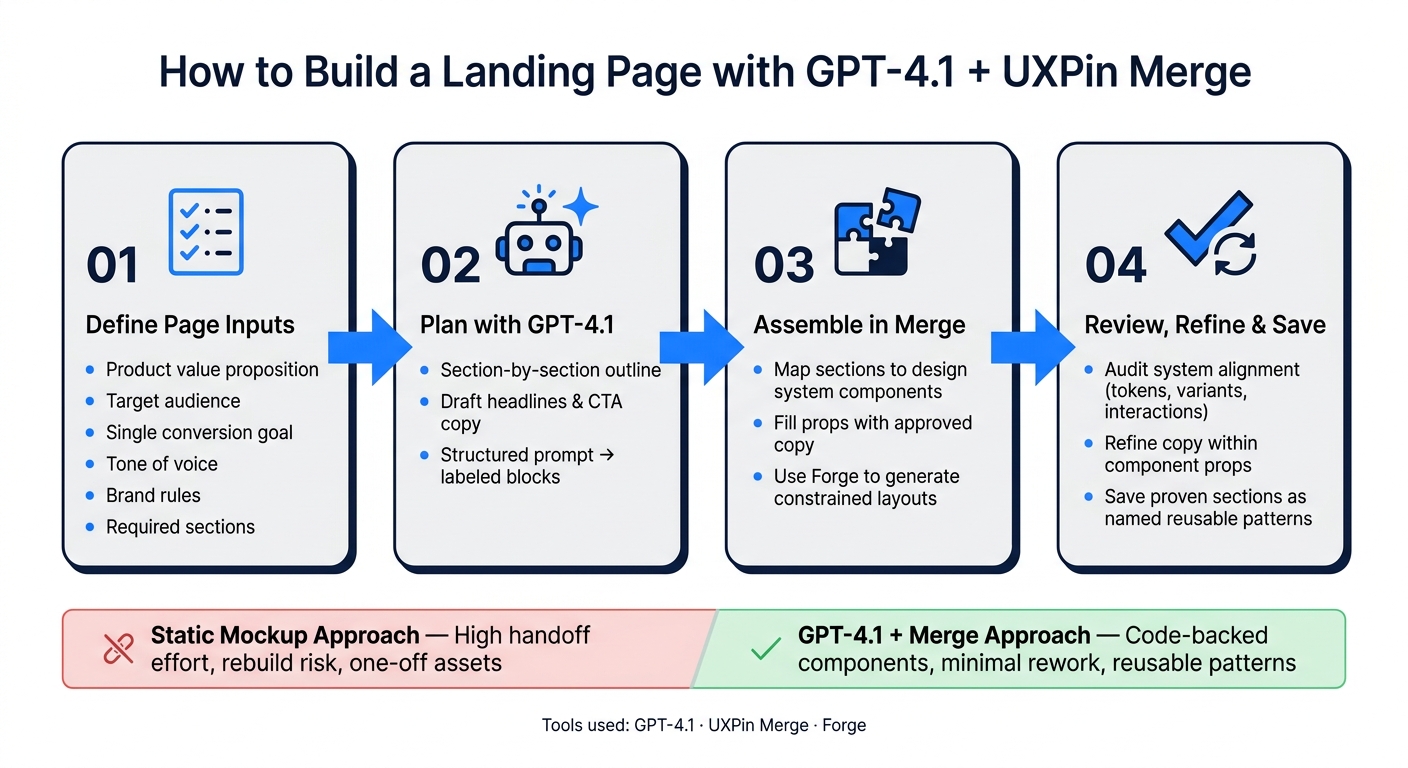
GPT-4.1 + UXPin Merge Landing Page Workflow
Designing web landing page using ChatGPT
sbb-itb-f6354c6
1. Set up the workflow: GPT-4.1 for ideas, Merge for production-aligned UI
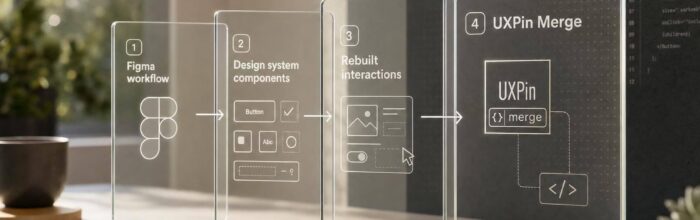
This workflow separates ideation from implementation. GPT-4.1 handles page structure and copy, while UXPin Merge keeps the build tied to your design system. The point is simple: cut rework by designing with real components from day one.
Start by defining the page inputs. Then connect your design system.
What to prepare before you start
Before you prompt anything, define the page goal, the primary CTA, and the sections the page must include. For a SaaS trial page, that often means a hero, feature grid, social proof, and a signup form. Set that list first, then open GPT-4.1 or UXPin.
After that, review your design system. Make sure it has the variants the page will need, like buttons, forms, cards, and hero patterns. This step saves you from getting layout ideas your system can’t support. Once those requirements are clear, connect the system in Merge.
Connect your design system to UXPin Merge
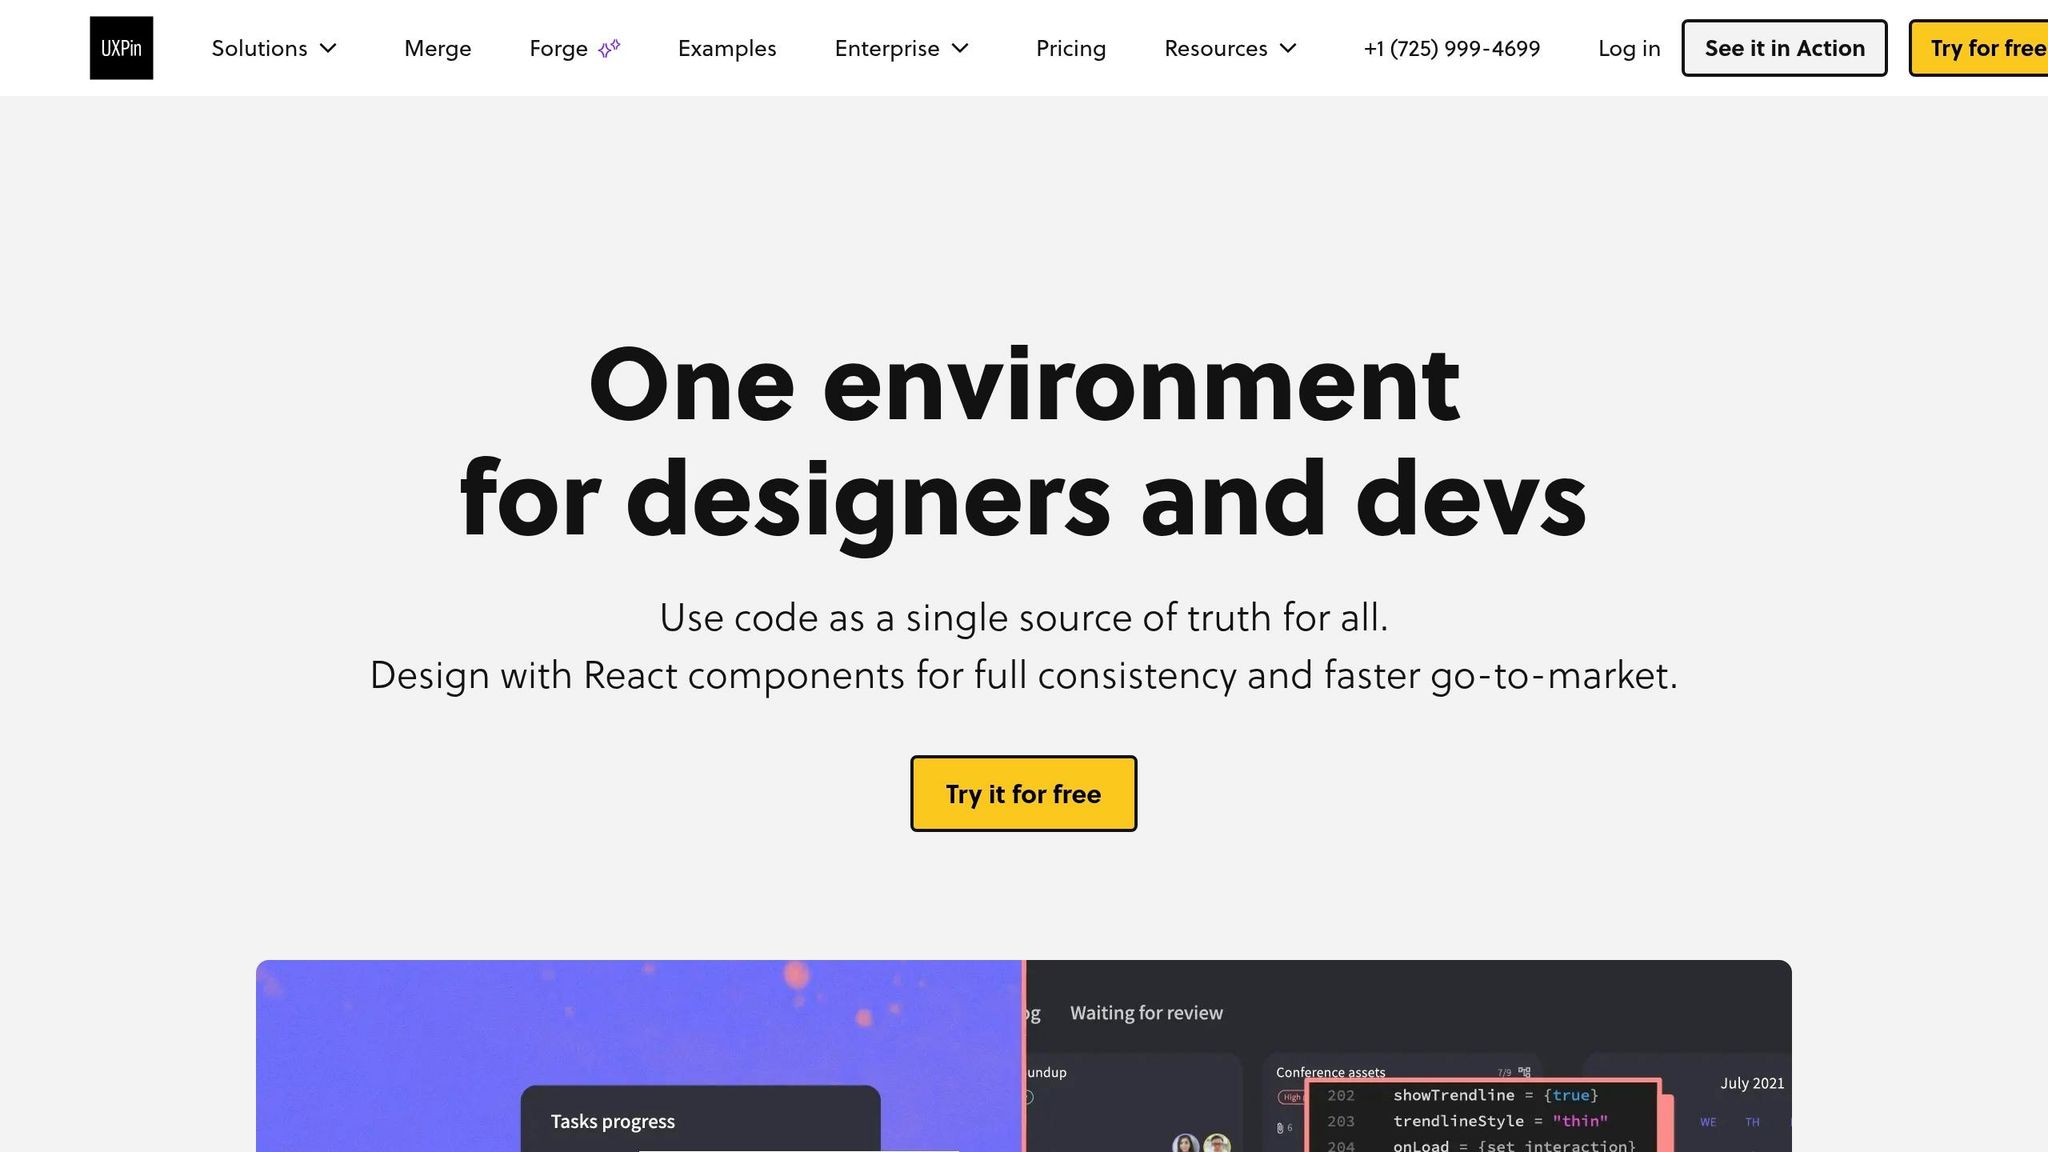
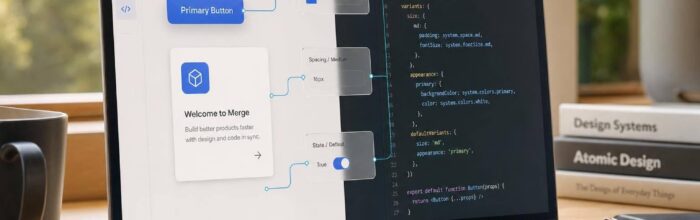
Custom libraries connect to UXPin Merge through Git, npm, or Storybook. Add theme providers and global styles so components render the right way in Merge. You’ll also want to expose components so their props and variants show up in the canvas.
If your custom system isn’t ready yet, UXPin also includes built-in libraries: MUI, Ant Design, Bootstrap, and ShadCN. These are available right inside the product, so there’s no need for imports. They give teams a solid starting point while a custom system is still taking shape.
That said, built-in libraries are best used as a starting place, not a long-term stand-in. The main payoff comes from using your own branded components. That’s what makes GPT-4.1 output buildable instead of just pretty on a screen.
Generic mockups vs. code-backed components
This setup changes what people are reviewing.
| Generic Mockups | Merge Components | |
|---|---|---|
| Workflow | Manual layout and styling | Assembly from production components |
| Consistency | Higher risk of drift | Enforced alignment with design system |
| Developer effort | High – must rebuild UI from static images | Low – components match production code |
| Reusability | One-off static assets | Reusable patterns across campaigns |
| Risk of rework | High | Minimal – components are pre-validated by code |
With that in place, the next step is generating the page structure in GPT-4.1. This ensures your layout follows modern landing page design trends while remaining functional.
2. Use GPT-4.1 to generate landing page copy, sections, and layout direction
Once your design system is connected in Merge, the next move is simple: turn your campaign goal into structured copy and section logic. GPT-4.1 does its best work when your prompt includes clear campaign inputs.
One thing to keep in mind: GPT-4.1 output is not your final page copy. It’s structured input for production-aligned assembly in Merge. From there, you turn that outline into blocks you can map straight to Merge components.
Write prompts around your campaign goal and audience
Before writing a prompt, gather six inputs:
- Product value proposition
- Target audience
- Single conversion goal
- Tone of voice
- Brand constraints
- Required page sections
These six inputs give GPT-4.1 enough direction to produce copy that fits your page structure with less cleanup.
For example, a value proposition like "design teams ship production-ready prototypes 2x faster" gives your hero headline a clear anchor. If your target audience is "US-based product managers at mid-market SaaS companies," GPT-4.1 gets a better sense of the right level of detail and tone. A single conversion goal like "Book a demo" keeps the page centered on one action instead of drifting in three directions at once.
Brand constraints matter too. If you tell the model to "avoid hype, use the term ‘code-backed components,’ no absolute guarantees," the copy is more likely to stay in line with your brand voice. Put all six together, and the output is much easier to map into Merge.
Ask GPT-4.1 for a section-by-section page outline
Don’t ask for “a landing page.” Ask for a labeled outline. Each section should include a short description, a suggested headline, and 2–3 main content elements.
Here’s a prompt pattern that works:
"Create a section-by-section landing page plan for a US audience. Include: hero, supporting proof, feature grid, testimonials, primary CTA block, and a demo request form. Use American English spelling. For pricing, use USD formats such as $49 per month. For dates, use formats such as July 6, 2026. Return the plan as a numbered list with labeled sections that map directly to design system components."
GPT-4.1 will usually reflect that structure back to you. Each labeled section should line up cleanly with a hero, card, testimonial, CTA, or form component.
For instance, the hero section might come back with a headline like "Ship production-ready landing pages with UXPin Merge" and a primary CTA label like "Book a demo." The feature grid might include four cards, each with a title and two bullet points, ready to drop into card components in your design system. The form section might list fields such as "Full name", "Work email", "Company size," and "Preferred demo time," which can move straight into form field components.
That’s the kind of output you want: content that already knows the shape it needs to fit, so you can build with real design system components instead of stopping to rewrite everything.
Vague prompts vs. structured prompts
A vague prompt like "Write a landing page for my product" usually gives you a long block of text with blurry section boundaries and a messy mix of benefits and features. You can’t tell where the hero stops and the feature section starts. So before you can build anything in Merge, you have to stop and reorganize the whole thing.
A structured prompt gives you labeled blocks that map right to your design system. And that changes the speed of the whole workflow.
| Prompt style | Output | Brand alignment | Merge assembly |
|---|---|---|---|
| Vague | Generic text; unclear section boundaries; mixed benefits and features | Low; may ignore key terms and constraints | Requires heavy editing and manual restructuring |
| Structured | Concise, labeled sections; scannable copy; clear CTAs | Follows tone, terminology, and en-US formatting rules | Content maps directly to hero, card, testimonial, CTA, and form components |
One practical tip: if GPT-4.1’s first draft feels off-brand, don’t throw it out and start from scratch. Use a follow-up prompt like "The tone is too formal. Rewrite the hero and features sections to be more direct, and keep each section under 50 words." Fix the part that missed the brief instead of redoing the whole page. GPT-4.1 handles targeted edits well. Then use that revised outline as your blueprint for assembly in Merge.
3. Assemble the landing page in UXPin Merge with real components
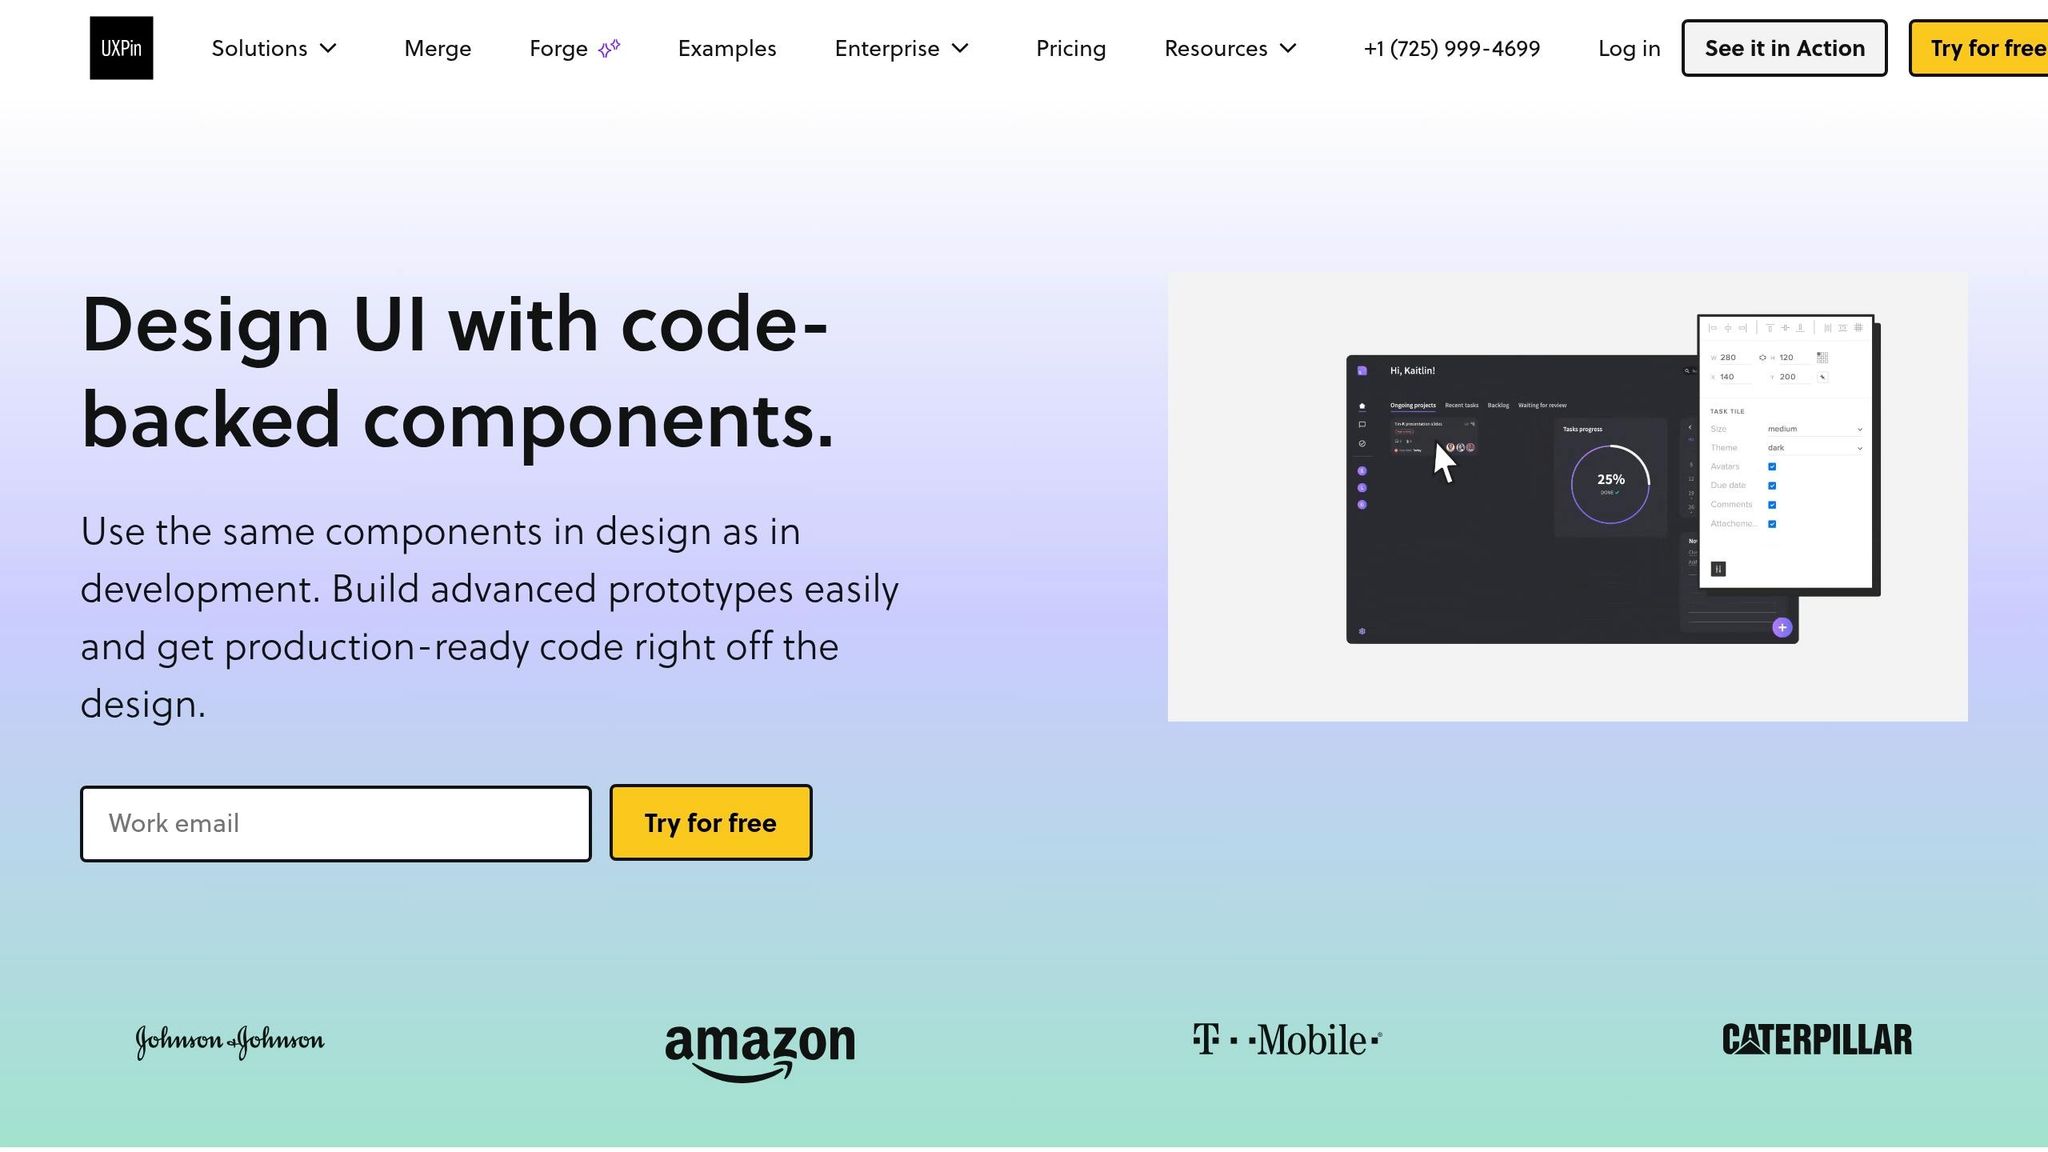
Once you have a structured GPT-4.1 outline, the next move is simple: turn that text plan into a working prototype. You’re not sketching layouts from scratch. You’re assembling approved parts from your design system and dropping in the copy GPT-4.1 already shaped for you.
Map each page section to design system components
Treat the GPT-4.1 outline like your build spec. Then assemble the page in Merge with connected components. Match each GPT-4.1 section to the right Merge component, and fill its props with the approved copy. Stick to props, spacing tokens, and approved variants only.
After each section is mapped, Forge can build the layout using those same connected components.
Use Forge to generate UI constrained by your design system
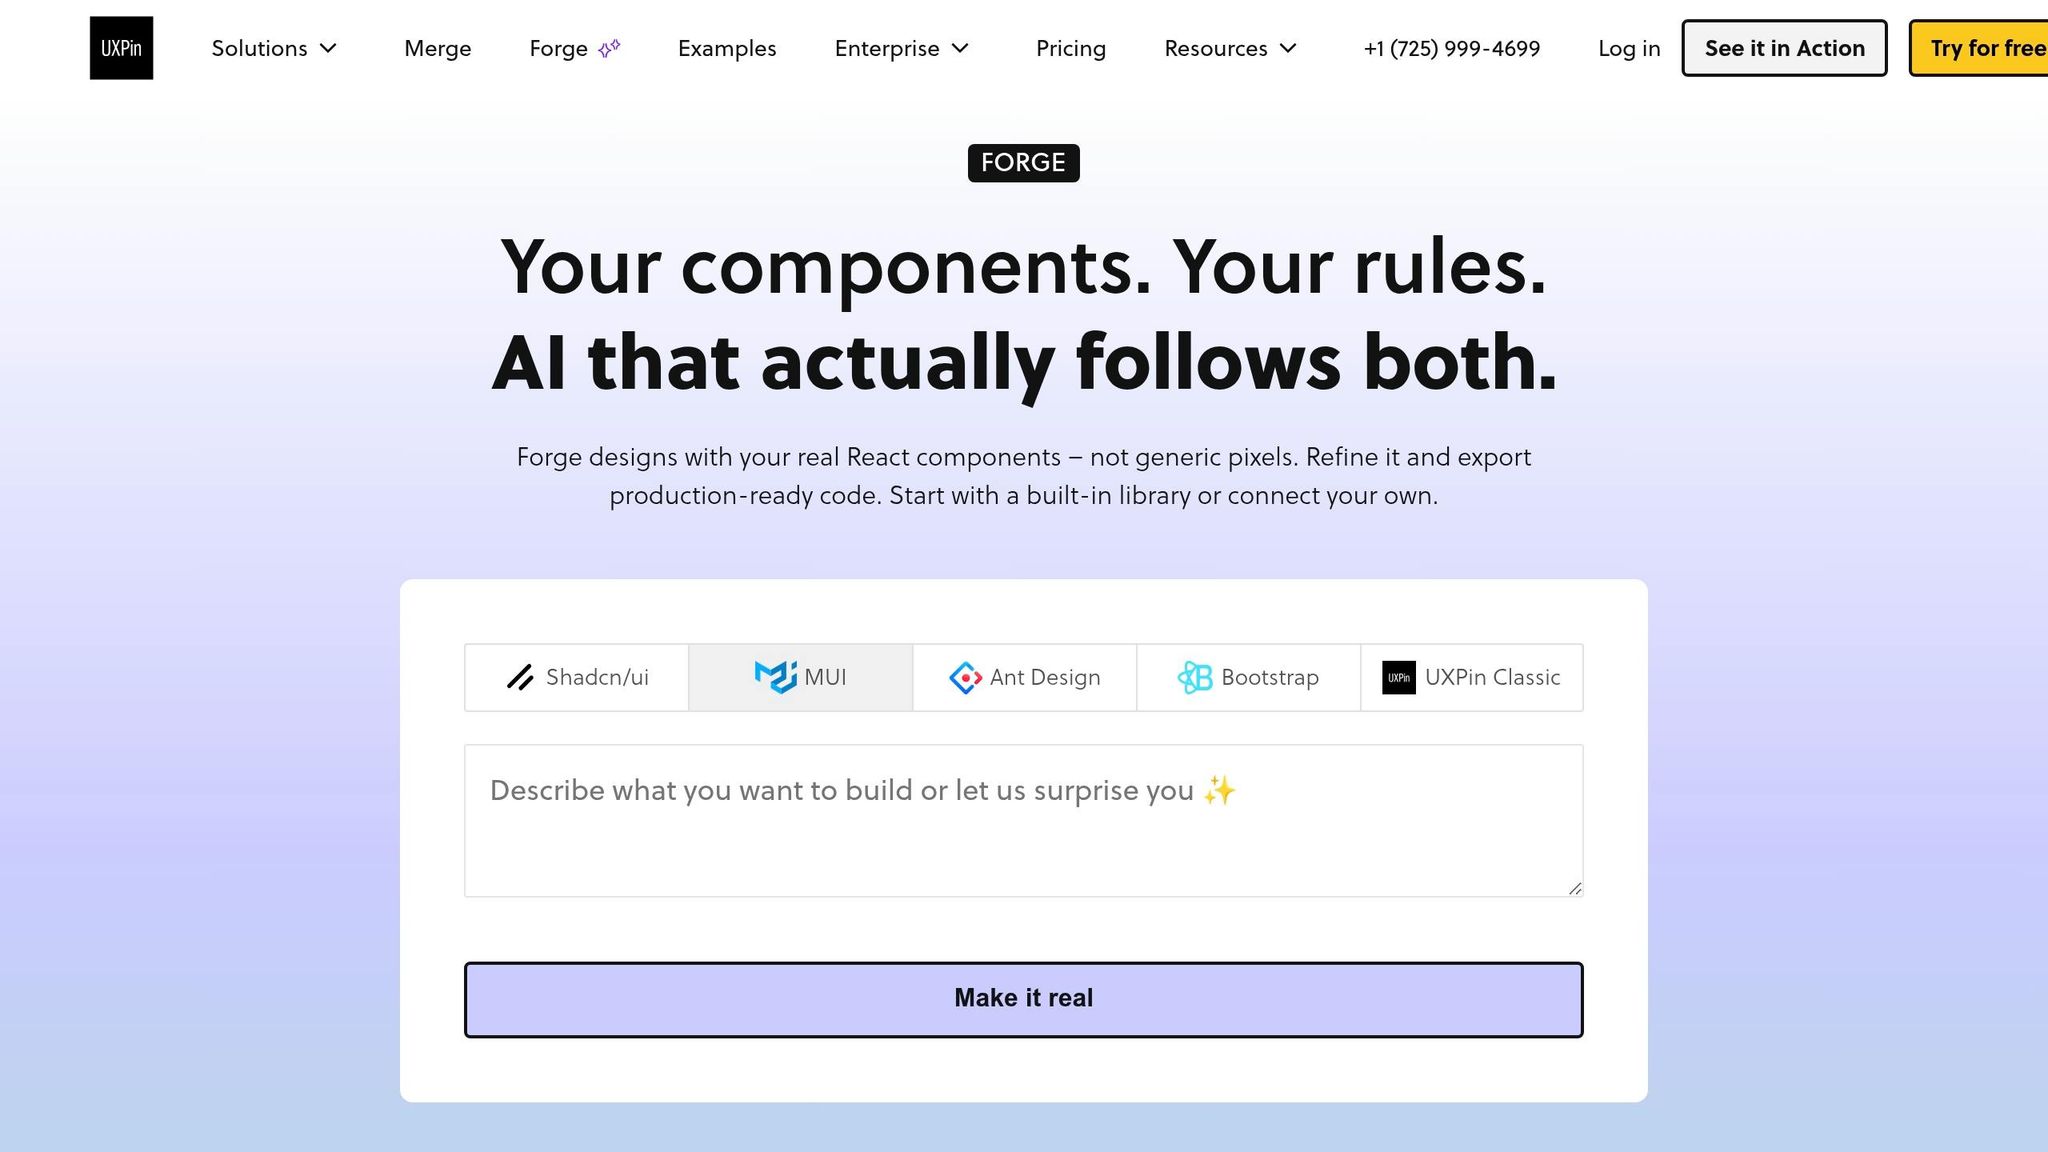
Forge makes assembly faster by generating layouts from the components already connected to your library. The best prompts use your actual component and prop names. For example: "Create a three-column feature section using our FeatureCard component with the Elevated variant. Each card needs a title up to six words and a one-sentence description."
Forge reads your connected library, inserts those components, and sets props with AI-generated content. That means you’re editing, not redrawing.
If the first draft doesn’t match the layout you want, tweak the prompt. You can call for a different variant or a different column count. Since every suggestion comes from your approved library, the AI has far less room to bring in colors, fonts, or interaction patterns that sit outside your design system library.
Mockup-first design vs. Merge-based assembly
This gap becomes most obvious during review and handoff. Mockup-first workflows make engineers translate drawings back into system-aligned UI. Merge-based assembly keeps the prototype tied to production code, so handoff becomes wiring and refinement instead of rebuilding.
With assembly done, the next step is to review for system alignment and save proven sections as reusable patterns.
4. Review, refine, and save reusable landing page patterns
Once your landing page is built in UXPin Merge, the next move is simple: make sure it lines up with the design system, tighten the copy, and turn the best sections into patterns your team can use again.
Check system alignment before review and handoff
Before you send the prototype to stakeholders or engineers, do a quick audit. You’re checking for drift – any part of the page that slips away from the design system.
Look at components, tokens, typography, hierarchy, and behavior. Every UI element – hero, feature cards, buttons, form fields, testimonial blocks – should come from approved components. Colors, spacing, and border radius values should come from tokens like color.primary or spacing.16, not hardcoded values. Headings, subheads, and body copy should follow the text styles already defined in the system. A primary CTA like Get started should use the primary button style. A secondary action like Learn more should use a secondary or tertiary variant.
Then check the interactions. In Preview Mode, click every CTA and make sure it fires the right action. On long pages, test anchor links like #features and confirm they land where they should. Forms need a pass too: initial state, validation errors, and success state. Also test hover, active, disabled, and validation states in Preview Mode.
Once the structure is sound, leave the layout alone and move to the copy.
Refine copy and layout without breaking the system
Use GPT-4.1 to sharpen the message. The big rule here is to treat GPT-4.1 as a content refiner, not a layout editor. Keep the Merge components as they are and change only the text inside their props.
Build prompts around the component’s content fields. For example:
Rewrite the hero section for a US B2B SaaS audience. Fields: eyebrow, headline, subheadline, primary CTA, secondary CTA. Length limits: headline ≤ 12 words, CTAs ≤ 4 words. Tone: confident, plain English, no jargon.
That kind of prompt gives you copy that fits the layout without causing overflow or hierarchy problems. You can swap only the text props to test different message angles while keeping the layout intact.
If you want to change the order of sections, ask GPT-4.1 for a new sequence based on your conversion goal, then rearrange the existing frames in UXPin. If a section needs more emphasis, use component variants and existing props – maybe a larger headline variant or a featured badge on a pricing card – instead of adding custom styles that sidestep the system.
After the copy is locked, save the sections that earned their spot.
Save proven sections as reusable patterns for future campaigns
Once a landing page is approved and live, look for the sections that did well based on conversion, clicks, or scroll depth. Save those as named patterns in UXPin. Right-click the section group and select Create Pattern to sync it to your team’s shared library.
A clear naming setup helps a lot. For example:
Hero / SaaS / Two-columnFeature grid / 3-up cardsCTA / Full-width banner
Parameterize the content fields so future campaigns can swap headlines and imagery without changing the layout. Add short usage notes too – for example, best for acquisition pages or works well for product launch campaigns. That way, designers and PMs can pick the right pattern without playing guess-and-check. Each approved section becomes a starting block for the next campaign.
If the same patterns keep showing up, move them into the shared design system with versioning and usage notes.
Reusable patterns help teams move faster, stay on-brand, and cut rebuild work. That’s where the time savings start to stack up on the next launch.
Conclusion: A repeatable process for turning AI output into a branded landing page
Once the page is assembled and polished, the process gets easier to repeat.
Use GPT-4.1 to map out the page, Merge to put it together with real components, and Forge to generate constrained UI inside your design system. Because the prototype is built with production-ready components, handoff lands much closer to the final build and needs less rework.
When the design system changes, Merge pages pick up those updates through the same components and design tokens. That helps keep spacing, color, and interaction patterns in sync. And each approved section can serve as a reusable starting point for the next launch. In plain English: every approved page gives the next campaign a head start.
The end result is a repeatable workflow that turns AI output into a branded, reusable landing page.
FAQs
What if my design system is incomplete?
You can still move forward with the parts you already have. Start by mapping out your landing page and lining up each section with the components that are already available.
For consistency, connect your existing React library in UXPin Merge and expose only those code-backed components. Then, when you prompt, keep the AI limited to those elements and your defined design tokens. That way, the prototype stays in line with your current production codebase.
How do I write better GPT-4.1 prompts?
Write better GPT-4.1 prompts by being clear about the brief, limits, and design system rules. If you want output you can drop into UXPin Merge without a lot of cleanup, spell out the role, audience, goal, brand voice, and the exact format you want.
Details matter here. Set word limits. Ask for U.S. English. Add design rules, content boundaries, and any UI copy standards you need the model to follow. That extra direction helps you avoid vague, generic output and get something much closer to usable on the first pass.
It also helps to generate the page section by section instead of asking for everything at once. That gives you more control over structure, tone, and spacing. Then use follow-up prompts to tighten length, fix formatting, or shift the voice if the draft feels off.
Can I reuse sections for future campaigns?
Yes. In UXPin Merge, you can turn mapped components into pre-built patterns and save them as reusable layouts with placeholder text, token-driven spacing, and preconfigured props.
It also helps to keep UI primitives separate from page sections and follow a consistent directory structure. That way, these blocks stay modular and easy to reuse in new projects without rebuilding them.
Related Blog Posts
- How to build a landing page using GPT-5.1 + Ant Design – Use UXPin Merge!
- How to build a landing page using GPT-5.1 + Custom Design Systems – Use UXPin Merge!
- How to build a landing page using GPT-5 Mini + Bootstrap – Use UXPin Merge!
- How to build a landing page using GPT-5 Mini + Custom Design Systems – Use UXPin Merge!