

How to build a landing page using Claude Opus 4.5 + Bootstrap – Use UXPin Merge!
Stop rebuilding landing pages: use AI to generate Bootstrap sections and turn them into reusable Merge components.
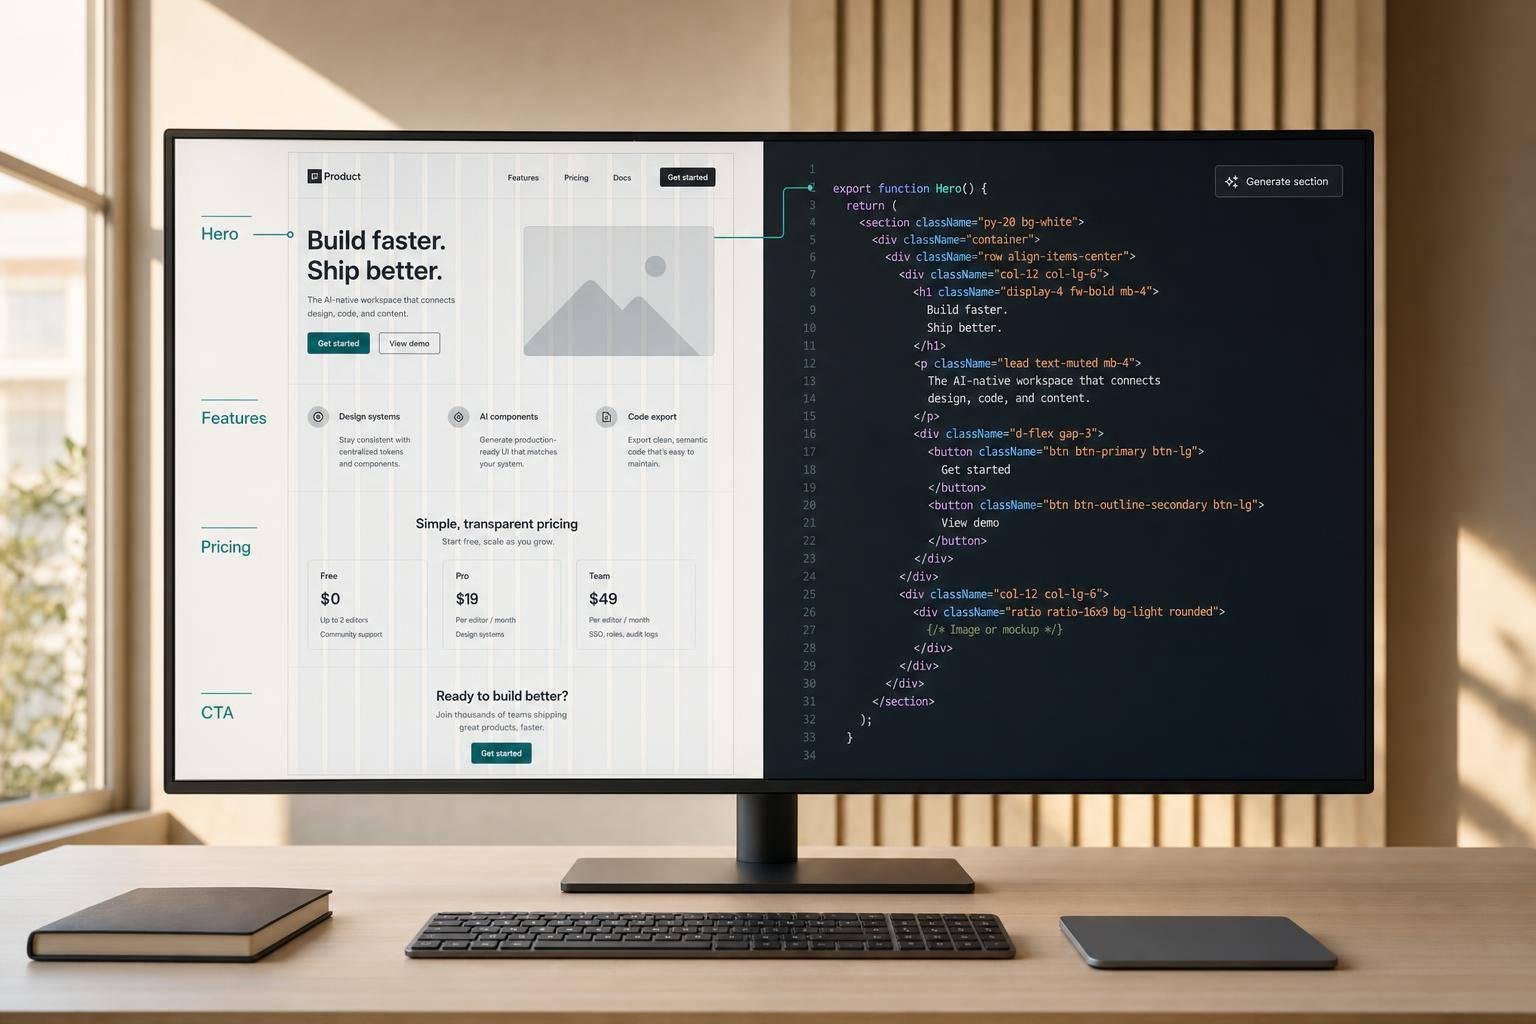
You can go from prompt to code-backed landing page in one workflow: generate Bootstrap 5 sections with Claude Opus 4.5, clean the HTML, then assemble those sections in UXPin Merge for review and handoff. The main goal is simple: cut rebuild work, keep layouts closer to shipped code, and make reviews easier across hero, features, pricing, testimonials, and CTA blocks.
Here’s the short version:
- I use Claude Opus 4.5 to write section-level Bootstrap HTML
- I keep the markup semantic, responsive, and accessible
- I format copy for a U.S. audience with examples like $29/month, July 10, 2026, and 1,250 customers
- I move each cleaned section into UXPin Merge
- I expose only a few editable props, like headline, price, and button text
- I assemble the final flow in page order and test states, spacing, and breakpoints
In other words: Claude writes the first draft, Bootstrap gives the layout rules, and UXPin Merge turns that code into a prototype your team can review without starting over.
A few details matter more than they look:
- Use a clean HTML shell with
<!doctype html>, language, charset, and viewport tags - Split the page into clear sections like
hero,features,pricing,testimonials, andcta - Prompt one section at a time so the output stays tighter
- Check heading order, focus states, labels, and form behavior before import
- Remove extra ARIA when native HTML already does the job
One number tells the story here: instead of rebuilding 4 to 5 landing page sections by hand after design review, I can work from the same Bootstrap structure from the start. That means fewer layout shifts, fewer spec gaps, and less back-and-forth during design handoff.
| Part | What I use it for |
|---|---|
| Claude Opus 4.5 | Generate HTML for each landing page section |
| Bootstrap 5 | Handle grid, spacing, cards, buttons, and forms |
| UXPin Merge | Turn cleaned code into reusable prototype blocks |
If you want a plain answer, it’s this: write each section in Claude, clean it in the browser, then bring it into Merge as a reusable Bootstrap component.
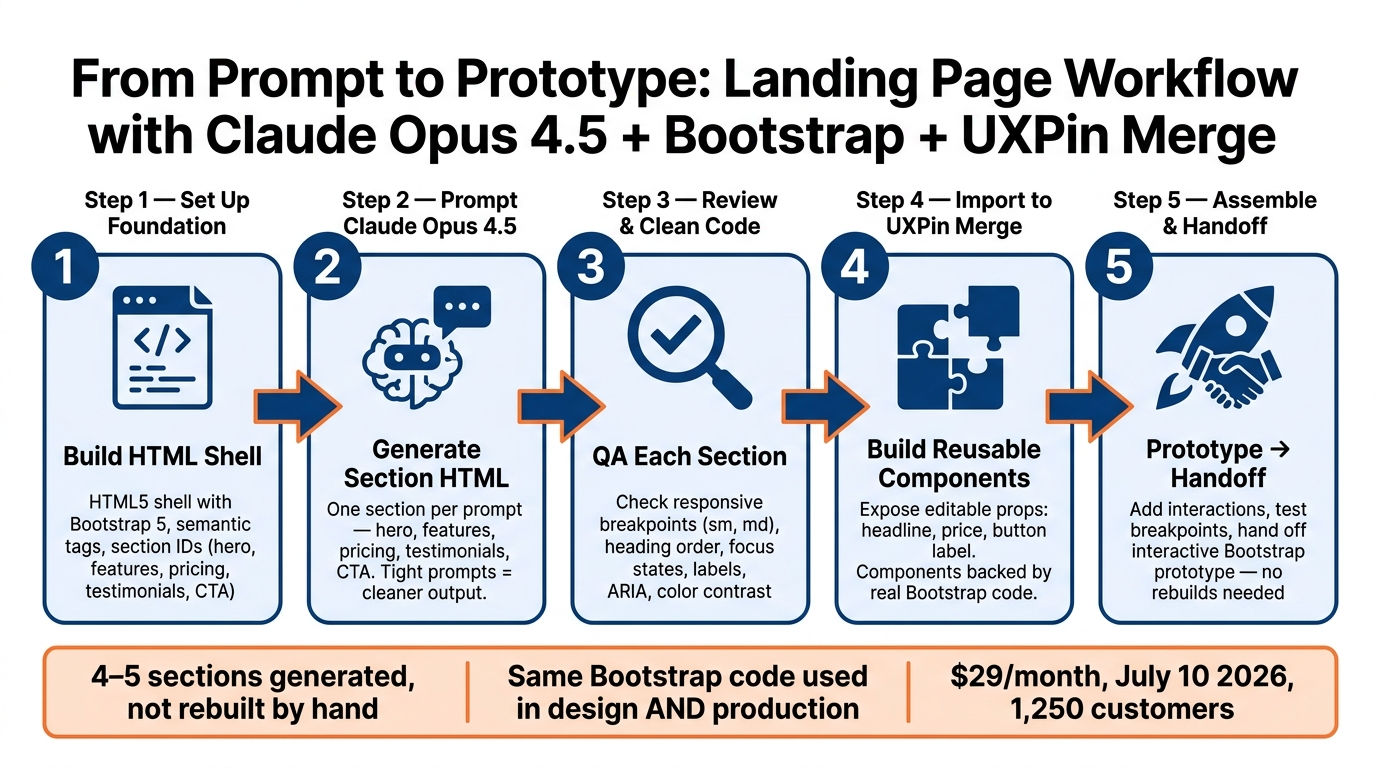
Claude + Bootstrap + UXPin Merge: Landing Page Workflow
Is This the Fastest Way to Build a SaaS Landing Page? (Claude AI)
sbb-itb-f6354c6
Set up the landing page foundation in Claude and Bootstrap
Start with a clean HTML5 shell so each section can move into UXPin Merge without extra cleanup. Add <!doctype html>, <html lang="en">, <meta charset="utf-8">, and <meta name="viewport" content="width=device-width, initial-scale=1">. Then link Bootstrap 5 CSS in the <head> and place the JS bundle right before </body>. That keeps the setup simple and ready for prototyping.
Build the page body as separate blocks. Use semantic tags like <header> for navigation, <main> for the core page content, and <footer> for the last block. Inside <main>, create standalone sections with clear IDs like hero, features, pricing, testimonials, and cta. Those IDs do more than keep things tidy. They also make it much easier to turn each section into a reusable Merge component later. Each block stays separate, which helps both generation and reuse in UXPin Merge.
Once that shell is ready, generate the first section in Claude.
Prompt Claude for clean Bootstrap 5 markup
Use a tight prompt so Claude doesn’t give you bloated code that’s annoying to reuse. For example:
Generate only the HTML for a Bootstrap 5 hero section with semantic markup, a two-column
col-md-6layout, one<h1>, one supporting<p>, and one primary.btn.btn-primaryCTA
That prompt keeps the output narrow, clean, and easy to drop into your page.
Stick with Bootstrap’s core classes like container, row, col, card, and btn. Also ask for semantic elements such as <section>, <article>, and <nav> instead of a pile of generic <div> wrappers. On the first pass, skip custom CSS unless you absolutely need it. That way, the structure stays consistent from block to block.
Use the same prompt pattern for the rest of the landing page sections.
Format content for a US audience
Set placeholder content in en-US from the start. Write prices as $29.00, not 29 or £29. Use month-name dates like July 10, 2026. Format large numbers with commas, like 1,250 customers. It sounds small, but it saves time later. When the base file already matches US formatting, the page stays consistent as you add and assemble each section.
Generate and refine the main landing page sections
Once your HTML shell is set, the next move is to generate each main section and clean the code before it goes into UXPin Merge. The aim is simple: code that’s ready for UXPin Merge, not rough first-draft markup.
Build the hero, features, pricing, and CTA sections
Give each section its own prompt. That usually leads to cleaner output and less rework.
For the hero section, ask Claude for a <section id="hero"> that uses a two-column Bootstrap layout. Put the headline and body copy on one side, and an image placeholder on the other. Ask for one primary .btn.btn-primary with a clear label like "Start Free Trial." Also spell out the alignment behavior: centered on small screens, then left-aligned on md and up.
For the features section, ask for a three-column card layout with Bootstrap’s row row-cols-1 row-cols-md-3 g-4 pattern. Each .card should have a heading and a short description. If an icon carries meaning, include labels or supporting text so people aren’t left guessing.
For pricing, use two or three .card tiers with U.S. monthly pricing such as $29/month, $40/month, and Contact Sales. Use col-lg-4 columns so the tiers stack cleanly on mobile.
For the CTA section, pair a Bootstrap email input with a submit button inside a <form>. Connect the help text to the input with aria-describedby. Add required and type="email" so the browser can handle native validation.
After the sections are cleaned up, move them into UXPin Merge as reusable components.
Improve code quality before prototyping
Before you start prototyping, do one more review pass on each section. Claude can get you a solid first draft, but it still needs a human check.
A follow-up prompt like this works well:
Review the section for semantic HTML, visible focus states, correct labels, and clean breakpoint behavior.
After each revision, paste the section into a plain HTML file with Bootstrap 5 loaded and test it in the browser. Resize the window and make sure the content reflows at the sm and md breakpoints. Check that nothing overflows, buttons are large enough to tap, and heading levels move in order from <h1> downward.
Focus your review on a few things:
- Responsive behavior
- Labels
- Focus states
- Heading order
Bootstrap 5 already gives you solid patterns for forms and buttons, but Claude can still add redundant or misplaced ARIA attributes. If a native HTML element already says what it is, remove any role or aria-* attribute that repeats that same meaning. Also check color contrast against WCAG guidelines.
AI-generated sections vs. manually coded sections
Claude helps speed up first drafts. Manual coding gives you more control. Either way, both need a cleanup pass before Merge. That cleanup step is what turns rough AI output into reusable Merge components.
With the main sections refined, the next step is turning them into reusable Merge components.
Turn Bootstrap sections into reusable UXPin Merge components
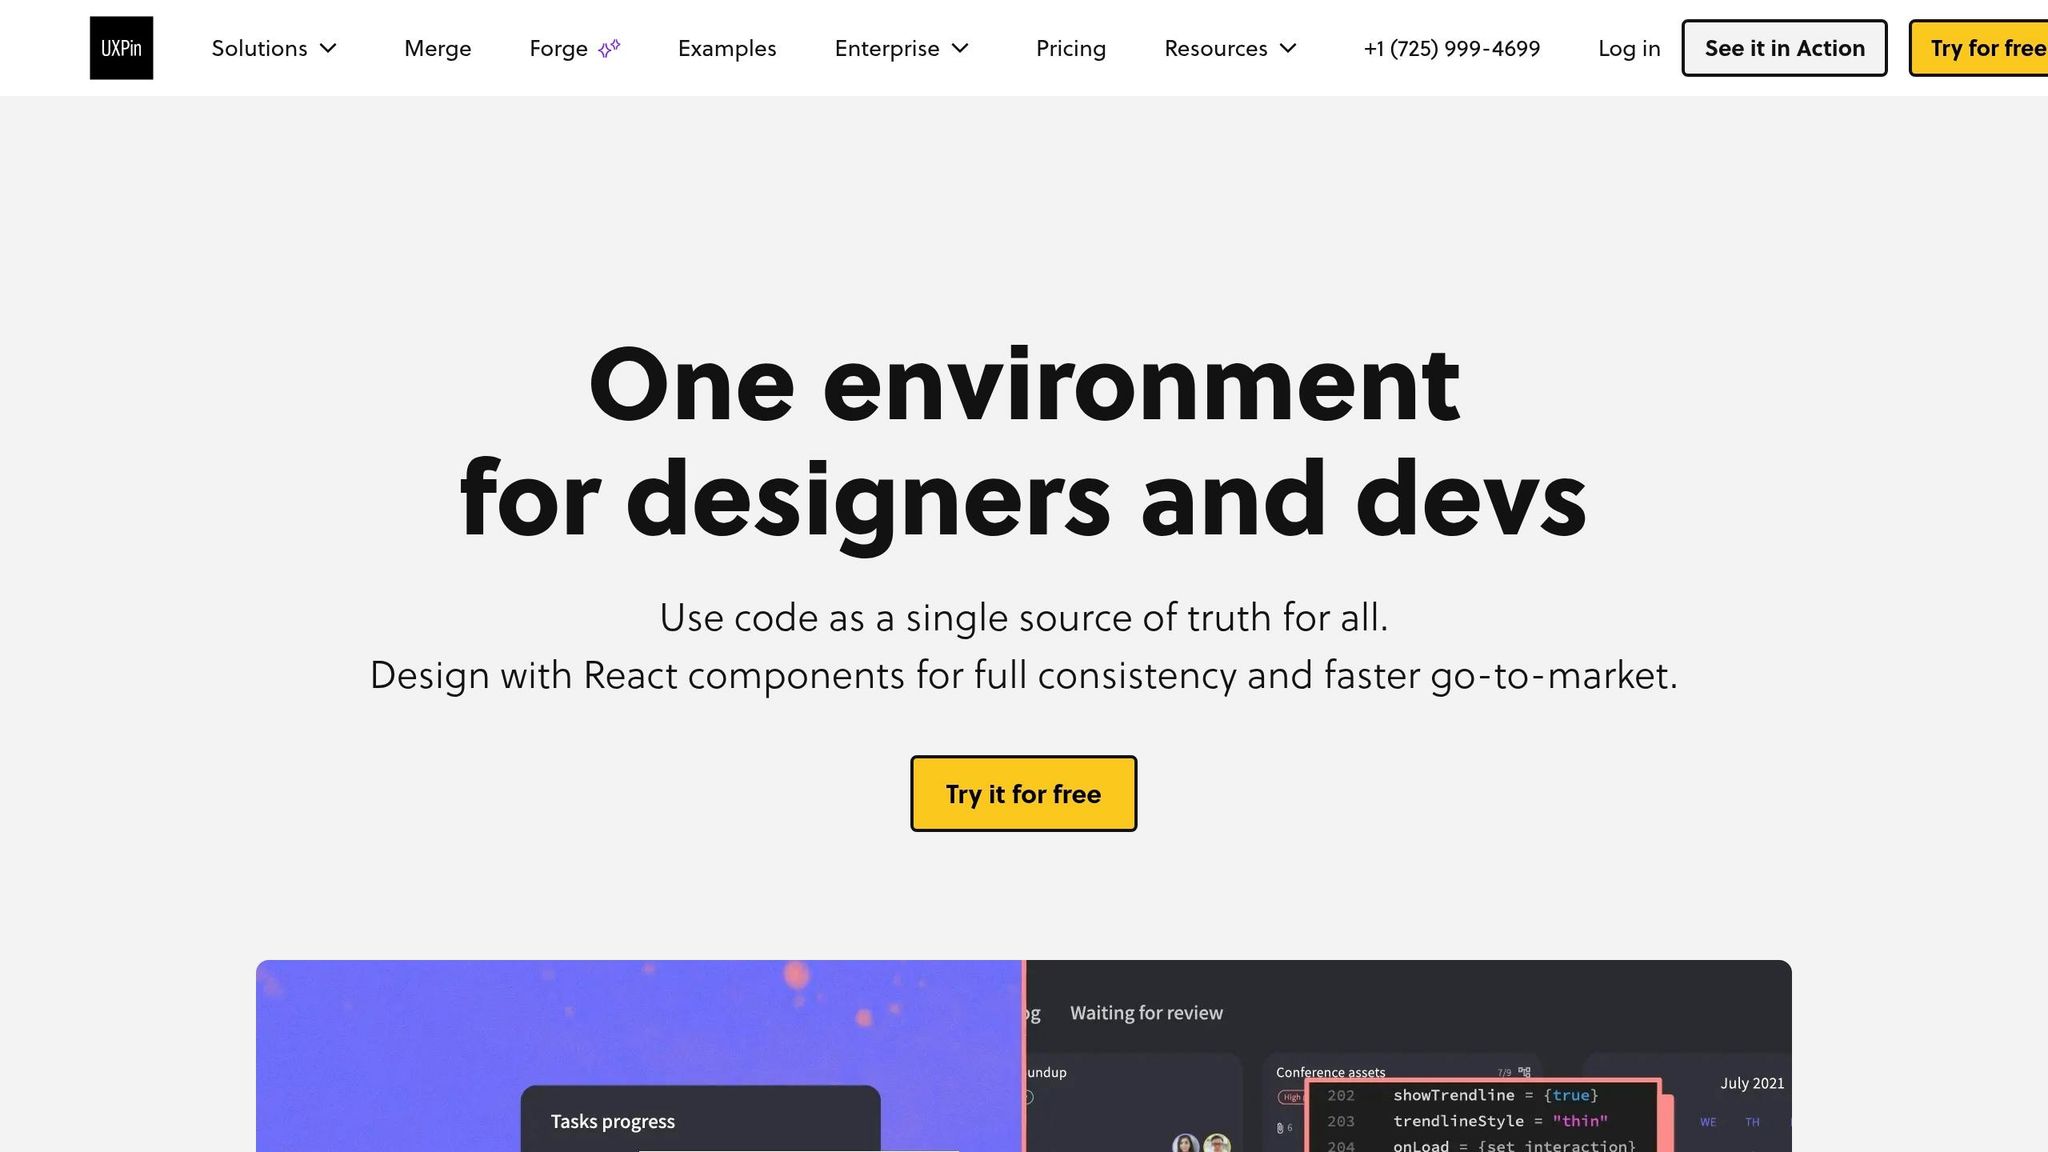
Bring your polished Bootstrap sections into UXPin Merge as reusable coded components. Start with the hero, pricing, and CTA blocks you already cleaned up. This shifts the workflow from one-off fixes to reusable building blocks, which makes it much easier to use the same coded sections across the landing page.
Use Bootstrap directly in UXPin Merge
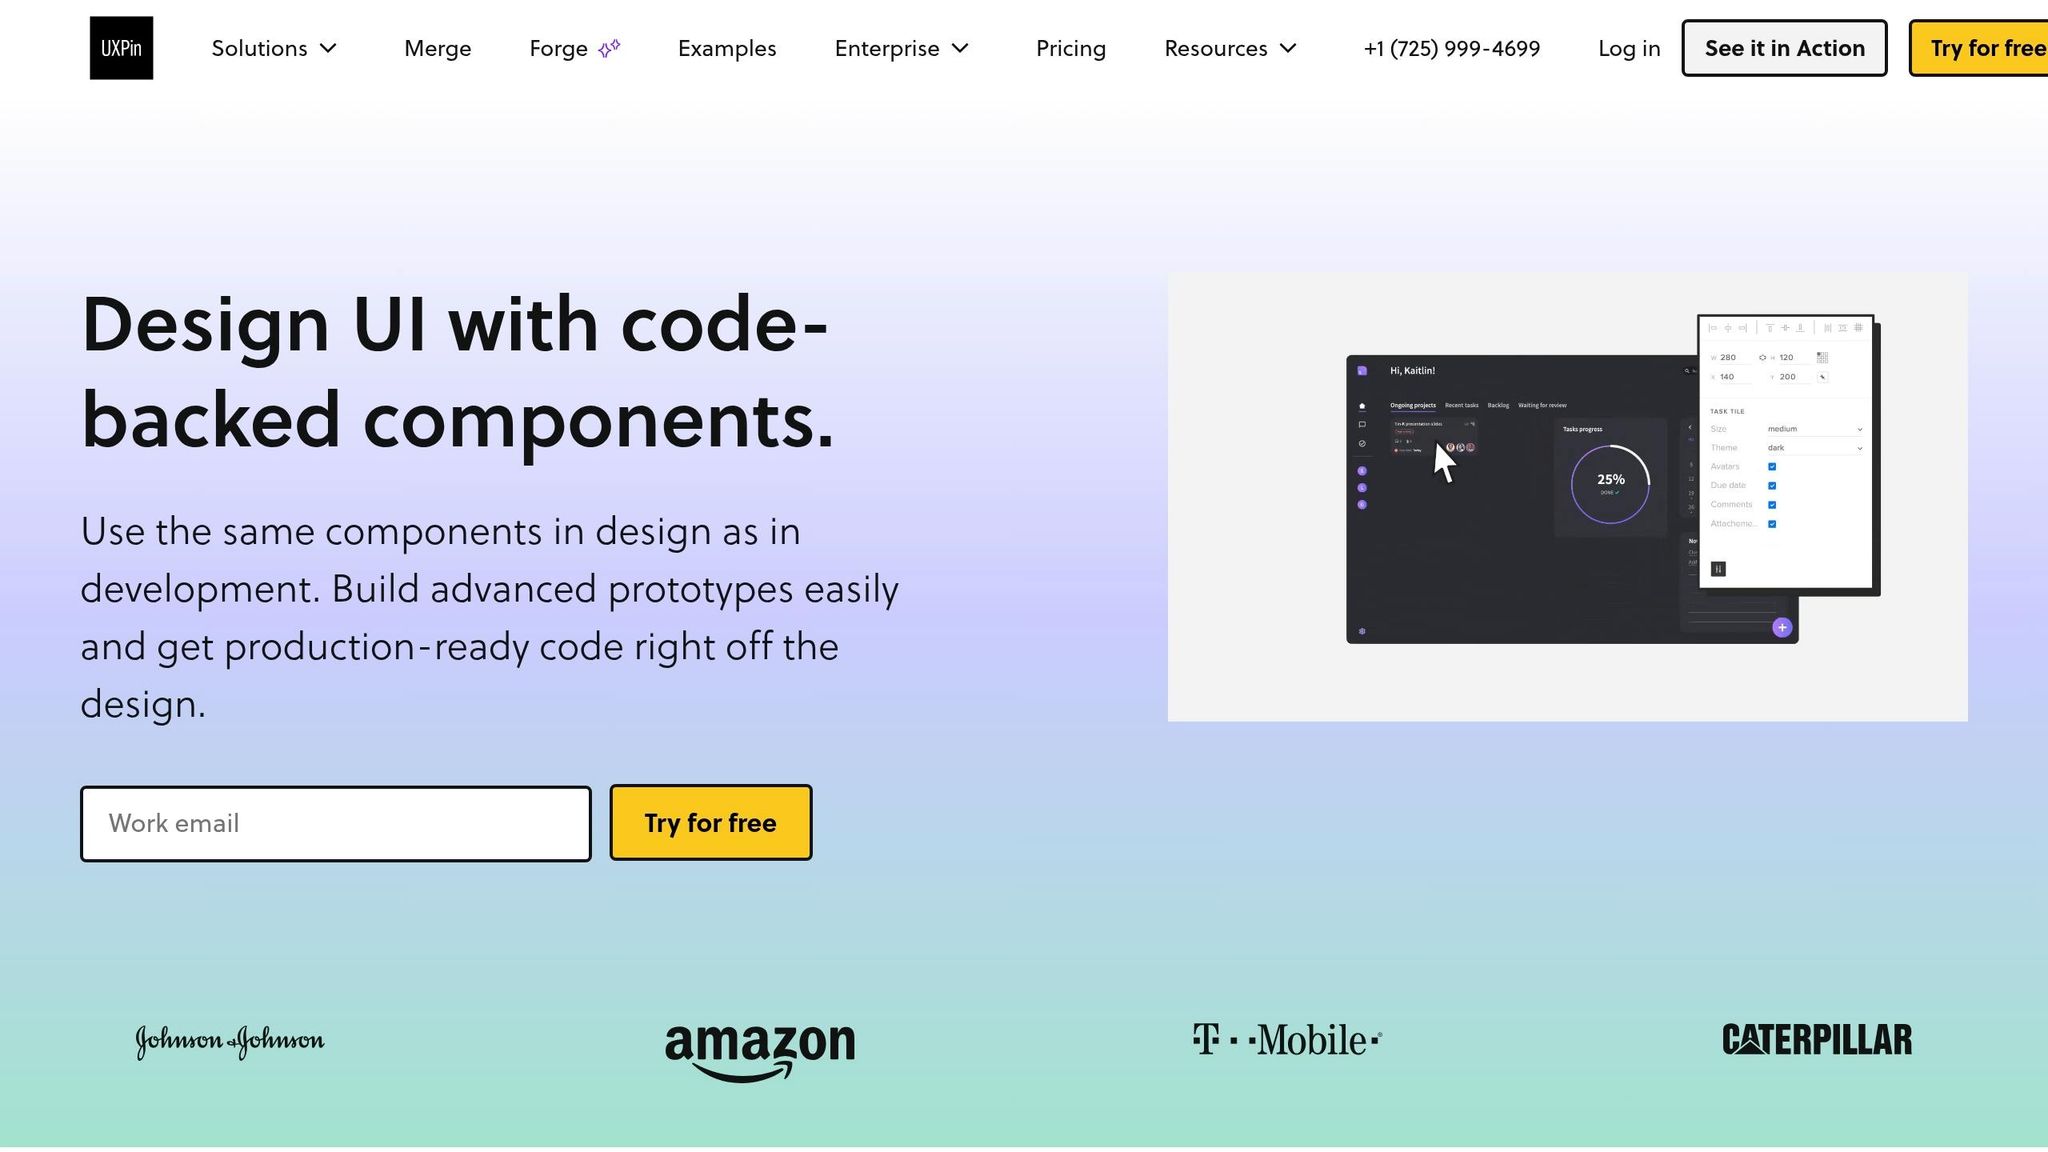
UXPin includes Bootstrap as a built-in coded library, so designers can place Bootstrap components right on the canvas. That means the hero section, pricing cards, and CTA block in the prototype are backed by the same code used in production.
In plain English: designers aren’t drawing lookalikes. They’re working with the same structure developers ship. Once a section is in place, expose only the fields that should change.
Set up reusable properties for design control
After a section is in Merge, expose the properties that change most often. For a hero section, that usually means the headline text, body copy, and button label. For a pricing card, it could be the tier name, price value, and CTA button label.
Keep it tight. Expose only what designers need, like headline, body copy, price, and CTA label. Then map each field to the component’s existing props so edits stay tied to the code. Keep component props typed and scoped to the project. Merge uses the same prop types and variants as the app, which helps prevent misalignment between design and implementation.
Standard design elements vs. Merge components
Standard design elements often mean manual spec matching and rebuilding the same section from scratch every time. Merge components keep the structure, props, and responsive behavior intact because they’re backed by the same Bootstrap code developers ship. That’s where the gap starts to show.
| Factor | Standard Design Elements | Merge Components (Bootstrap) |
|---|---|---|
| Design-dev fit | Requires manual spec matching | Components match production code exactly |
| Reusability | Recreated for each project | Shared library, reused across projects |
| Prop editing | Visual overrides only | Edits map directly to real component props |
| Handoff friction | Developers rebuild from specs | Developers reference the same component |
With those components mapped, you can start assembling the landing page flow in Merge.
Assemble the final prototype and prepare for handoff
Build the page flow in UXPin Merge
With the components mapped, add them to UXPin Merge in page order: hero, features, pricing, then CTA. Keep spacing consistent, and check how the layout behaves at each breakpoint.
Once the layout is in place, set up the interactions. Link CTA buttons to anchors or a success state. Then map the form submit to a success state too.
How the Merge workflow changes handoff
Developers get an interactive prototype built from real Bootstrap components instead of static mockups they have to interpret. That cuts down on rebuilds and helps keep the prototype in line with the code they ship. In plain English, the prototype already mirrors the final structure and behavior.
Conclusion: Faster landing pages with less rework
Claude generates the Bootstrap sections, Merge turns them into reusable components, and the final prototype is ready for handoff. The result is less rebuilding, less guesswork, and more time shipping.
FAQs
How much Bootstrap knowledge do I need?
You don’t need to know Bootstrap inside and out to build landing pages with this workflow. UXPin Merge comes with pre-integrated, code-backed components, so you can drop in elements like buttons, navbars, and cards without touching code.
It helps to know the basics of Bootstrap’s grid system, especially Rows and Columns, since that’s what shapes the layout. From there, Claude Opus 4.5 can generate the page structure, while your front-end team takes care of the npm setup and prop mapping for any custom libraries.
What should I clean up before importing sections into UXPin Merge?
Before you import sections into UXPin Merge, test the AI-generated code first. StackBlitz is a good place to do that. It lets you check the JSX structure and make sure the required React dependencies are in place.
That extra check can save you a headache later. You can catch missing imports, wrong prop types, or small setup issues before they turn into bigger problems.
Also, polish the content for U.S. English spelling and standard U.S. formatting. Then lock down your component hierarchy, spacing rules, and content length limits so the code maps cleanly to your Bootstrap structure.
How do I make AI-generated sections reusable in UXPin Merge?
Organize your AI-made code into a dedicated React component library. Group components by clear categories, such as layout, navigation, and forms. That makes the library easier to scan, easier to maintain, and far less messy as it grows.
Use one shared source of truth for styling. A set of Sass variables or a design token JSON file works well here. The point is simple: colors, spacing, type, and other UI rules should come from one place instead of being hardcoded across files.
Then wrap Bootstrap elements in standardized React components with react-bootstrap. This gives your team a single, controlled layer on top of Bootstrap, instead of letting raw Bootstrap usage pop up everywhere.
After that, connect those components to UXPin through Merge Component Manager. When you do, map key props like variant or size to simple controls. Keep the number of exposed props small so the system stays consistent and easy for people to use.
Think of it like setting up guardrails. People can still move fast, but they’re much less likely to drift into one-off patterns that make the UI feel all over the place.