Want to create better UX faster? Combine Claude Sonnet 4.5, shadcn/ui, and UXPin Merge to simplify your design-to-development workflow. Here’s how these tools work together:
- Claude Sonnet 4.5: Generates React + Tailwind components from plain-language prompts, saving time on coding.
- shadcn/ui: A flexible, open-source React component library built on Radix UI and Tailwind CSS.
- UXPin Merge: Lets designers prototype with real, code-backed components for consistent results.
This guide walks you through setting up these tools, integrating them, and using them to create production-ready UX. By combining reusable components, AI-powered code generation, and a UI design system, your team can reduce errors, speed up delivery, and maintain consistent designs. Let’s dive in!
Claude Sonnet 4.5 + shadcn/ui + UXPin Merge: Design-to-Dev Workflow
Setting Up Your Environment for shadcn/ui and Claude Sonnet 4.5
Prerequisites for a US-Based Product Team
Before diving in, make sure your machine is equipped with the essentials: the latest LTS version of Node.js, a package manager (such as npm, pnpm, yarn, or bun), a React framework like Next.js or Vite, and Git for version control. To ensure compatibility with US standards, configure your project to handle dates in the MM/DD/YYYY format and currencies in USD ($). Libraries like date-fns or the JavaScript Intl object can help with this setup. Once these tools are in place, you’re ready to install and configure shadcn/ui.
How to Install and Configure shadcn/ui
To start, navigate to your project root and run the following command:
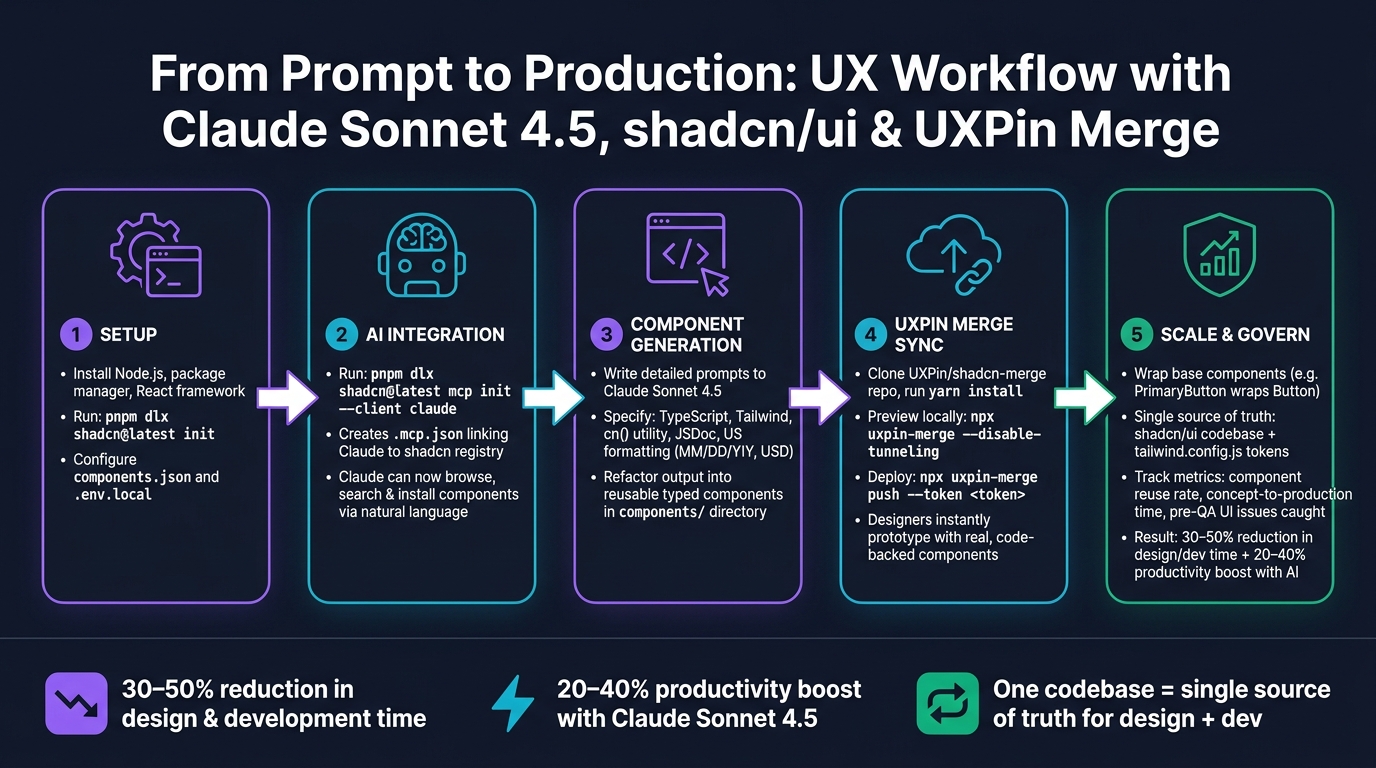
pnpm dlx shadcn@latest init This initializes a components.json file, which acts as the hub for your component library’s configuration. This file stores project paths, style preferences, and, if needed, credentials for private registries. For teams using private registries, add your registry URL and namespace (e.g., @acme) to the registries section in components.json. Then, include the authentication token in your .env.local file as REGISTRY_TOKEN.
With shadcn/ui set up, the next step is to integrate Claude Sonnet into your workflow.
How to Prepare Claude Sonnet for shadcn/ui
Claude Sonnet uses the Model Context Protocol (MCP) server to interact with shadcn/ui components. This setup allows Claude to browse, search, and install components from the shadcn registry using simple, natural-language prompts.
To enable this, run the following command:
pnpm dlx shadcn@latest mcp init --client claude This command automatically creates or updates a .mcp.json file with the necessary server configuration. Alternatively, you can configure it manually by adding the following to .mcp.json:
{ "mcpServers": { "shadcn": { "command": "npx", "args": ["shadcn@latest", "mcp"] } } } Once configured, Claude can handle prompts like "Add the button, dialog, and card components to my project" or "Create a contact form using components from the shadcn registry". If Claude encounters issues recognizing components after an update, clear the cache by running npx clear-npx-cache, then restart your AI client to reestablish the MCP connection.
| Tool | Configuration File | Purpose |
|---|---|---|
| Node.js / Package Manager | package.json |
Runtime and dependency management |
| shadcn/ui CLI | components.json |
Component installation and registry settings |
| MCP Server | .mcp.json |
Links Claude to shadcn registries |
| Environment Variables | .env.local |
Handles authentication for private registries |
sbb-itb-f6354c6
Shadcn’s NEW MCP is Here: Build UIs with AI Agents & Claude Code
Integrating shadcn/ui Components into UXPin Merge
Once your environment is set up, the next step is bringing real code components into UXPin Merge. This allows designers to work directly with actual code on the canvas, ensuring a smoother handoff and reducing inconsistencies.
How to Connect shadcn/ui to UXPin Merge
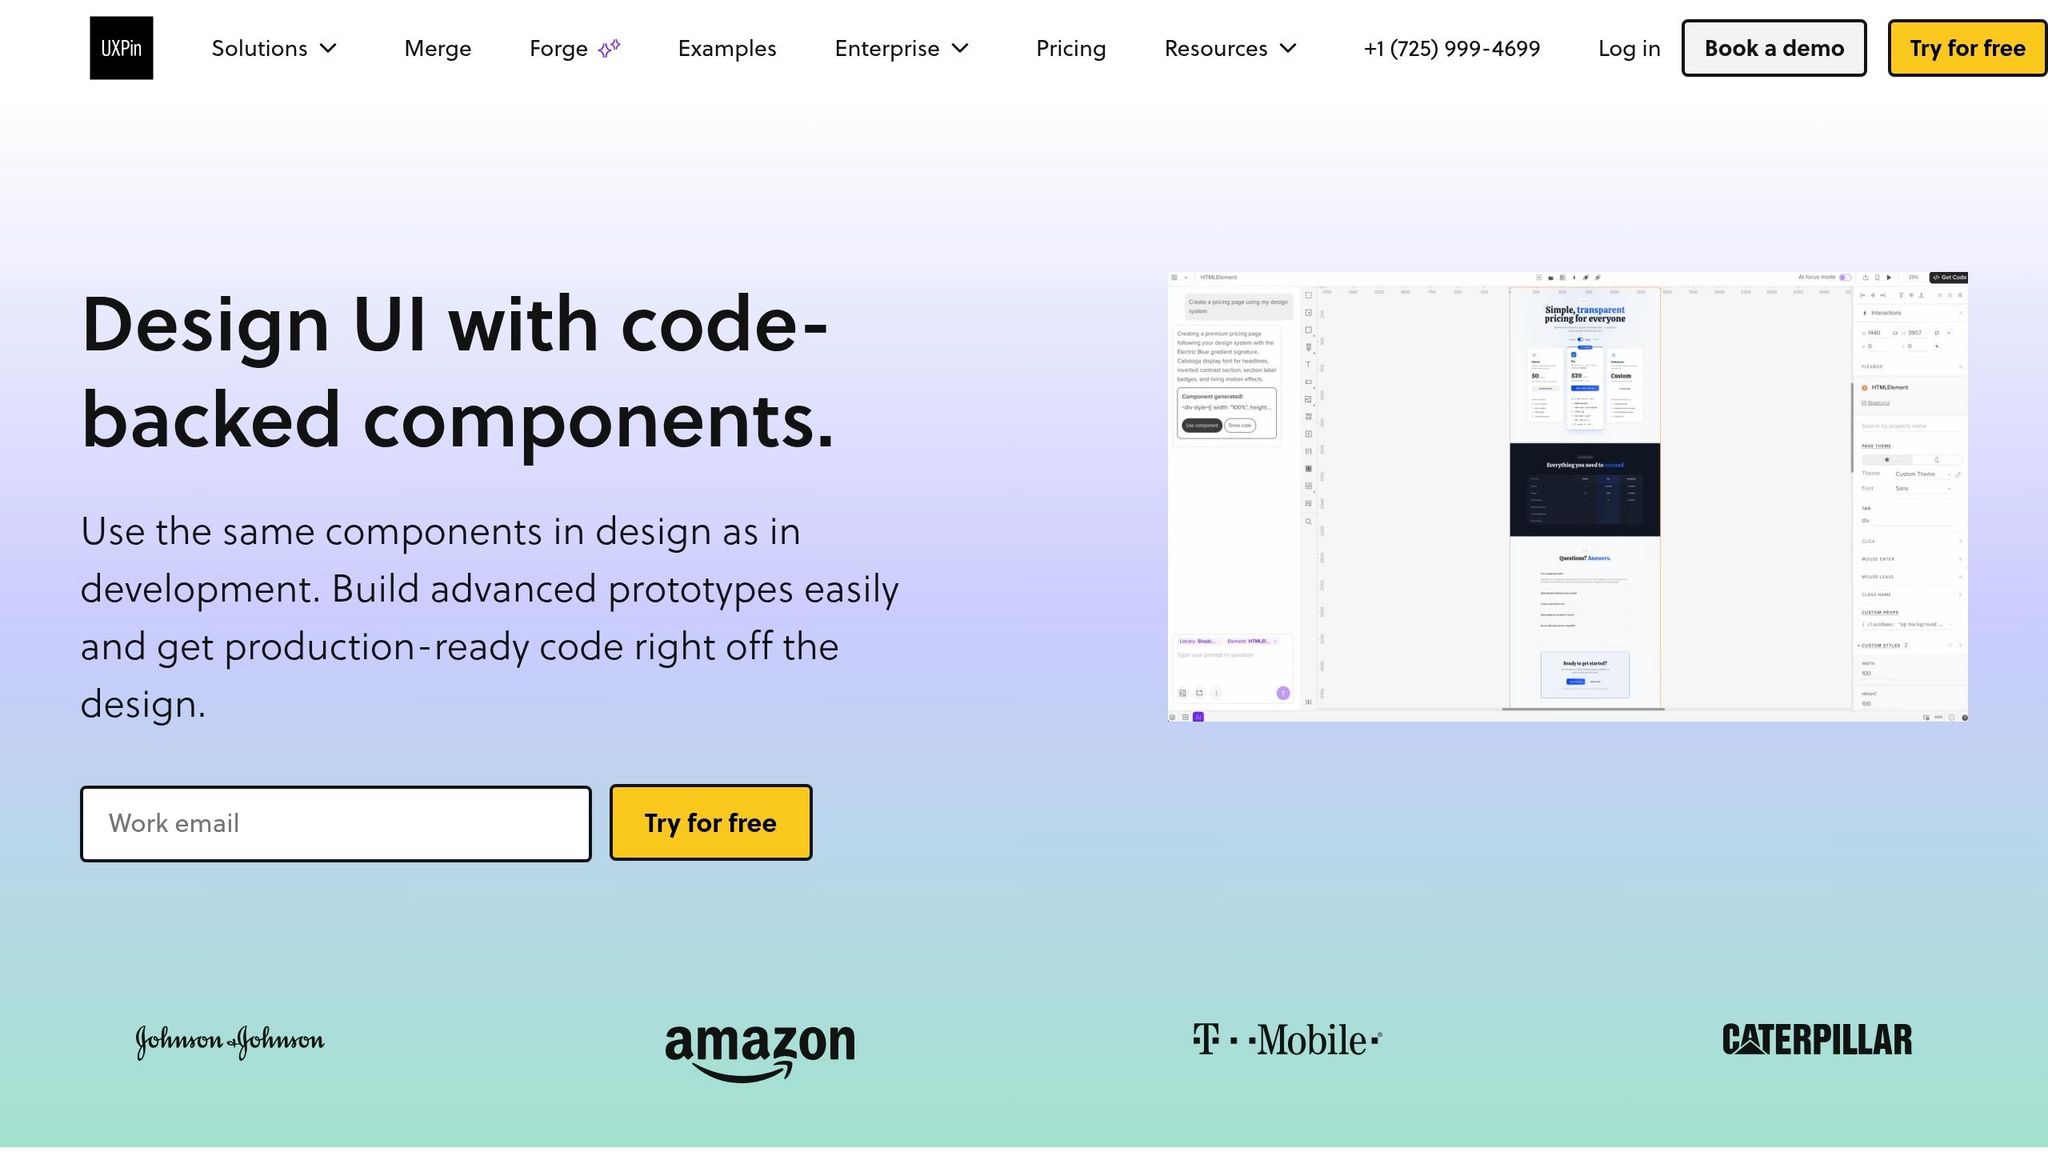
After configuring your shadcn/ui and Claude Sonnet setup, you’ll need to integrate your components into UXPin Merge. Start by cloning the UXPin/shadcn-merge repository. This repository is already prepared for seamless integration, including:
- A
uxpin.config.jsfile to map your components to the UXPin canvas. - A
uxpin.webpack.config.jsfile to bundle Radix UI primitives and Tailwind CSS styles properly.
Once cloned, run yarn install to install the necessary dependencies.
Next, follow these steps to complete the integration:
| Step | Command | Purpose |
|---|---|---|
| Preview | npx uxpin-merge --disable-tunneling |
View components locally before deployment. |
| Deploy | npx uxpin-merge push --token <token> |
Push your library to the UXPin cloud. |
| Branch Push | npx uxpin-merge push --token <token> --branch <name> |
Push a specific branch for testing. |
Since Merge connects directly to your Git repository, any updates developers make to components are automatically reflected in the designers’ library after the next push. This ensures everyone works from the same source of truth.
How to Validate Component Functionality in UXPin
Before rolling out changes to the full team, you can use Experimental Mode to test component interactions. Run npx uxpin-merge --disable-tunneling to open a live preview. This preview lets you interact with component props, states, and variants exactly as they function in production React code, making it easier to catch issues early.
Here are two common issues to watch for:
- Path Alias Resolution: Ensure your
tsconfig.jsonis configured to handle the@/componentspath aliases used in shadcn/ui projects. - Tailwind Class Purging: If components appear unstyled, update the
safelistin yourtailwind.config.jsto include the dynamic utility classes generated by shadcn/ui as part of your Tailwind CSS integration. Without this, the CSS purge step might remove essential styles during the build process.
Once your components are rendering and functioning as expected, use the branch push command to share them with a smaller group for additional testing before making them available to the entire team.
Using Forge with shadcn/ui in UXPin
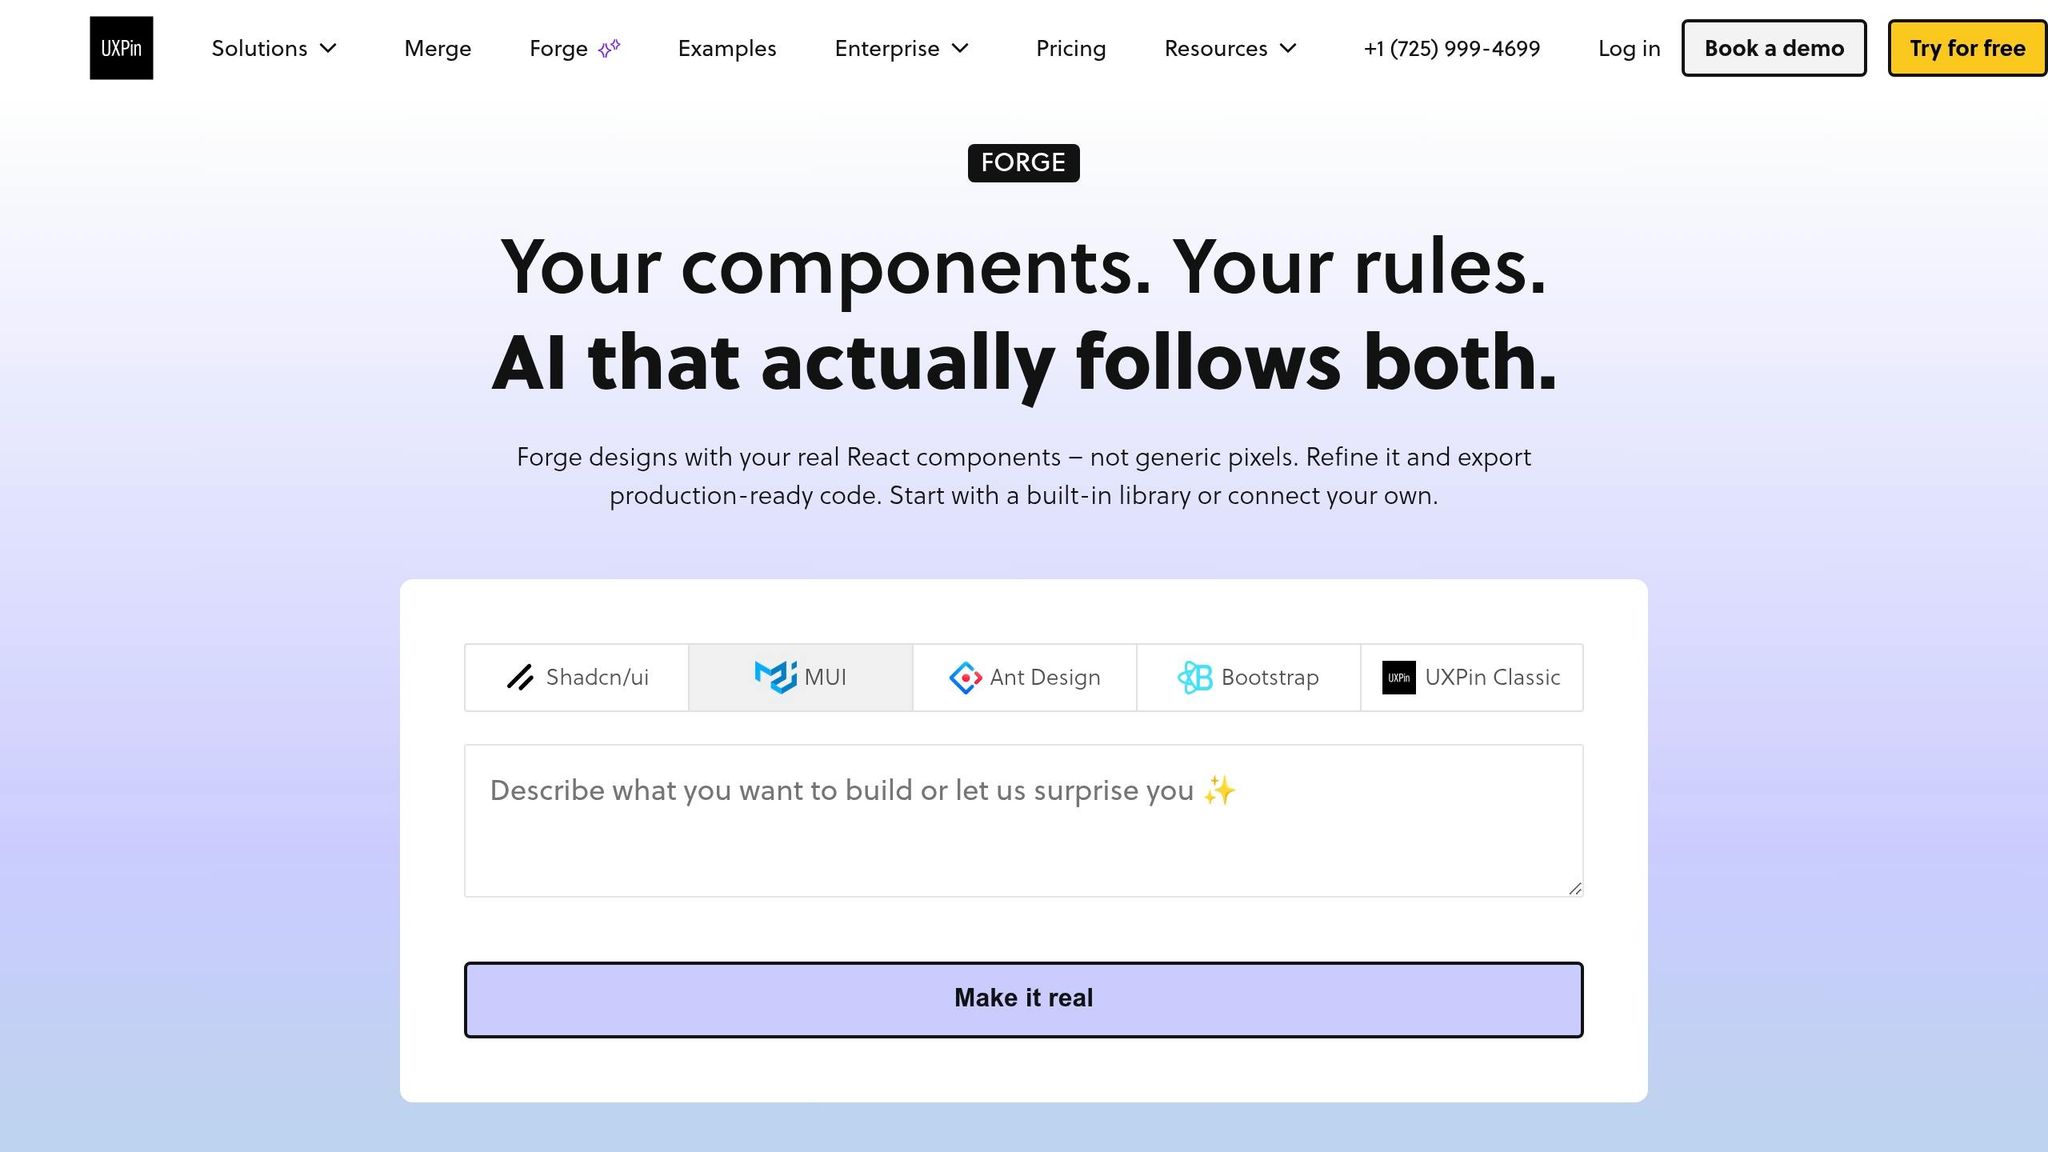
When your shadcn/ui components are live in UXPin Merge, Forge, UXPin’s built-in AI assistant, becomes a powerful tool. Forge doesn’t create generic layouts from scratch; instead, it works exclusively with your connected component library. This ensures that every layout it generates uses only the shadcn/ui components your team has approved and tested. It’s a design process that stays consistent and aligned with your codebase.
Designers can prompt Forge directly within UXPin (no extra AI subscription required) to generate working layouts built entirely from real, developer-ready components. This approach speeds up the design process without introducing patterns or elements that could create inconsistencies or require rework later.
"It used to take us two to three months just to do the design. Now, with UXPin Merge, teams can design, test, and deliver products in the same timeframe." – Erica Rider, UX Architect and Design Leader
Using Claude Sonnet 4.5 to Generate shadcn/ui Components
With seamless integration into UXPin Merge, you can now leverage Claude Sonnet 4.5 to create the components you’re missing. The aim? To generate production-ready code that fits smoothly into your design system without the need for extra adjustments.
How to Write Effective Prompts for Claude Sonnet
Claude delivers its best results when you provide detailed prompts that outline your tech stack, component behavior, and coding standards. Here’s an example of a well-crafted prompt:
"Generate a React functional component using shadcn/ui with Tailwind CSS and TypeScript. Create a data table with sortable columns and pagination, use the
cn()utility for class merging, export a typedPropsinterface, and include JSDoc comments."
If your instructions lack specificity, Claude might still produce valid React code, but it may not align with your project’s conventions. To streamline this process, you can use the GitHub Model Context Protocol (MCP) Registry. This allows Claude to access your design system’s documentation and coding standards directly, so you don’t have to repeat them in every prompt.
For US-based projects, make sure to adjust your prompts to reflect local standards.
Adding US-Specific UX Details to Generated Components
Claude Sonnet 4.5 doesn’t automatically apply American formatting rules, so you’ll need to include them in your prompts. Here are a few key details to specify:
- Date inputs: Use the
MM/DD/YYYYformat. - Currency fields: Include the dollar symbol with commas for thousands and periods for decimals (e.g.,
$1,299.99). - Measurement inputs: Request imperial units like inches, pounds, and feet instead of metric.
A sample prompt could look like this:
"Format all currency values as USD using the pattern $X,XXX.XX. Display dates in MM/DD/YYYY format. Use imperial units for any measurement inputs."
By including these details, you ensure consistency and clarity in your components, aligning them with user expectations in the United States.
Turning Claude-Generated Code into a Reusable Component Library
Claude’s code is just the first step. Before adding it to your UXPin Merge library, refine it using a quick checklist. For instance, you could ask:
"Refactor for reusability. Add a TypeScript
Propsinterface, JSDoc documentation for each prop, and ensure all class merging uses thecn()utility from shadcn/ui."
Once the code has been cleaned up and typed, save it in your components/ directory alongside your existing shadcn/ui components. Update your uxpin.config.js file to map the new component, and then run npx uxpin-merge push to sync it with your library.
By integrating these refined components directly into your design system, you maintain a cohesive and production-ready library.
"AI should create interfaces you can actually ship – not just pretty pictures." – UXPin
This principle ensures that the components you generate are ready for production without requiring additional fixes.
Building a Component-Driven UX Workflow with UXPin Merge
When you base your workflow on refined components, you create a system that aligns design and development seamlessly. The real power lies in establishing a repeatable process that your team can rely on. A component-driven approach thrives when designers, developers, and product managers work from the same shared foundation.
How to Improve Design and Development Collaboration
The main advantage of UXPin Merge is straightforward: designers use the exact components that developers ship. This eliminates the need for translation layers and redlines.
Here’s how it works: developers push updates using the CLI command npx uxpin-merge push --token <library-token>. These updates instantly appear in the UXPin canvas, allowing designers to prototype with live components. Meanwhile, product managers benefit from interactive prototypes that mirror real-world behavior. This shared environment not only improves collaboration but also simplifies system governance.
Managing Design System Governance
Governance is often where design systems falter. With shadcn/ui, your team owns the code – components live in your repository, giving you full control over updates and modifications. By aligning design tokens with company standards, you reinforce the component-driven approach discussed earlier.
"The safest way to customize shadcn-ui components in production is to treat them as your internal design system – not as a dependency you modify directly." – Om-singh-ui, GitHub Contributor
In practice, this means wrapping base components instead of altering them directly. For instance, you might create a PrimaryButton that wraps shadcn/ui’s Button, applying your brand’s styles through class-variance-authority (CVA). Your CSS variables and tailwind.config.js act as the single source of truth for tokens like colors and border radius. Update these tokens once, and the changes ripple across all components automatically.
When testing new patterns, use the --branch flag:
npx uxpin-merge push --token <token> --branch <branch-name> To avoid token clutter, schedule quarterly reviews to remove unused tokens and keep the system streamlined. Regular maintenance like this ensures the system remains efficient and adaptable.
How to Continuously Improve the Workflow
Static workflows often lead to bottlenecks. Successful teams treat their component library as a living product, continually refining and evolving it.
This involves two key practices. First, monitor the official shadcn/ui changelog and manually review differences before pulling upstream updates – since components live in your repository, updates won’t apply automatically. Second, use Experimental Mode (npx uxpin-merge --disable-tunneling) to preview and validate new components locally before adding them to the shared library.
"Design systems fail when growth means friction. Keep growth boring." – Modexa
The goal isn’t to achieve a flawless system right away. Instead, focus on building a process that your team can trust, improve over time, and rely on consistently.
Conclusion: Scaling UX with Claude Sonnet 4.5, shadcn/ui, and UXPin Merge
Bringing design and code into alignment is the cornerstone of effective UX, and this toolset makes it achievable. Claude Sonnet 4.5, shadcn/ui, and UXPin Merge offer enterprise teams a streamlined way to move from ideas to production-ready UX. Designers work directly with real components, developers rely on reliable code, and AI steps in to handle repetitive tasks.
The benefits of this approach are clear. Studies indicate that well-developed design systems can cut design and development time by 30–50%. When you add Claude Sonnet 4.5’s ability to generate components tailored to US-specific standards, productivity can jump another 20–40%.
These efficiency gains create the groundwork for a scalable and maintainable design system. At the heart of this is the single source of truth: the shadcn/ui codebase. This codebase governs both the designs created in UXPin and the final products developers deliver. Updates to tokens or compliance requirements automatically cascade across all projects, ensuring consistency and accuracy from the start.
To make the most of this system, focus on a few key practices: follow design system best practices by treating your system as an evolving product with clear ownership, use Claude to amplify your team’s capabilities without replacing engineering expertise, and keep UXPin Merge fully aligned with your primary codebase. Track your progress with measurable metrics like component reuse rate, the time it takes to move from concept to production, and how many UI issues are caught before QA. These metrics highlight the incremental improvements that drive a well-oiled workflow.
Scaling UX doesn’t have to mean adding unnecessary complexity. With a solid foundation, growth becomes a manageable and predictable process.
FAQs
How do I connect Claude to shadcn/ui components?
To integrate Claude with shadcn/ui components in UXPin, here’s what you need to do:
- Open the UXPin Editor and navigate to the Quick Tools panel.
- Locate the AI Component Creator and switch to the Settings tab.
- Input your Anthropic API key in the designated field.
- From the model dropdown, select Claude Haiku 4.5.
Once configured, Claude can create React components using shadcn/ui, perfectly suited for production workflows.
Why are my shadcn/ui components unstyled in UXPin Merge?
If your shadcn/ui components look unstyled in UXPin Merge, the issue is probably related to your styling setup. Here’s what to check:
- Webpack Configuration: Make sure your project’s
webpackConfigsupports both PostCSS and Tailwind CSS processing. - Global CSS Variables: Verify that your global CSS file includes the necessary variables like
--primaryand--backgroundto ensure consistent theming. - Merge CLI Version: Ensure you’re using Merge CLI version 3.4.3 or later to guarantee full compatibility.
Addressing these areas should resolve the styling issue.
What’s the best way to keep shadcn/ui customizations maintainable?
To keep shadcn/ui customizations manageable, it’s better to proxy or re-export components using your own code rather than altering them directly. This approach makes updates smoother and ensures compatibility with CLI tools like diff. By wrapping shadcn/ui components in your own pre-composed versions, you can retain custom styles and behaviors without risking issues when newer versions are released. This method avoids direct edits that could complicate or break updates down the line.