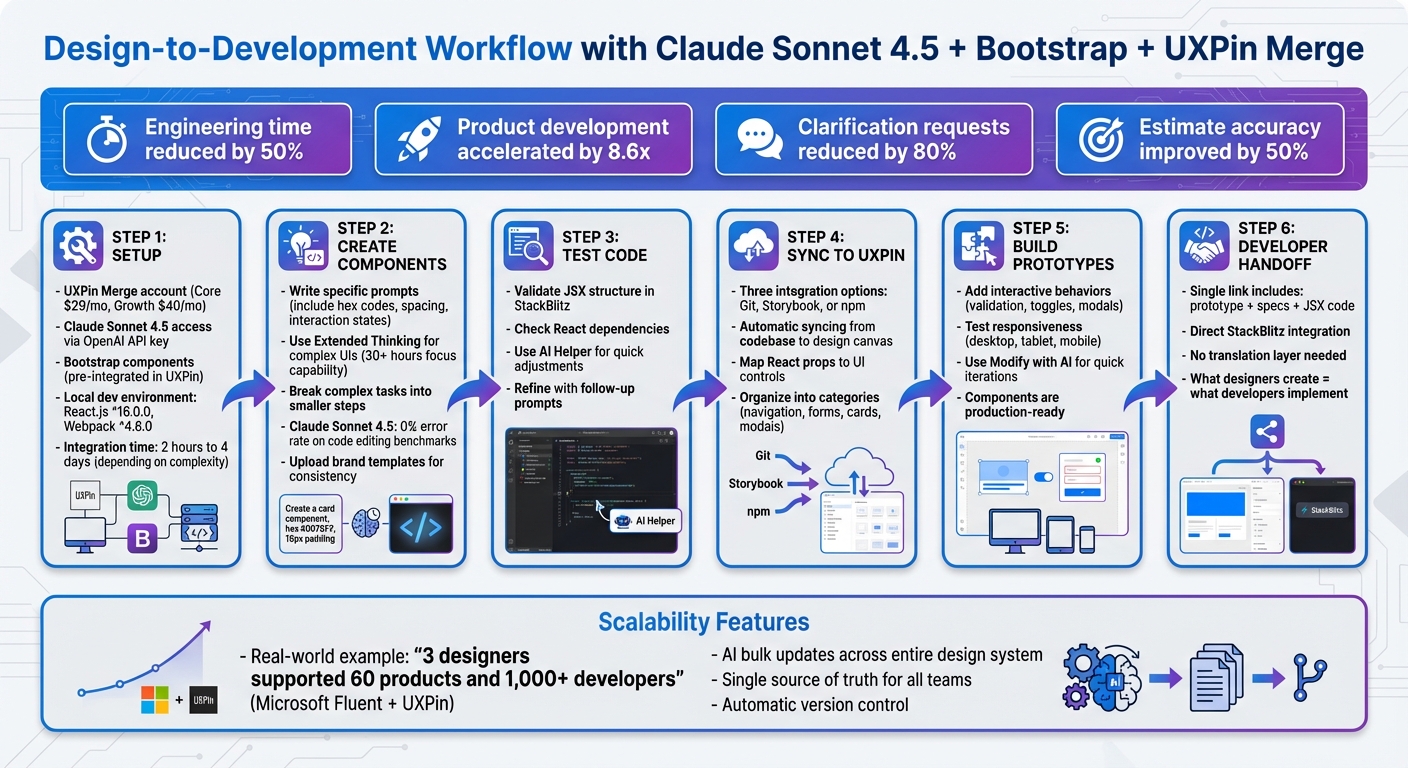
In this article, you’ll learn how to streamline your design-to-development workflow using Claude Sonnet 4.5, Bootstrap, and UXPin Merge. This approach eliminates the need for manual handoffs by generating production-ready React Bootstrap components directly on the design canvas. Designers can create interactive prototypes that developers can implement without translation, reducing engineering time by up to 50% and speeding up product development by as much as 8.6x.
Key Takeaways:
- Claude Sonnet 4.5 generates React Bootstrap components with clean, usable code.
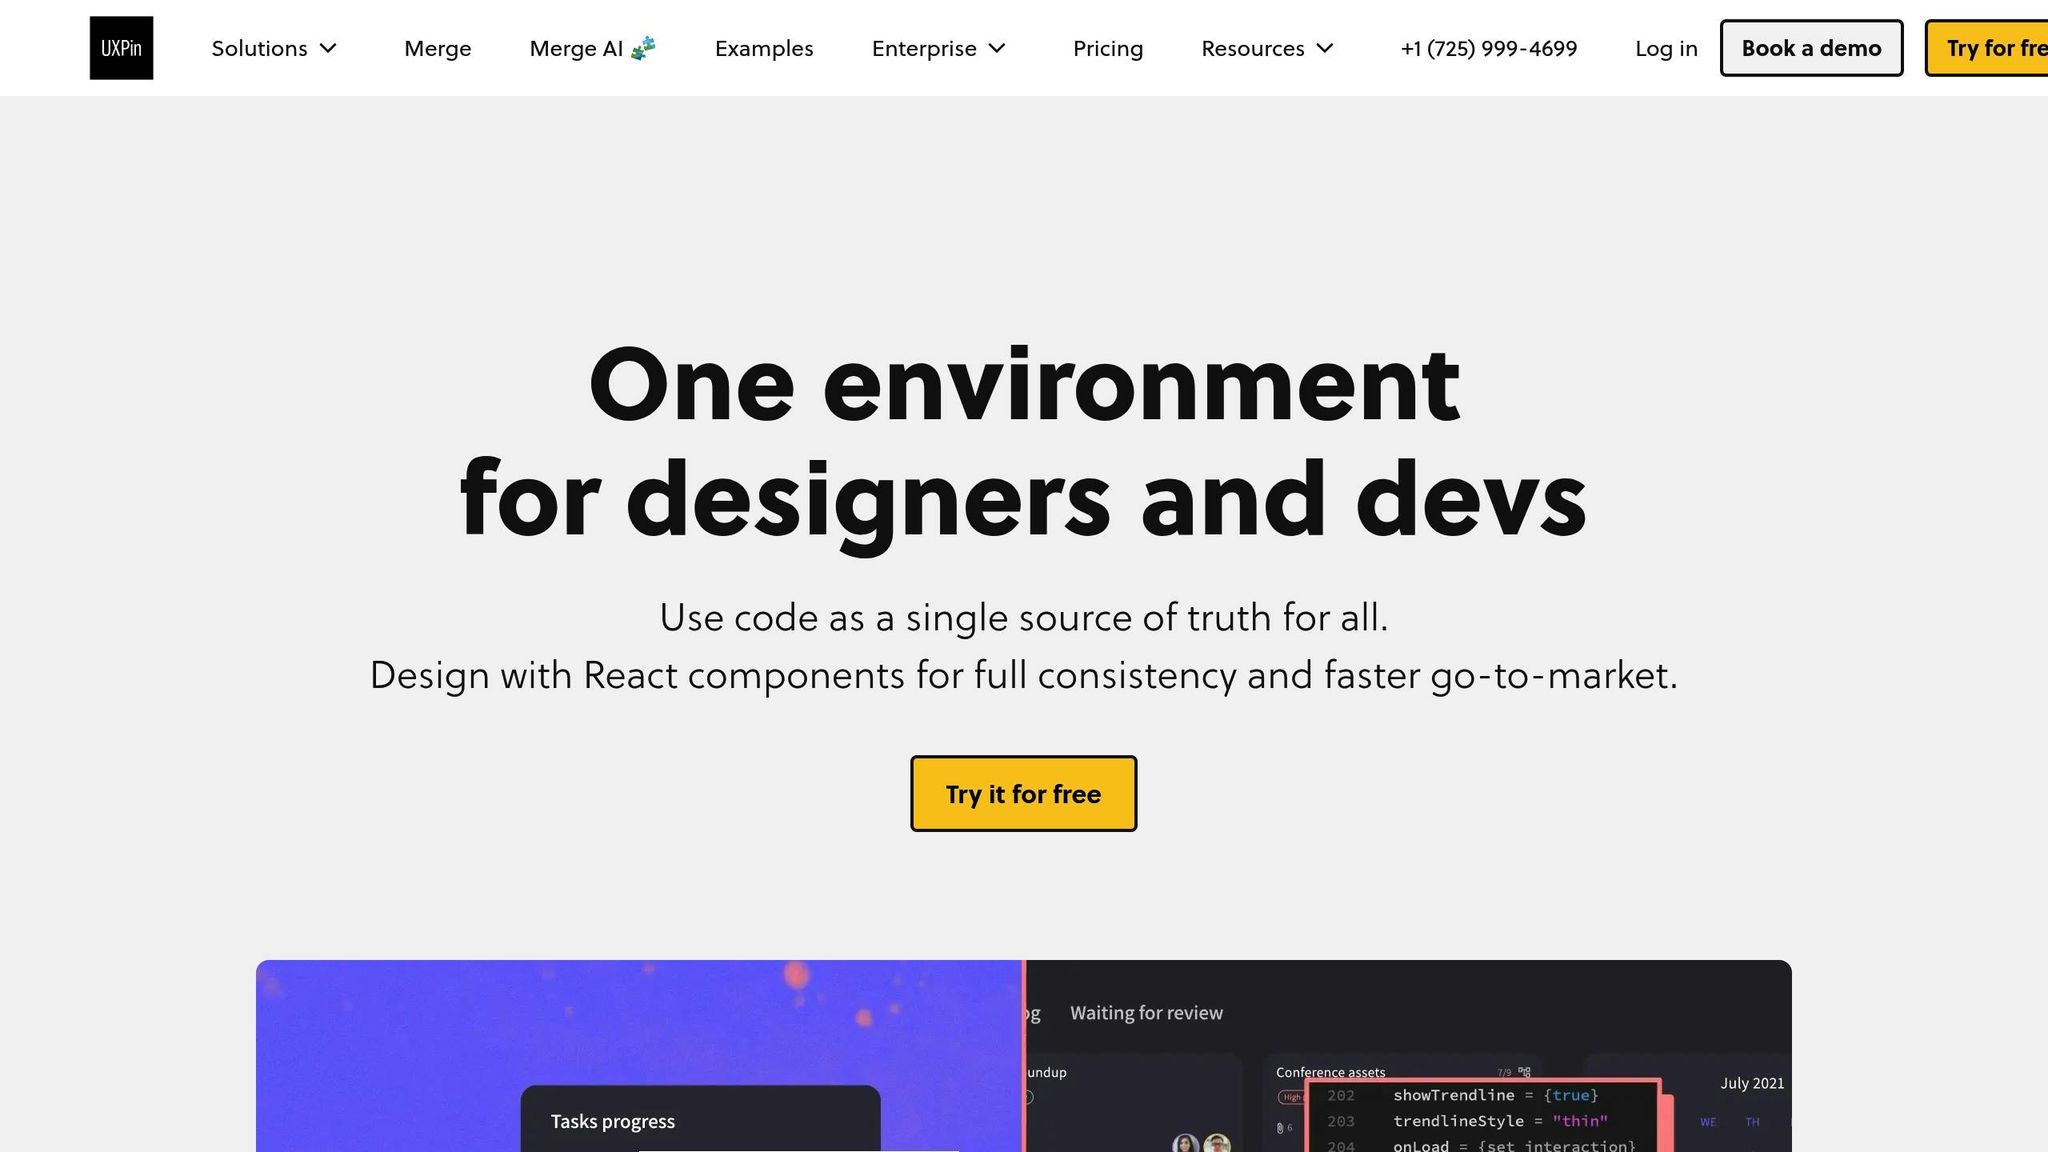
- UXPin Merge integrates these components into interactive prototypes, syncing designs with production code.
- Teams save time, avoid inconsistencies, and maintain alignment between design and development.
- The process supports enterprise-scale projects by ensuring scalability and consistency across design systems.
This guide covers everything from setup to creating components, testing code, and syncing prototypes. By the end, you’ll be equipped to build efficient workflows that bridge the gap between design and development.
Complete Workflow: Prototyping with Claude Sonnet 4.5, Bootstrap, and UXPin Merge
UXPin Merge Tutorial: User Interface (2/5)
sbb-itb-f6354c6
Setup and Prerequisites
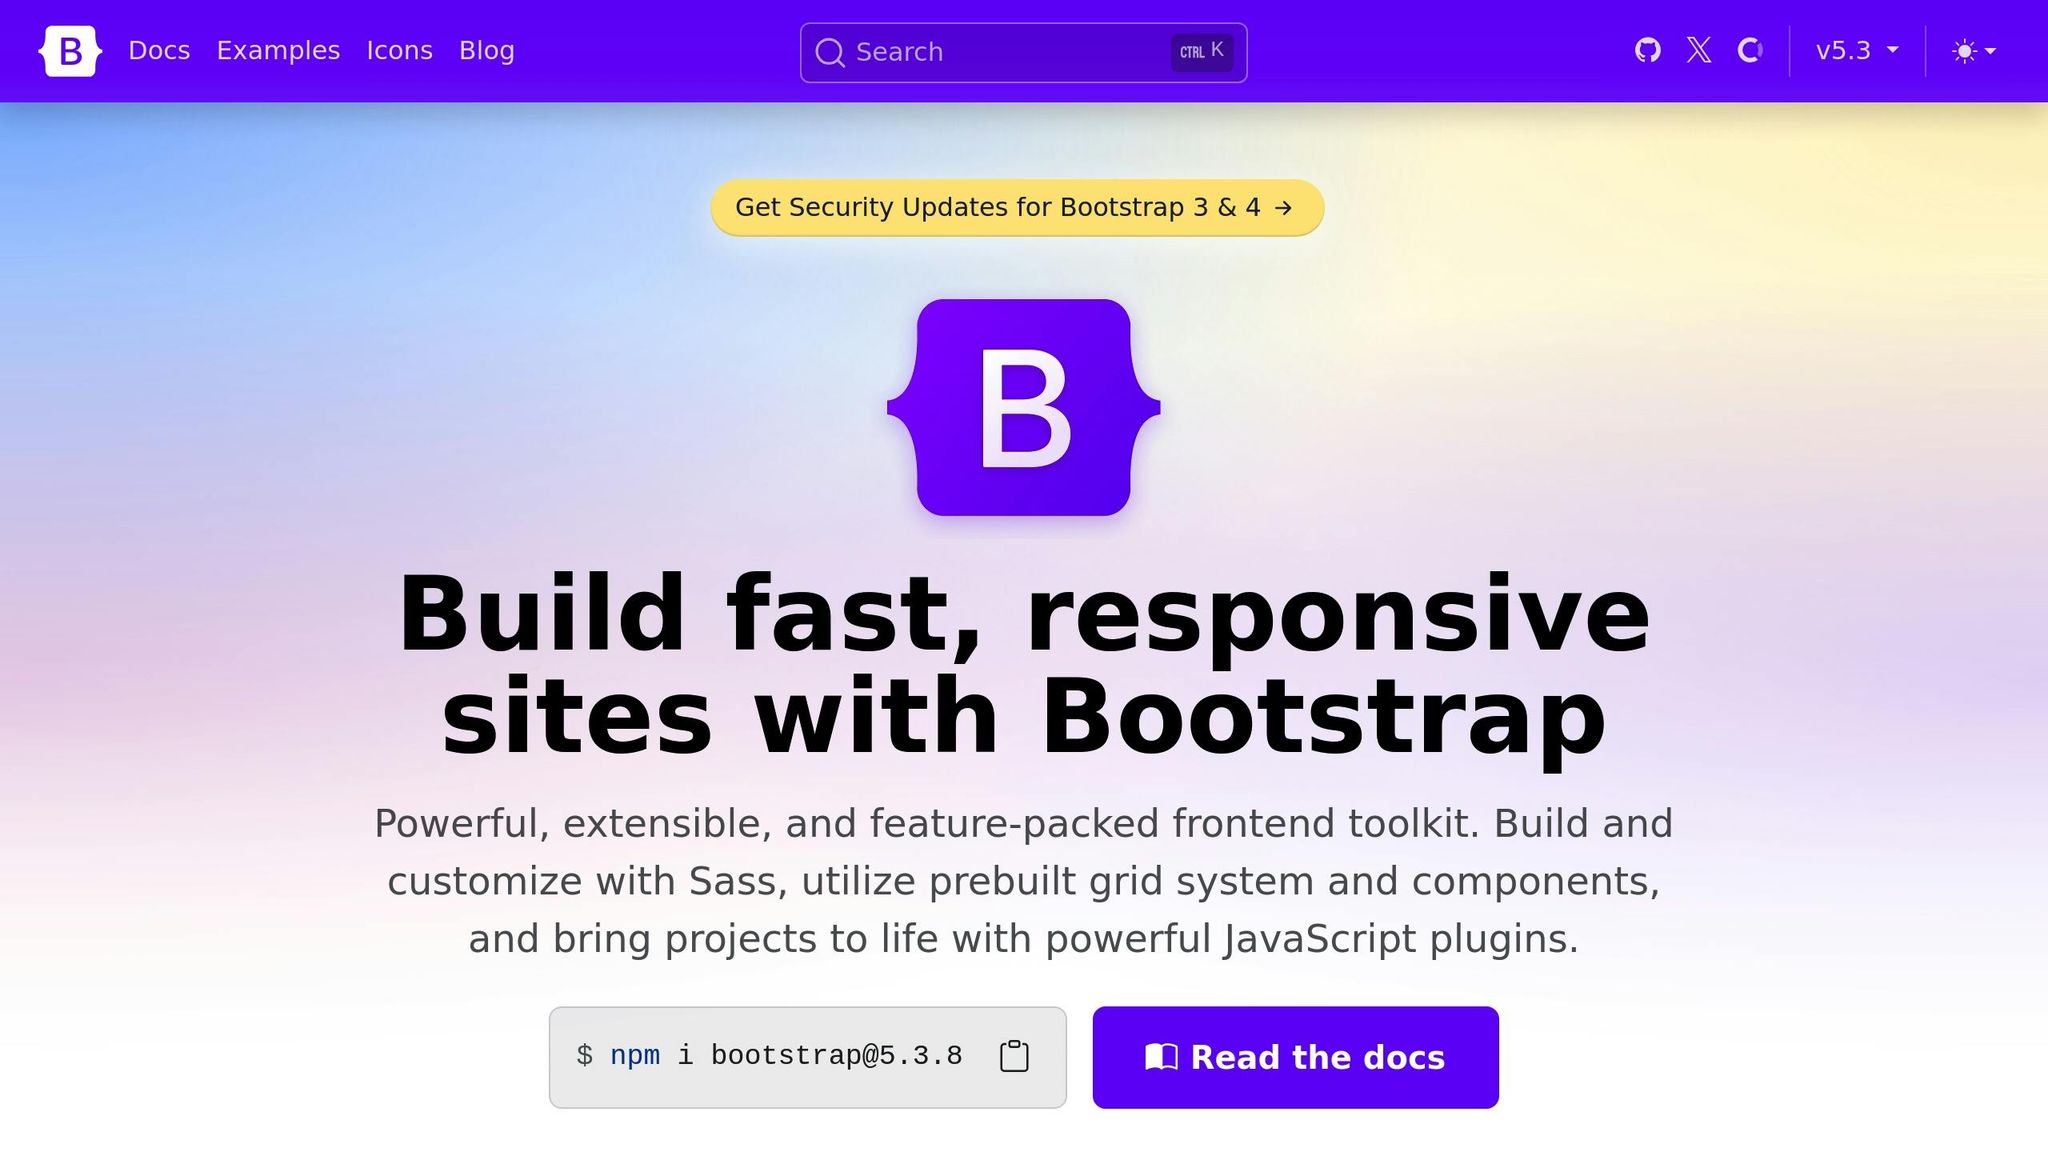
To get started, you’ll need a UXPin Merge account, access to Claude Sonnet 4.5, and a properly configured local development environment. Since UXPin already includes native Bootstrap integration, there’s no need to manually import it unless you’re working with a custom library.
According to UXPin’s documentation, integrating a React design system can take anywhere from 2 hours to 4 days, depending on its complexity. However, with Bootstrap, the process is much quicker since the library is already pre-integrated.
Setting Up UXPin Merge
UXPin Merge is available with all paid plans, starting at $29/month for the Core tier. If you need advanced AI tools like Claude Sonnet 4.5 and enterprise-level design system features, you’ll want to upgrade to the Growth plan, which costs $40/month or more. The Growth plan also includes 500 AI credits per month, Storybook integration, and robust design system features.
Once your account is ready, you’ll find Bootstrap components preloaded in UXPin’s coded libraries. Simply go to the Merge Component Manager in the UXPin Editor. There, you can access react-bootstrap components like Button, Accordion, or Card, all of which are interactive and production-ready.
Setting Up Claude Sonnet 4.5
To enable AI-powered component creation, you’ll need an OpenAI API key. Visit the OpenAI website to create an account (if you don’t already have one) and obtain your API key. Enter this key in the AI Component Creator settings.
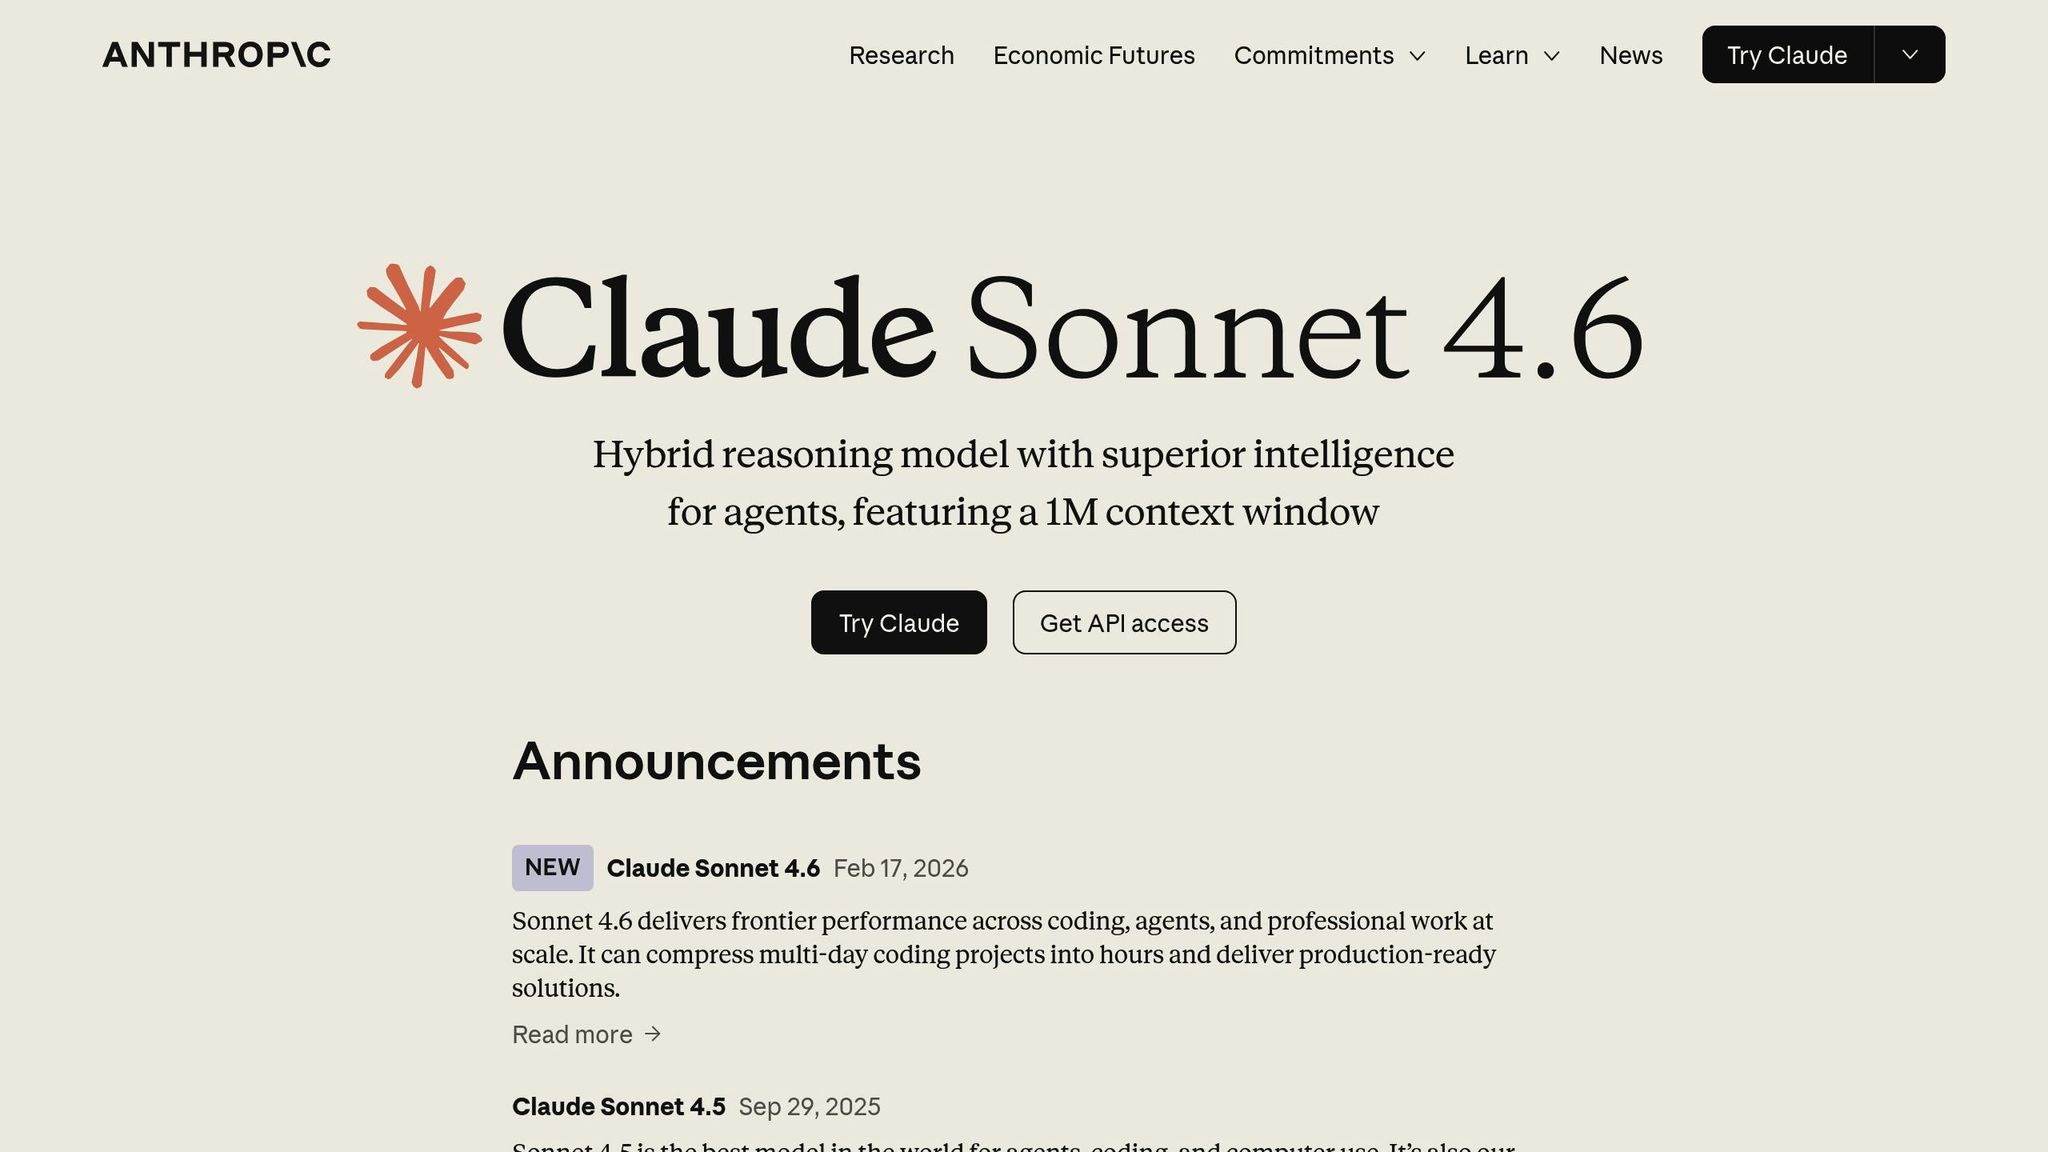
Once authenticated, select "Claude Sonnet 4.5" from the model dropdown in the settings. This version is known for generating designs that are "smoother and more consistent with your style" compared to earlier models like Sonnet 4 or GPT-3.5. Be aware that longer prompts might slow down generation times, as performance depends on the AI platform’s response speed.
If you’re planning to work with custom libraries, you’ll need to configure your local development environment. Details on how to do this are covered in the next section.
Local Development Environment
For teams using custom component libraries, setting up a local development environment is essential. Follow these steps:
- Install the UXPin Merge CLI as a development dependency:
npm install @uxpin/merge-cli --save-dev - Ensure you have React.js version ^16.0.0 or higher and Webpack version ^4.6.0 installed. These tools are necessary for bundling JavaScript, CSS, and other assets.
- Create a
uxpin.config.jsfile in your project root to define component categories and Webpack configurations. Then, run the following command to render components locally for the first time:uxpin-merge --disable-tunneling
For production environments, integrate the Merge CLI with CircleCI or Travis CI. Use the uxpin-merge push command along with an UXPIN_AUTH_TOKEN environment variable to ensure your design tool stays synced with every code update. For optimal results, use Google Chrome as your browser.
Creating Bootstrap Components with Claude Sonnet 4.5
With your environment set up, you can now use Claude Sonnet 4.5 to generate React-Bootstrap components directly on the design canvas. This streamlined process removes the hassle of toggling between applications or handling separate API keys – everything happens seamlessly within UXPin.
Now, let’s focus on how to write prompts that deliver the best results.
Writing Effective Prompts
When crafting prompts, be as specific as possible. Include details like exact hex codes, spacing values, interaction states, and ensure you explicitly request React-Bootstrap standards to guarantee smooth integration. For instance, you might say: "Create a primary Bootstrap button with a #0d6efd background, 12px padding, and a darker blue border on hover using only React-Bootstrap components – no external CSS files."
"It’s important to review the results and make any necessary refinements. If the initial output is not as expected, experiment with different wording, structures, or additional details until you achieve the desired outcome." – UXPin
For more intricate layouts, break your prompt into smaller tasks. For example, when designing a dashboard, start with the navigation bar, then move to the sidebar, and finally tackle individual cards. This step-by-step approach minimizes errors and makes it easier to refine each component. While Claude Sonnet 4.5 can focus on multi-step tasks for over 30 hours, starting small gives you more control over the outcome.
If your instructions are unclear, Claude will ask for clarification instead of making assumptions, helping to avoid irrelevant results.
Once you’ve mastered prompt writing, you’re ready to build more complex UI components.
Building Complex UI Components
For detailed dashboards or multi-step forms, enable the Extended Thinking feature in Claude’s settings. Be precise with measurements and follow your brand guidelines. For example: "Create a consulting-style dashboard card with 16px margins, a #f8f9fa background, and a subtle 1px border using Bootstrap’s utility classes." The more detail you provide, the fewer iterations you’ll need to perfect the design.
"Claude Sonnet 4.5 is our most intelligent model for creating work deliverables. With code execution and file creation, Claude can build presentations, spreadsheets, and documents faster and with higher quality than before." – Anthropic
If your project relies on existing brand assets, upload templates so Claude can align with your specific standards. This is especially helpful for enterprise teams aiming for consistency across products. You can also use the AI Helper tool to adjust elements like button colors or spacing without rewriting the entire prompt.
Testing Generated Code
Before importing components into UXPin Merge, it’s essential to test the AI-generated code. Tools like StackBlitz are perfect for checking JSX structure and ensuring all necessary React dependencies are in place. This step helps catch issues like missing imports or incorrect prop types early.
If adjustments are needed, use concise follow-up prompts with the AI Helper, such as "Make the card shadow more subtle" or "Increase the font size to 18px". This method saves time while taking advantage of Claude Sonnet 4.5’s 0% error rate on internal code editing benchmarks.
Once you’re satisfied with the code and confident it meets your standards, integrate it into UXPin Merge to start building interactive prototypes effortlessly.
Importing and Prototyping in UXPin Merge
Once your Bootstrap components are tested and ready, bringing them into UXPin Merge is quick and straightforward. These components become instantly accessible on your canvas, ready for customization. This integration allows you to sync your custom components efficiently, ensuring a smooth workflow.
Syncing Bootstrap Components
If you’ve created custom Bootstrap components with Claude Sonnet 4.5 outside of UXPin, the npm integration makes syncing them simple. Use the Merge Component Manager to connect your react-bootstrap package and include the CSS path (bootstrap/dist/css/bootstrap.min.css) to ensure proper rendering. From there, you can map React props like variant or size to UI controls in the Properties Panel. This setup makes it easy for designers to tweak button styles or card layouts without needing to dive into the code.
For components built directly in UXPin using the AI Component Creator, they’re immediately code-backed and ready to use. Organize these components into categories like navigation, forms, or cards to help your team locate what they need quickly. Syncing ensures that your designs remain consistent from the prototype stage all the way to production.
Building Interactive Prototypes
With your synced components in place, creating interactive prototypes becomes a breeze. You can add behaviors like form validation, accordion toggles, or modal pop-ups using UXPin’s built-in logic tools. To test responsiveness, switch between desktop, tablet, and mobile views to confirm that the Bootstrap grid adjusts correctly across different screen sizes.
If you need to make quick changes – like tweaking padding or updating button text – the Modify with AI tool lets you iterate directly within UXPin. This eliminates the need to return to your code editor, keeping your workflow efficient.
Preparing for Developer Handoff
Once your interactive prototypes are complete, you can simplify the developer handoff process. UXPin Merge provides a single link that includes the prototype, full specifications, and production-ready JSX code. Developers can either copy the code directly or open the project in StackBlitz for immediate front-end development.
Because the prototypes use the same Bootstrap components as production, there’s no need for a translation layer – what the designers create is exactly what developers will implement. Include paths to Bootstrap CSS files and any custom tokens in your documentation to ensure developers have all the resources they need. This approach can reduce clarification requests by 80% and improve estimate accuracy by 50%, making the process smoother for everyone involved.
Maintaining Consistency and Scalability
As your design system expands across multiple products and teams, keeping prototypes consistent becomes increasingly important. UXPin Merge simplifies this by using automatic syncing to directly connect your design updates to your Git repository or npm library. For example, if your development team updates Bootstrap components in the codebase, those changes automatically appear in UXPin. This eliminates the need for manual updates, ensuring your design and code stay perfectly aligned. This seamless synchronization not only preserves visual consistency but also keeps prototypes production-ready at every stage of development. It’s the foundation for building a scalable and reliable design system.
Using UXPin Merge Sync Features
UXPin Merge offers three powerful integration options to keep your Bootstrap components in sync:
- Git Integration: Ideal for custom React libraries, this connects directly to your repository.
- Storybook: Supports private design systems across frameworks like React, Angular, and Vue.
- npm Integration: Perfect for open-source libraries like Bootstrap, making components instantly accessible in your design canvas.
Each integration ensures that designers and developers work from the same components, creating a single source of truth. Updates in your codebase are automatically reflected in UXPin, eliminating version mismatches and manual imports.
Scaling Design Systems for Enterprise Teams
For large organizations, syncing alone isn’t enough – strong governance is key to managing enterprise-scale design systems. With hundreds of engineers involved, clear structures are needed to avoid bottlenecks. Erica Rider, a UX Architect and Design Leader, shared her experience:
"We synced our Microsoft Fluent design system with UXPin’s design editor via Merge technology. It was so efficient that our 3 designers were able to support 60 internal products and over 1,000 developers".
To streamline workflows, organize your Bootstrap components into well-defined categories like navigation, forms, cards, and modals. This helps teams quickly locate what they need. Additionally, assign roles and permissions to prevent unauthorized modifications to core components, ensuring consistency across the board.
Using AI for Bulk Updates
As design systems grow, making updates across all components can feel overwhelming. AI tools like the Modify with AI feature simplify this process by applying precise, system-wide changes in seconds. For instance, you can prompt the AI to "Update all primary buttons to use 16px padding and #0066CC background color", and it will make those adjustments across your project while adhering to Bootstrap’s structure. Since tools like Claude Sonnet 4.5 follow your design system rules, every update stays perfectly aligned with your production code. Breaking larger updates into smaller, measurable tasks ensures accuracy while maintaining the integrity of your design system.
Conclusion
Bringing together Claude Sonnet 4.5, Bootstrap, and UXPin Merge creates a seamless workflow that bridges design and development. Instead of relying on static mockups, teams can work with production-ready components that engineers can directly implement. This not only accelerates the process but also reshapes how enterprise teams collaborate.
Enterprise teams using this method have reported cutting engineering time by about 50% and speeding up product development by as much as 8.6x compared to older workflows. These gains directly impact costs and time-to-market, a game-changer for organizations managing large teams of designers and engineers.
What’s more, this approach ensures scalability without losing consistency. Claude Sonnet 4.5 generates clean, structured UI components that stick to your style guidelines, while UXPin Merge keeps prototypes perfectly aligned with your codebase. Whether you’re managing a few products or an extensive portfolio, everyone works from a single source of truth.
The design handoff process becomes almost invisible. Allison Barkley, Director of Operations at Baremetrics, summed it up well:
"Being able to jump straight from design to having code ready is going to be a huge time-saver for our team".
Developers receive JSX code and production-ready specifications, eliminating manual translation and reducing the need for revisions. This integrated workflow simplifies the entire design-to-development process.
For enterprise teams aiming to deliver faster without compromising quality, this combination offers both speed and dependability. It’s AI-driven efficiency that preserves design accuracy and consistency throughout.
FAQs
Do I need a custom Bootstrap library to use UXPin Merge?
No, you don’t need a custom Bootstrap library to work with UXPin Merge. The platform already comes with a built-in Bootstrap library, giving you access to real components like buttons, modals, and forms. All you have to do is activate the library in the Design Systems panel, and you can start designing right away – no extra setup required.
What’s the best prompt format for React-Bootstrap components?
When working with AI tools like Claude Sonnet 4.5 to create React-Bootstrap components in UXPin, clarity and detail are key. A well-crafted prompt should specify three main aspects: the component type, its styling, and desired functionality. For example, you might say: "Create a responsive React-Bootstrap button with primary styling and hover effects."
By being specific, you ensure the AI delivers components that fit seamlessly into your design system and meet your project’s requirements. This approach not only saves time but also simplifies the prototyping process by providing ready-to-use, code-backed components.
How do I keep prototypes synced with code updates?
To keep prototypes in sync with code updates in UXPin, UXPin Merge offers a real-time synchronization feature. This tool connects your design system directly to live React libraries or Git repositories, ensuring that any updates are instantly reflected in your prototypes. By keeping your repositories up to date, you can rely on this synchronization to maintain alignment, minimize manual adjustments, and simplify the design-to-development process.

