UXPin Tutorial for Beginners in 10 Steps
UXPin is a versatile design and prototyping tool built to bridge the gap between design and development. With features that support high-fidelity prototyping, interactive components, and seamless developer handoffs, UXPin helps designers create prototypes that closely mimic the final product.
In this tutorial, we will cover the essential steps to get started with UXPin, including basic navigation, creating interactive prototypes, and leveraging advanced features like Auto Layout and Merge. Sign up for free to follow along.

About UXPin
To give you a little background, UXPin has been in the design space for over 10 years. It was co-founded by designers, so a lot of time and effort has gone into making a tool that truly bridges the gap between design and development.
The key differentiator between UXPin and other prototyping tools like Figma, Sketch, InVision, and Adobe XD is that those tools come from a print paradigm. You’re still working with vector or raster-based graphics and building static or flat designs using artboards. While they’re great for visual design, they often require creating multiple screens for different states and interactions.
This often leads to a disconnect between designers and developers, resulting in miscommunication, more feedback loops, and time spent aligning on what’s intended in design versus what’s built.
In contrast, UXPin is a code-based tool, meaning you can create dynamic interactions that allow prototypes to feel like real products. This enables better feedback and collaboration, whether it’s from stakeholders or user testing.
Step 1: Set up a UXPin account
UXPin can be used either through the web or desktop application. While the web version provides the same experience as the desktop version, downloading the desktop app allows offline work and helps mitigate any connectivity issues.
- Set up a trial account or choose your paid plan.
- Download the desktop application for Mac or Windows.
Step 2: Navigating UXPin’s Dashboard
When you first open UXPin, you’ll see a dashboard with three tabs:

- Projects: View and manage all UXPin projects.
- Design Systems: Access your design systems or those shared with you.
- Import your library: Allows you to import code-backed components (See: UXPin Merge).
Focus primarily on the Projects and Design Systems tabs as you begin working on your projects.
Step 3: Getting Started in UXPin
To start a project:
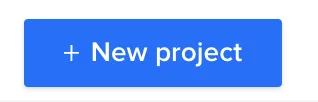
- From the Project’s dashboard, click the + New Project button in the top left corner.
- Name your project and click Create New Project.
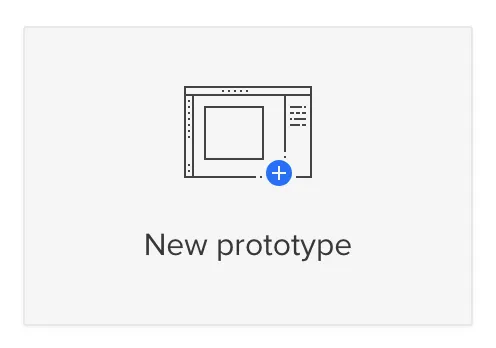
- Choose what you want to start with:
- New Prototype: Open the UXPin design editor to create a new project from scratch.
- Import Sketch, images, or documents: Upload files such as Sketch, PNG, JPG, PDF, or UXPin’s UXP files.
- Design with Merge Components: Use a predefined Merge library to start your project.
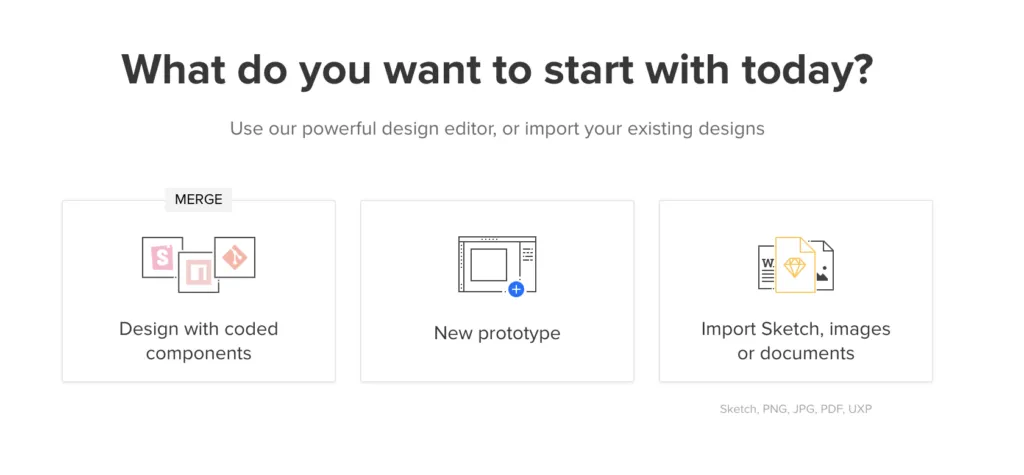
Select the middle option – New Prototype to access the design editor and build your first prototype.
Step 4: Exploring UXPin’s Design Editor
The design editor is divided into three main sections:
- Pages & Layers: Displayed on the left sidebar, this shows all layers and pages in your project. You can switch between layers, group elements, and view or add new pages.
- Design Canvas: The central area where you build your designs. This displays the width and height of your canvas, as set in the properties panel.
- Properties Panel: Located on the right, it allows you to adjust properties for selected elements and manage global canvas settings.
Our documentation provides a deeper dive into the design editor and its features.
1. Pages & Layers
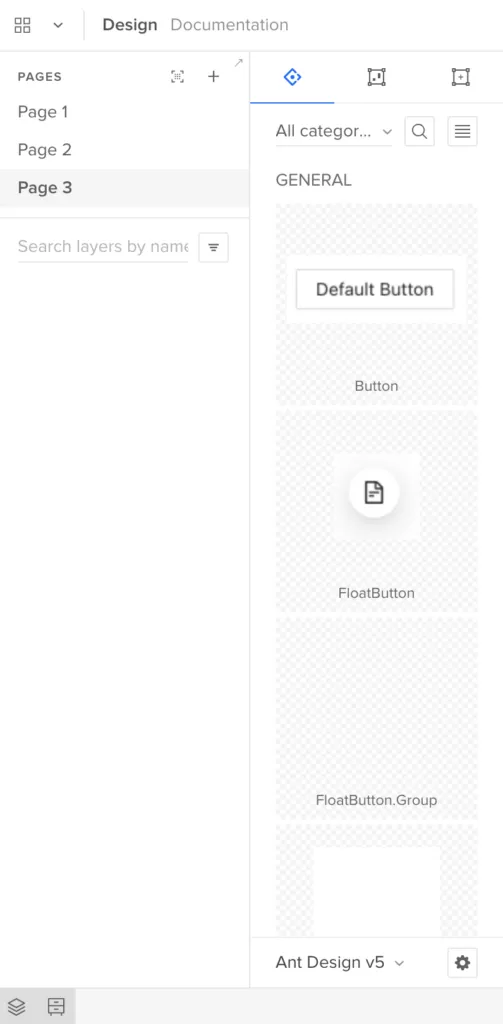
Once you add elements to the canvas, they’ll appear in the Layers sidebar, allowing you to select, group, and rearrange them here. You can view Pages at the top of this sidebar or click the + icon to add more.
The Pages workflow is different from other design tools. In Sketch and Figma, you have all your screens for user flows on a single canvas; in UXPin, you have a separate Page per screen. You can click the Overview icon (OPTION+O) to view all your screens in one interface.
Design System Libraries displays the components and assets for each design system. You can drag these onto the canvas to start prototyping or switch between libraries at the bottom of the sidebar.
3. Design canvas
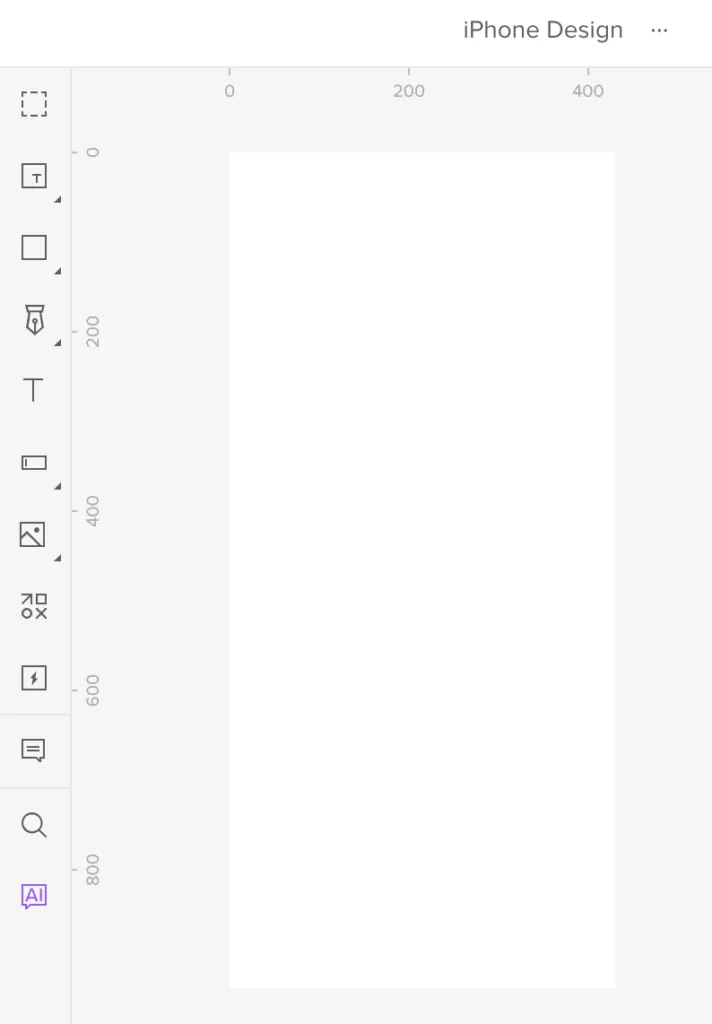
The design canvas displays your screen’s width and height set in the properties panel. This is where you build your prototypes.
4. Properties Panel
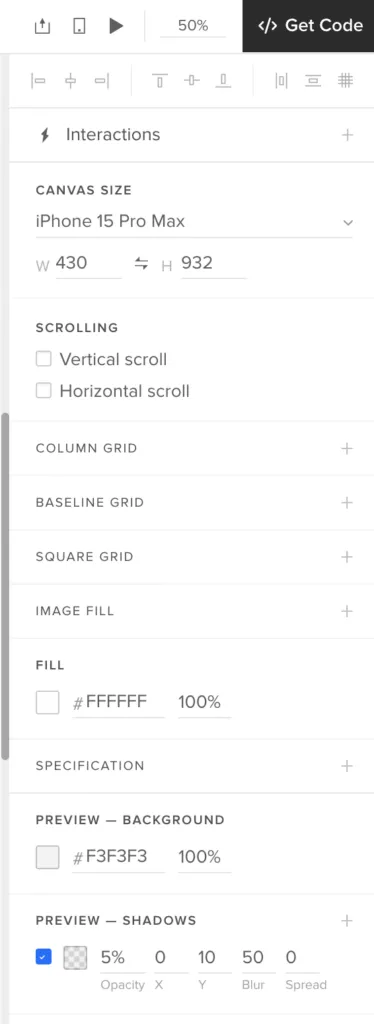
The Properties Panel is where you control properties and interactions for components on the canvas. You can also set the grids, change the background color, and other global canvas settings.
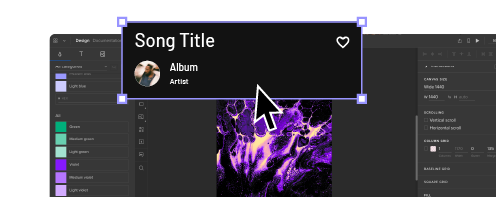
Step 5: Building Your First Prototype
To get started with a basic prototype:
- Use the toolbar to add elements to the canvas, such as text boxes, buttons, images, or shapes.
- Arrange and group these elements using the Layers panel.
- Set up interactions and states using the Properties Panel.
For an in-depth tutorial, follow: How to Build a Dashboard in 15 Minutes.
Step 6: Adding Interactivity
Interactive prototyping is what sets UXPin apart from other design tools. Here’s how to get started:
- Creating States: Define different visual states for a component, such as a button that changes color when hovered over or clicked.
- Adding Interactions: Set up actions based on triggers like clicks or hover events. Choose from various options, including navigation to another page, changing component properties, or triggering an animation.
- Using Variables: Store and manipulate data within your prototype. For example, capture a user’s input and display it on another page.
- Conditional Logic: Create complex interactions with if-then or if-else conditions, enabling different outcomes based on user actions.
1. States
UXPin’s States allow you to create component states comparable to code. For example, you can program a button to have a default, active, disabled, and hover state, each one triggered by a separate user or system action.
You can also use States to create complex UI components, like Carousels, Accordion Menus, and Multilevel Dropdown Navigation.
2. Interactions
UXPin’s Interactions allow you to define what happens when users engage with your prototype. Triggers, including desktop and mobile, enable you to create realistic, intuitive prototypes.
Actions determine what happens after the trigger. UXPin provides 20+ actions, including API requests, changing states, navigation, component property adjustments, playing video/audio content, and more.
UXPin also has Conditional Interactions which allow you to set if-then and if-else conditions, similar to Javascript. These conditions set the rules to trigger different scenarios based on user and system actions.
For example, you can set up multiple form conditions to trigger error messages for incomplete required fields or incorrect data, like an invalid email address. If all this data is correct, only then will the prototype allow the user to submit the form successfully.
4. Variables
Unlike image-based tools, UXPin’s forms are fully functional out of the box. You can use Variables to capture data from these forms and use them elsewhere in the prototype. For example, capturing a user’s information during a checkout process and displaying it on a confirmation screen for them to verify.
5. Expressions
UXPin’s Expressions are the closest you’ll get to Javascript without writing any code. With Expressions, you can add another layer of complexity, including validating forms, checking password criteria, or building computational components for shopping carts.
When combined, these four advanced prototyping features allow you to create realistic, dynamic prototyping experiences indistinguishable from the final product.
Check out UXPin’s example apps and patterns to see what’s possible using States, Interactions, Variables, and Expressions. You can download these and import them to a UXPin project to look under the hood and see how these features work.
Step 7: Advanced Features – Auto Layout & Merge
Auto Layout
- Auto Layout helps organize elements dynamically. Select your components and use the Auto Layout feature to maintain consistent spacing, alignment, and sizing.
How to use Auto Layout:
- Select a group of elements.
- Click Auto Layout in the Properties Panel.
- Adjust spacing, alignment, and padding as needed.
Merge Technology
- Merge brings real, coded components into UXPin’s design environment. This helps reduce drift between design and development and allows designers to build with the same components used in production.
How to use Merge
- Import components from your Git repo or bring ones from Storybook.
- Drag and drop these components onto the canvas.
- Modify properties using the same interface developers use in code.
If you’re using UXPin’s free trial, you can access three built-in Merge components:
While these look like regular design elements from a UI kit, they’re actually React components pulled from a repository. We’ll use two seemingly identical buttons to illustrate the difference between Merge and a UI kit.

Both are Material Design buttons. The purple one is from Google’s Material Design UI kit, and the bottom one is from the MUI Design System–which uses Material Design as a foundation.
When we click the purple Material Design button, it displays UXPin’s standard Properties Panel, where you can create the component’s styling and interactions.

When we click the blue MUI button, the Properties Panel changes to the Merge variation. Instead of creating properties, you select them based on the React component’s available props–or Args if you’re working with the Storybook Integration.

For example, opening the color dropdown displays the MUI button’s color properties which match MUI’s documentation.


These properties give product teams the necessary constraints to build prototypes with minimal drift or inconsistencies.
Step 8: Using Figma Integration
If you’re already working in Figma, you can import your designs directly into UXPin.
How to import Figma designs:
- In Figma, right-click on a frame and go to Plugins > Development > Export to UXPin.
- Copy and paste the Figma frame into UXPin.
- All your Figma layers and assets will be imported, allowing you to add UXPin’s interactivity and advanced features.
Note: While UXPin will import layers and assets from Figma, it won’t transfer Figma’s native interactions. You’ll need to recreate these using UXPin’s interaction tools.
Step 9: Collaborating & Sharing Prototypes
Collaboration is seamless in UXPin.
- Preview Links: Share a preview link with stakeholders. They don’t need a UXPin account to view the prototype.
- Comments: Collect feedback using public or team comments. Public comments are visible to anyone with the link, while team comments are internal.
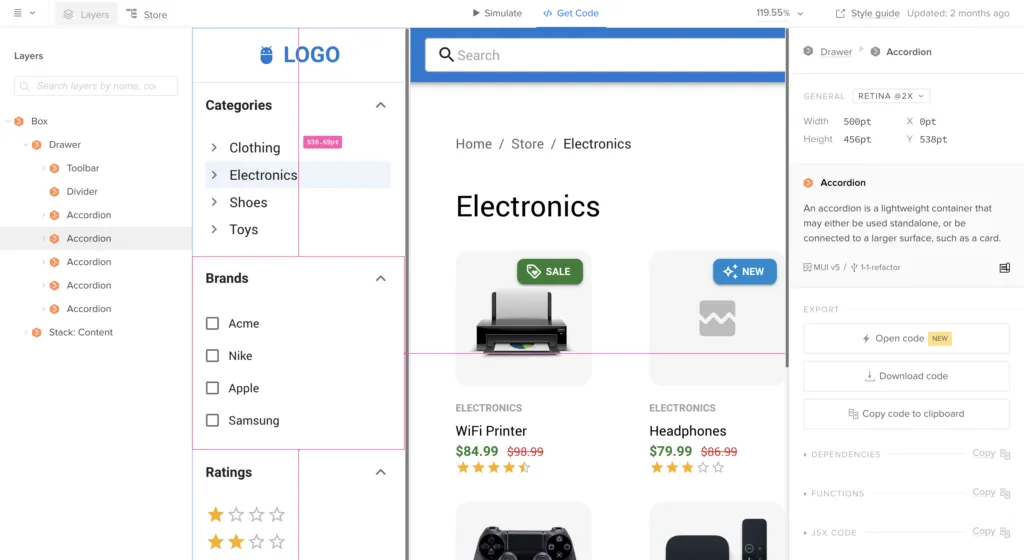
- Get Code Mode: Use Spec Mode for developer handoff, giving developers access to component details like spacing, color, and CSS properties.
Step 10: Finalizing Your Prototype and Handoff
Once you’ve completed your prototype, you can prepare it for handoff:
- Use Get Code Mode: Developers can see the properties and specifications of each component.
- Merge & Handoff: If you’re using Merge, developers can copy JSX code directly from the prototype.
Get Started with UXPin
We hope you’ve enjoyed this UXPin beginner tutorial. If you haven’t got an account, sign up for a free trial. Build prototypes that can be easily translated to code. Enjoy a better design workflow. Get started here.