Design-to-code automation simplifies the process of converting visual designs into functional code. Instead of manually coding from static design files, teams can use AI-powered tools to generate production-ready code directly from platforms like Figma or Adobe XD. This approach reduces errors, speeds up workflows, and ensures consistency by leveraging shared, code-backed components.
Key Takeaways:
- What It Does: Converts designs into clean, usable code automatically.
- How It Works: Relies on tools like UXPin to map design elements to existing codebases.
- Benefits: Saves time, reduces errors, ensures consistent design, and improves collaboration.
- Challenges: Requires well-structured design files, close designer-developer communication, and proper tool setup.
Automation doesn’t replace developers – it handles repetitive tasks, freeing up time for more complex work. With tools like UXPin, teams can align designs with production-ready React components, cutting UI development time by up to 50%. The key to success lies in preparation, organized workflows, and collaboration between teams.
Figma MCP – From Design to Production Code in Minutes | Live Demo
Requirements and Setup for Automation
Getting started with design-to-code automation involves more than just picking a tool – it’s about laying the right groundwork to ensure your design and development workflows align smoothly. The effort you put into preparation can either save your team countless hours or lead to frustrating delays down the road.
Design Systems and Component Libraries
A strong design system is the backbone of successful automation. Think of it as the shared language that connects your design and development teams. At the core are code-backed components – the same elements designers use in their tools and developers implement in production.
To make this work, use reusable UI components organized into well-structured libraries. You can start with established options like MUI, Tailwind UI, or Ant Design, or sync your own Git component repository with your design tools. This creates a unified source of truth, ensuring both teams reference the same components.
"We have fully integrated our custom-built React Design System and can design with our coded components. It has increased our productivity, quality, and consistency, streamlining our testing of layouts and the developer handoff process." – Brian Demchak, Sr. UX Designer at AAA Digital & Creative Services
When your design system is properly set up, automation tools can generate production-ready code straight from your design files. This eliminates the need to write UI code from scratch since the designs are already aligned with the actual codebase, producing functional interfaces directly.
Preparing Design Files for Automation
The quality of your design files plays a huge role in the success of automation. Tools like Figma work best when files are structured and annotated – flat images or screenshots won’t cut it. Automation tools need detailed information about layers, components, and their relationships, which only well-organized files can provide.
Here are some best practices to follow:
- Use descriptive naming conventions. For example, naming a component "toast notification" is far more useful than calling it "Rectangle 47." This helps automation tools understand your design intent.
- Leverage Figma’s auto layout features. These features help define responsive behavior and improve how AI interprets complex designs.
- Organize components and layouts. Group background elements, tidy up overlapping containers, and align text boxes closely to their content for more accurate rendering.
- Scale elements realistically. Ensure design dimensions match practical, real-world sizes to avoid mismatches.
One crucial step is working with your development team to map Figma components to existing codebase components. When designers use mapped components, the AI recognizes them and applies the corresponding code instead of creating duplicates. This keeps your codebase lean and consistent.
With well-prepared files, designers and developers can collaborate effortlessly, ensuring smoother workflows and better results.
Designer and Developer Collaboration
For automation to work effectively, designers and developers need to collaborate closely. The old "handoff" approach – where designers pass files to developers without much interaction – doesn’t align with automation workflows.
Teams should establish clear communication protocols about which components are available in the development environment and how they should be represented in design files. This includes documenting component specifications, creating detailed handoff documentation, and aligning naming conventions between design and development.
Before rolling out automation across the board, consider starting with a small pilot project. Focus on a limited set of components to test current workflows and identify areas for improvement. This approach is manageable while still revealing challenges you might face on a larger scale.
Collaboration also extends to infrastructure and security. Security teams need to understand how code is generated and ensure privacy measures are in place. DreamFactory, for instance, provides a self-hosted platform for governed API access to any data source, which can help teams manage data privacy and security when integrating generated code with backend systems. Meanwhile, leadership and infrastructure teams require clear documentation on automation processes, data flow, and security protocols to align with company policies.
The ultimate goal is to create a shared workflow where designers and developers are on the same page. By working from the same set of coded components, both teams reduce miscommunication and improve product consistency.
How to Automate Design-to-Code Conversion
Automating the process of turning designs into production-ready code can save time and reduce errors. By using structured design systems and well-annotated files, you can streamline the transition from design to code. Here’s how to make it happen.
Step 1: Identify Tasks for Automation
Before diving into automation tools, start by pinpointing repetitive tasks that could benefit from automation – like recreating components or translating styles. Begin with a pilot project to test the waters. For instance, choose a single UI task, such as one web page or app screen, that includes 3–4 subcomponents and can be implemented in a single commit.
Gather feedback from your team during this trial run. Ask them to document any challenges or observations they encounter. This step helps you understand potential efficiency gains and refine your automation strategy before scaling it to larger projects.
Step 2: Organize Design Assets
Properly structured design files are key to successful automation. Ensure all components are mapped to existing code, and define export settings for images and media assets. This ensures that elements intended as images are correctly handled by the automation process.
Step 3: Leverage Automation Tools
Once your assets are ready, it’s time to let automation tools do the heavy lifting. Tools like UXPin allow you to import design assets, configure exporters, and set up pipelines that convert design data into code for platforms like React, Flutter, iOS, Android, or CSS. These pipelines can even monitor design system changes and trigger updates automatically.
For example, UXPin can generate production-ready React code directly from your designs, ensuring the code reflects the original design intent. This approach bridges the gap between design and development, making the process smoother and more efficient.
Step 4: Review and Refine the Code
Even with automation, quality control is non-negotiable. The generated code should go through a review process before it’s merged into production. During this phase, check for semantic accuracy, accessibility, performance, and adherence to coding standards. Refine the code as needed to ensure it meets all requirements.
Collaboration between designers and developers is crucial here. Automation tools provide a shared environment that allows both teams to work together, ensuring the final product stays true to the design while meeting technical standards. Over time, as you refine your automation setup and review processes, you’ll build a more efficient and effective workflow.
sbb-itb-f6354c6
Tools and Technologies for Design-to-Code Automation
Advances in design-to-code automation are making the journey from initial design to production-ready code smoother than ever. Modern tools are eliminating tedious handoffs, ensuring that user experience quality and technical precision go hand in hand.
How UXPin Streamlines Design-to-Code Workflows
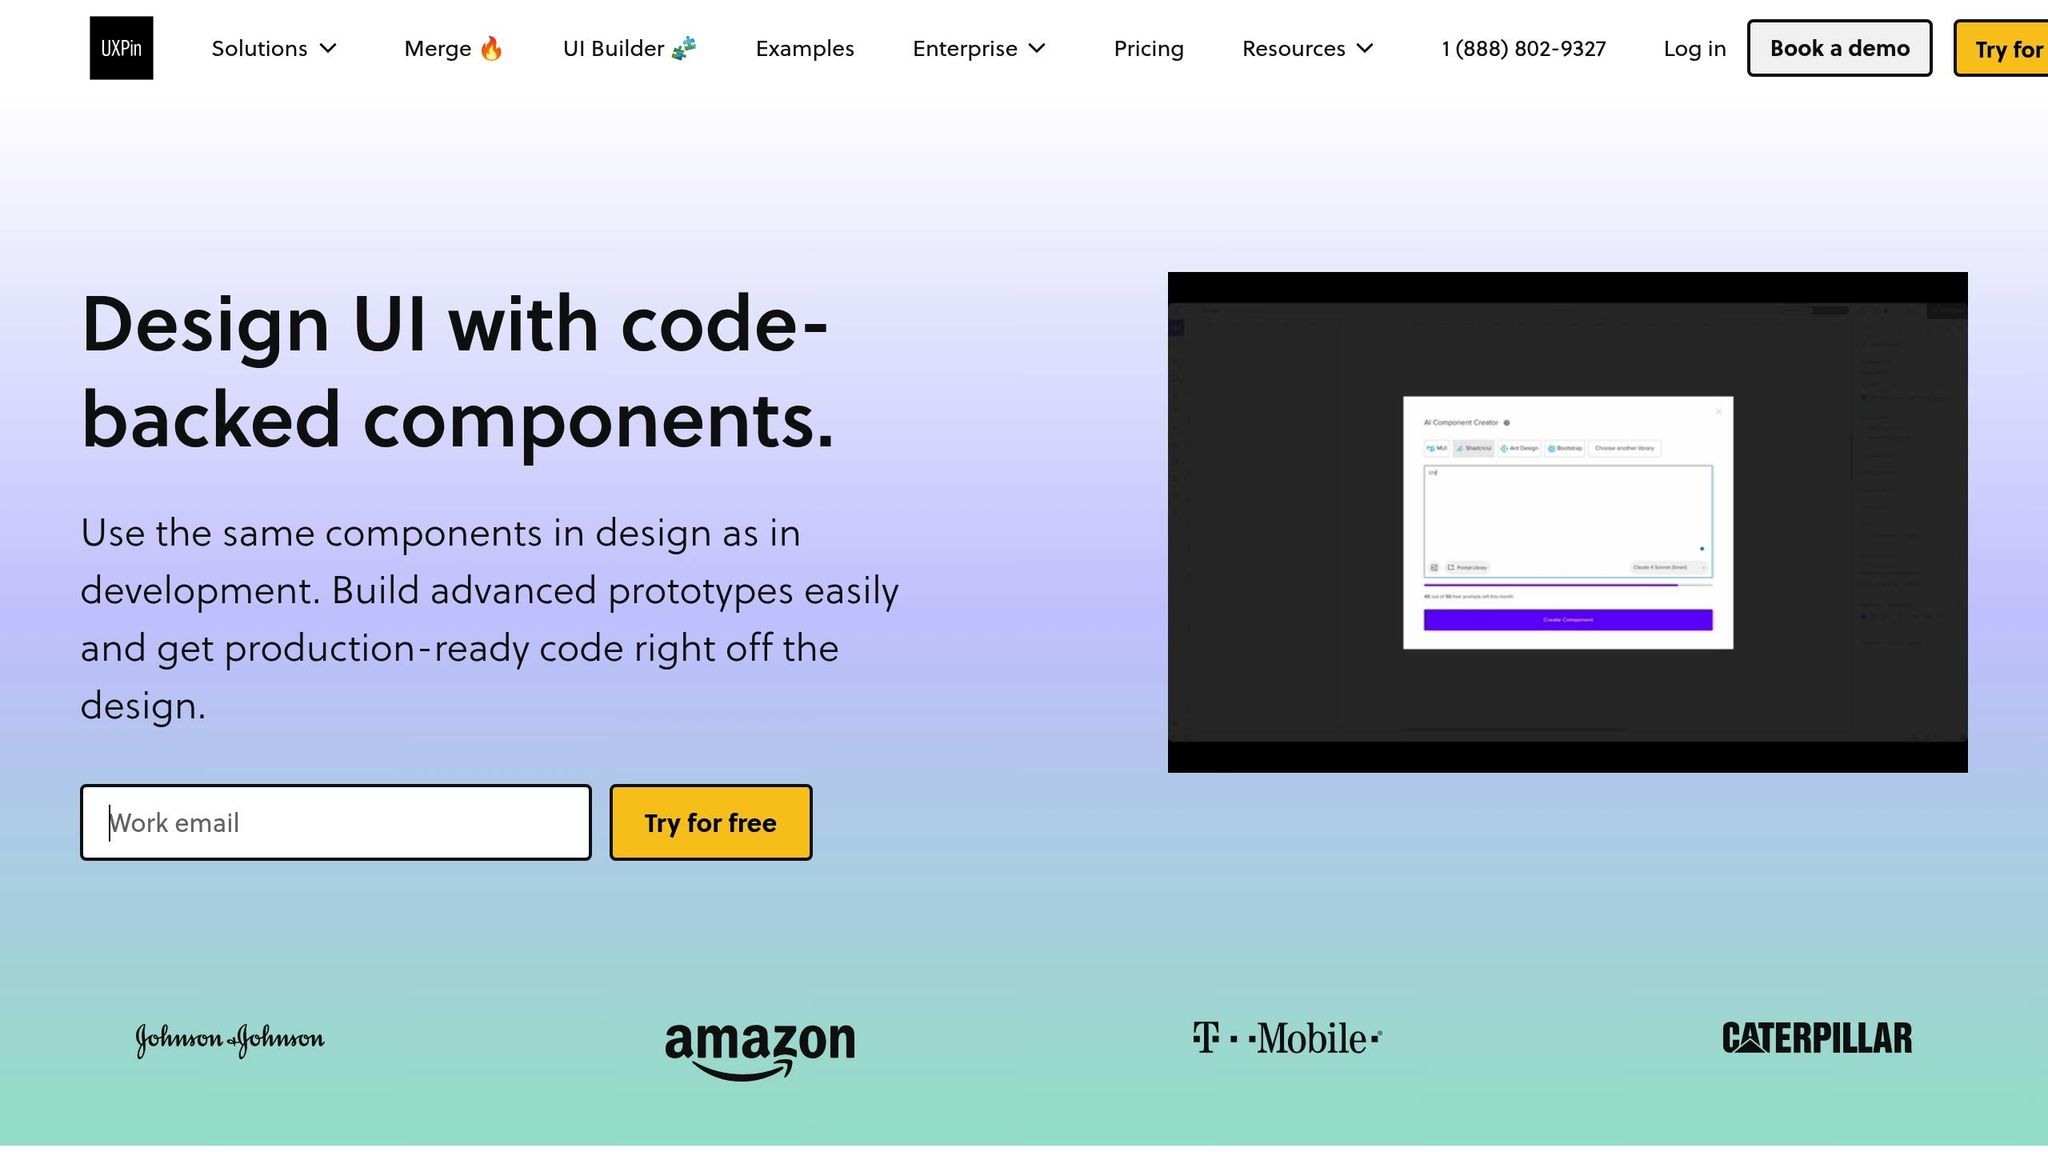
UXPin redefines the design process by allowing designers to work with code-backed components instead of static visuals. This creates a unified system where both designers and developers rely on the same building blocks, minimizing inconsistencies right from the start.
One standout feature is UXPin’s AI Component Creator, which uses OpenAI and Claude models to generate functional components from simple text prompts. For instance, designers can describe a complex data table or a multi-step form, and the AI produces a fully functional, customizable component. This automation lets teams focus on fine-tuning instead of starting from scratch.
UXPin also supports advanced interactions, variables, conditional logic, and direct code export. Designers can create prototypes that behave like the final product and, when ready, export clean React code for production.
Larry Sawyer, Lead UX Designer, emphasized the impact of UXPin Merge on efficiency:
"When I used UXPin Merge, our engineering time was reduced by around 50%. Imagine how much money that saves across an enterprise-level organization with dozens of designers and hundreds of engineers."
Additionally, UXPin allows teams to integrate React libraries directly into their workflow, offering even greater flexibility.
Leveraging React Libraries in UXPin
UXPin’s integration with React libraries ensures that prototypes are built with the same components as the final product. Teams can choose between two main options:
- Built-in coded libraries: For teams without existing libraries, UXPin includes open-source options like MUI, Tailwind UI, and Ant Design.
- Custom design systems: Teams with their own libraries can sync a Git component repository with UXPin, ensuring updates are automatically reflected in the design environment.
Once components are integrated, designers can tweak properties, apply themes, and add interactions – all while preserving the underlying code. When the design is finalized, the code can be exported directly, opened in tools like StackBlitz, or integrated into existing projects.
Collaboration and Accessibility in UXPin
UXPin’s collaborative features tackle common pain points in the design-to-development process by providing a shared workspace where designers and developers work with the same components. This unified approach reduces miscommunication and speeds up iterative improvements.
Key collaboration tools include real-time editing, live comments, and version control, which keep everyone on the same page. Accessibility features – like contrast checking, keyboard navigation support, and ARIA attribute management – help teams meet WCAG standards from the beginning.
Benefits and Challenges of Design-to-Code Automation
Automation in design-to-code workflows offers a mix of advantages and hurdles. By understanding both, teams can make smarter decisions about how to integrate these tools into their processes.
Benefits of Automation
One of the biggest perks of automation is speed. Automating the conversion of design assets into production-ready code eliminates repetitive tasks, allowing teams to iterate faster and respond swiftly to design changes. This is especially helpful for projects with tight timelines or frequent updates, as automation tools can quickly regenerate code when designs are updated.
Another benefit is design consistency. When teams rely on a shared component library, automation ensures that all UI elements follow the same design system. This consistency applies not just to visuals but also to interaction patterns and accessibility standards, creating a smoother user experience.
Automation also helps with reducing human errors. Manually translating designs into code can lead to inconsistencies – like a padding value being 16px in one component but 18px in another. Automation applies design tokens and spacing rules uniformly, eliminating such mistakes.
Lastly, automation fosters better collaboration between designers and developers. Using unified component libraries, both teams work from the same foundation, minimizing miscommunication. Developers can focus on complex functionality instead of perfecting visual details, leading to a more efficient workflow.
Common Challenges
While automation offers many benefits, it comes with its own set of challenges. The learning curve is often the first obstacle. Designers need to understand how their decisions impact code generation, while developers must learn new tools and workflows. This adjustment period can temporarily slow progress.
Another challenge is the complexity of setup. Automation tools aren’t always plug-and-play. Teams need to carefully integrate these tools with their existing design systems and codebases, map design components to their code equivalents, and configure settings – all of which can be time-consuming.
Automation also depends heavily on well-organized design files. Poorly structured or annotated designs can lead to inaccurate code generation, putting more pressure on design teams to maintain high standards.
Finally, integration issues can occur when the generated code doesn’t align with existing architectural patterns or coding standards. Teams may need to tweak workflows or customize tools to fit their specific needs.
Pros and Cons Comparison
| Advantages | Challenges |
|---|---|
| Faster delivery and iteration | Learning curve for new tools and workflows |
| Consistent design | Complex setup with existing systems |
| Fewer manual coding errors | Requires high-quality design files |
| Better collaboration between teams | Ongoing need for code review and refinement |
| Frees developers for more complex tasks | Potential integration issues with existing codebases |
| Scales well with growing design systems | Requires structured workflows and clear conventions |
To get the most out of automation, teams should invest in training, maintain clean and organized design systems, and encourage close collaboration between designers and developers. Running small pilot projects can help identify challenges and refine workflows before fully adopting automation. Ultimately, automation is best seen as a tool to amplify human effort – not replace it.
Conclusion: Improving Workflows with Automation
Design-to-code automation bridges the gap between design and development, creating a seamless workflow where both teams collaborate from a shared foundation of code-backed components. Instead of treating design and development as separate steps with manual handoffs, this approach unites the process, making it more efficient and cohesive.
Research highlights the impact of this shift. For example, industry reports indicate that design-to-code automation can cut UI development time by up to 50%. Additionally, a 2023 survey revealed that over 60% of teams experienced faster iterations and stronger collaboration through automation. These aren’t just time-saving perks – they represent a fundamental change, allowing teams to prioritize creative problem-solving over repetitive tasks.
A tool like UXPin illustrates this transformation by allowing designers to work directly with production-ready React components. With UXPin’s code-backed prototyping, designers aren’t merely crafting mockups – they’re using the same components developers will implement in production. This alignment not only reduces engineering time but also ensures design intent is fully realized in the final product. Such an approach underscores the value of close team integration and shared workflows.
The key to successful automation lies in preparation and collaboration. Teams that establish structured design systems, maintain well-organized design files, and foster communication between designers and developers achieve the best results. Starting with smaller pilot projects helps refine processes and builds confidence before scaling automation to larger initiatives.
As automation tools continue to advance – offering support for multiple frameworks, AI-driven features, and greater customization – the potential for teams to streamline their workflows will only expand. The real question is no longer if teams should adopt design-to-code automation but how quickly they can integrate these tools to stay ahead in a fast-moving product development world.
To take advantage of these benefits, teams should assess their current workflows, pinpoint areas ripe for automation, and begin experimenting with tools designed to close the gap between design and development. Investing in these solutions can lead to faster, more consistent, and ultimately more impactful workflows.
FAQs
How does design-to-code automation enhance teamwork between designers and developers?
Design-to-code automation streamlines collaboration by aligning designers and developers around code-based components. This unified workflow minimizes miscommunication, maintains consistency, and accelerates the handoff process. With automated code generation, teams can dedicate their efforts to improving the product itself instead of manually converting designs into code. This not only saves time but also reduces the likelihood of errors.
How can I prepare my design files for smooth design-to-code automation?
To make design-to-code automation as smooth as possible, you’ll want to prepare your design files thoughtfully. Start by organizing your layers and giving them clear, descriptive names. This makes the structure easy to follow and avoids confusion. Steer clear of adding unnecessary layers or groups – they can make the conversion process more complicated than it needs to be.
Consistency is key when it comes to styles. Use the same colors, typography, and spacing throughout your design. This not only keeps your design uniform but also minimizes the chances of errors when automating the process. If your design tool offers reusable components, such as UI libraries, take full advantage of them – they can save time and make everything more efficient.
Finally, don’t forget to test your design for responsiveness. Think about how it will look and function on different screen sizes and devices. By doing this, you’ll ensure that the generated code stays true to your design, no matter where it’s viewed.
What are some common challenges teams face when adopting design-to-code automation?
Adopting design-to-code automation can bring significant changes to how teams work, but it’s not without its challenges. Teams often need to adapt their workflows to fit the new tools and processes, which can take time and involve a learning curve. Maintaining alignment between design and development expectations is another common issue – when goals don’t match up, it can lead to unnecessary inefficiencies.
On top of that, integrating automation into existing systems might require technical tweaks or close collaboration between designers and developers to ensure everything works smoothly. But once these obstacles are tackled, teams often see faster handoffs, fewer inconsistencies, and a more efficient product development process overall.

