If you want to go from idea to testable landing page with less back-and-forth, this workflow is the point: I use Claude Sonnet 4.5 for copy, Bootstrap 5 for layout, and UXPin Merge for code-based prototyping.
Here’s the short version:
- Claude drafts the page outline, hero copy, feature bullets, pricing text, testimonials, and CTA labels
- Bootstrap turns that draft into a responsive page with sections like hero, features, pricing, testimonials, and a final CTA
- UXPin Merge lets me review and edit the page using the same Bootstrap components used in code
The main lesson: I don’t treat writing, layout, and prototype review as separate jobs. I move through them in order, with each tool doing one part well.
A few concrete takeaways from the article:
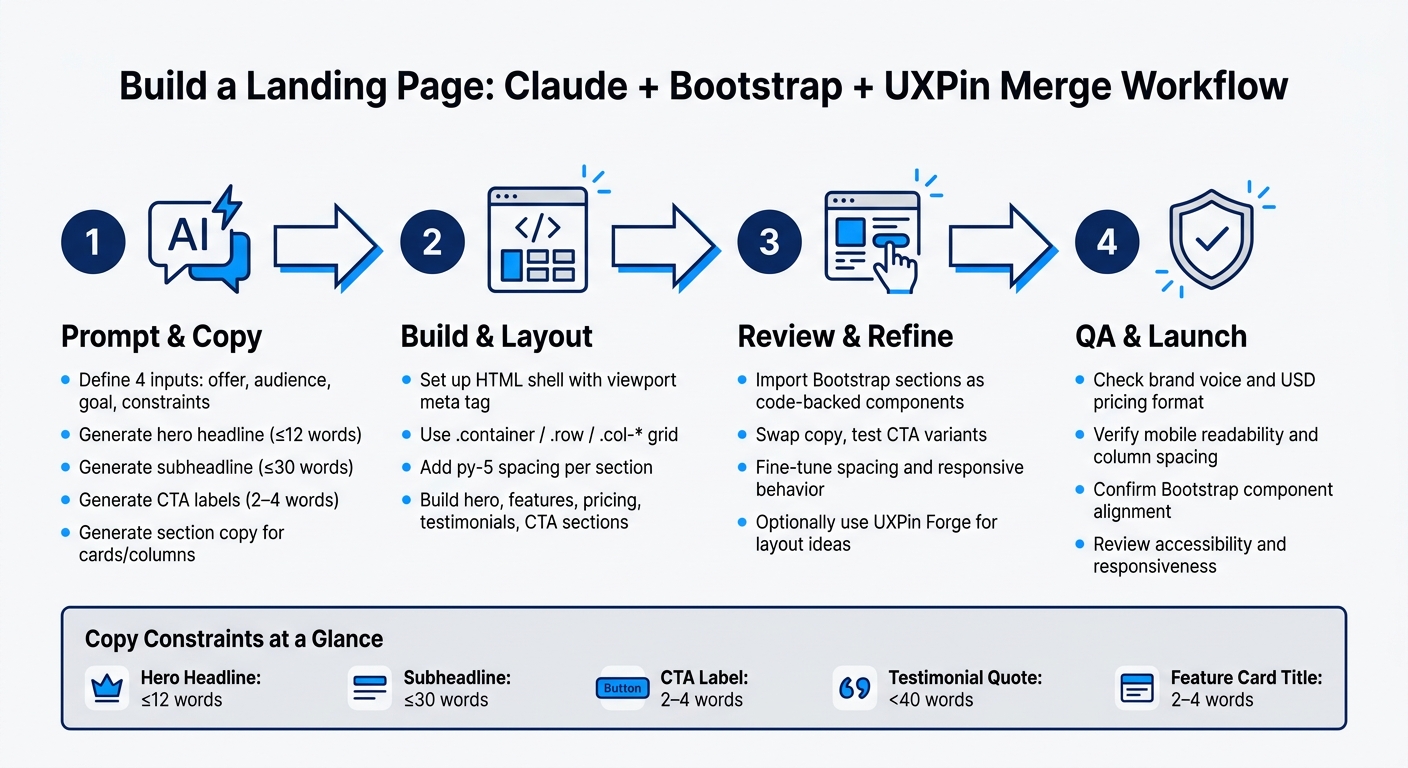
- I start with 4 prompt inputs: offer, audience, goal, and constraints
- I keep hero headlines under 12 words
- I keep CTA labels to 2 to 4 words
- I trim testimonial quotes to under 40 words
- I build each section in a simple Bootstrap shell with
.container,.row, and responsive columns - I do a final pass for content fit, mobile layout, spacing, and accessibility
What this article shows is a plain workflow for building one landing page from prompt to prototype without drifting away from the component system.
If you’re making a SaaS page and want fewer handoff issues, this process gives you a clear path to follow.
How to Build a Landing Page with Claude, Bootstrap & UXPin Merge
Is This the Fastest Way to Build a SaaS Landing Page? (Claude AI)
2. Plan the page with Claude Sonnet 4.5
Before you write any Bootstrap markup, use Claude to build a clear outline and copy you can drop into components.
Write a prompt for goal, audience, and section order
Start by defining four inputs: offer, audience, primary action, and constraints. In this walkthrough, the audience is product teams, front-end engineers, and DesignOps leaders at mid-size SaaS companies in the U.S. The conversion goal is one clear action: schedule a 30-minute demo call.
Once you have those inputs, format the prompt in labeled blocks so Claude knows what to give back. Here’s a practical example you can tweak:
Act as a senior product marketing copywriter. I’m building a responsive landing page using Bootstrap 5 and UXPin Merge for a SaaS tool that helps product teams turn AI-generated concepts into code-backed prototypes.
Audience: U.S.-based product teams, front-end engineers, and DesignOps leaders at mid-size SaaS companies who struggle with slow design-dev handoff and inconsistent UI.
Goal: Get visitors to schedule a 30-minute demo call.
Constraints: U.S. English, USD pricing (e.g., $49/month), short copy for Bootstrap cards and columns, no generic buzzwords.
Output: (1) A hero headline under 12 words, a subheadline under 30 words, and two CTA label options. (2) A logical section order for the full page. (3) For each section, a short heading and 3–5 bullets or sentences that could fit inside Bootstrap cards or columns.
Shape the copy to fit real Bootstrap components
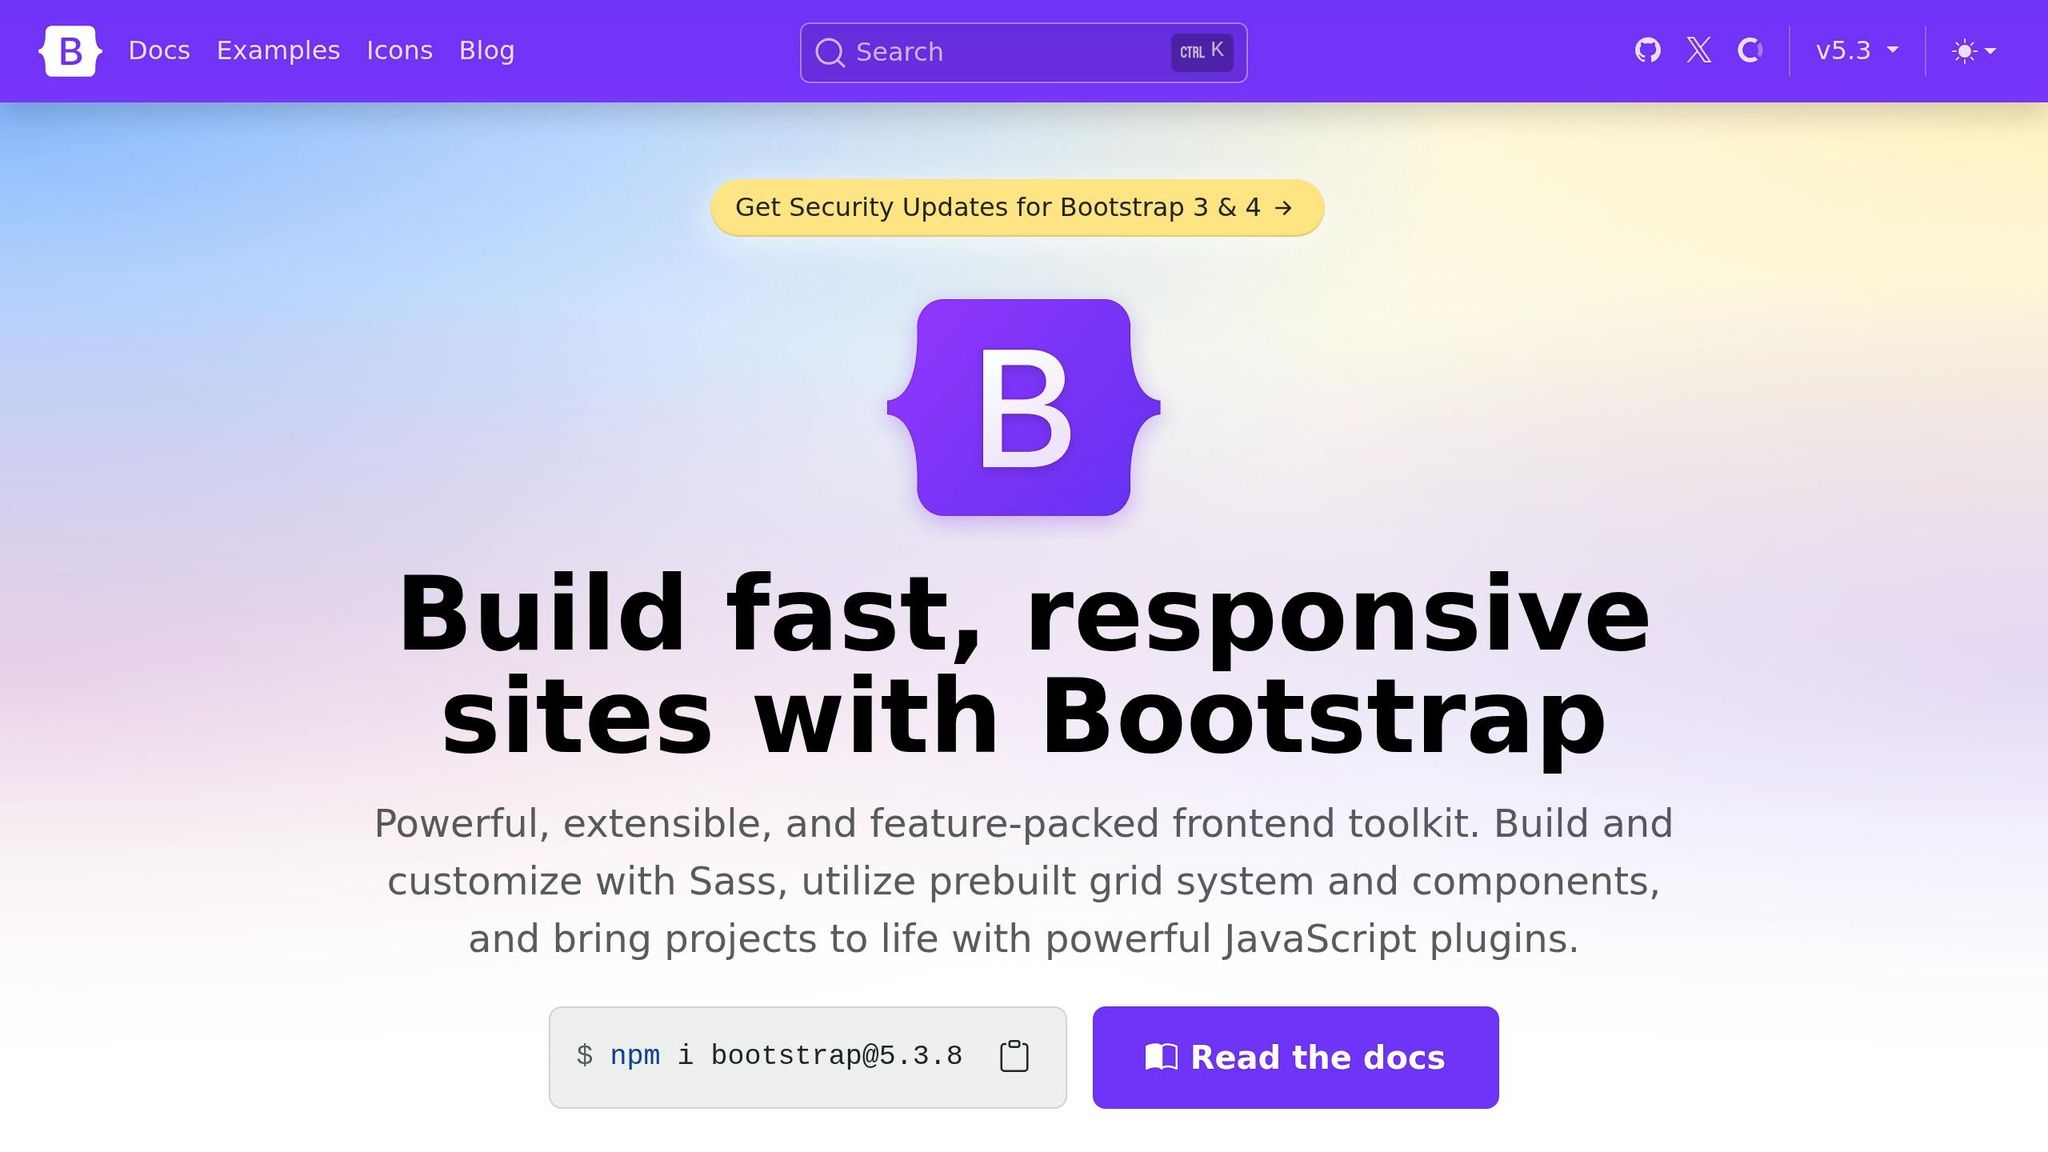
When Claude gives you a draft, review it through the lens of layout constraints, not just writing quality. Every line needs to fit a real Bootstrap pattern without awkward wrapping or overflow.
Here are a few practical limits to check:
| Section | Component | Copy target |
|---|---|---|
| Hero headline | col-md-6 heading |
≤ 12 words / ~60 characters |
| Hero subheadline | .lead paragraph |
1–2 sentences, ≤ 150 characters |
| Feature card title | .card-title |
2–4 words |
| Feature card body | .card-text |
1–2 sentences or 3–5 short bullets |
| Pricing plan bullets | Pricing column list | 3–7 items per plan |
| Testimonial quote | Card body | < 40 words, plus short attribution |
| CTA button label | .btn |
2–4 words, ≤ 20 characters |
If Claude gives you too much copy, cut it before you move into Bootstrap. You can paste the draft back in and ask for tighter sections:
"Rewrite each feature description to fit a Bootstrap card with a 3-word title and one supporting sentence."
Once the copy is trimmed down, you’re ready to move into Bootstrap and map each section to real components.
3. Build the landing page structure with Bootstrap
Take Claude’s copy and drop it into a clean HTML shell.
Set up the grid, spacing, and responsive page shell
Start with a minimal HTML document that includes the viewport meta tag and Bootstrap 5 from the CDN. That little viewport line matters more than it looks. If you leave it out, Bootstrap’s mobile-first breakpoints won’t work the way they should on phones and tablets.
<!doctype html> <html lang="en"> <head> <meta charset="utf-8"> <title>Product Landing Page</title> <meta name="viewport" content="width=device-width, initial-scale=1"> <link href="https://cdn.jsdelivr.net/npm/bootstrap@5.3.0/dist/css/bootstrap.min.css" rel="stylesheet" > </head> <body> <!-- Sections go here --> <script src="https://cdn.jsdelivr.net/npm/bootstrap@5.3.0/dist/js/bootstrap.bundle.min.js"> </script> </body> </html> From there, give each part of the page its own <section> with py-5 for vertical spacing. Use one .container per section, then add a .row with responsive .col-* columns so the layout stays centered and easy to scan across screen sizes. Once that shell is set, move those same sections into UXPin Merge as code-backed components.
Build the hero and features sections
For the hero, use a two-column layout. On mobile, the columns stack. On large screens, they sit side by side. It’s a simple pattern, but it works well because the message stays clear without feeling cramped.
The copy Claude generated – headline, subheadline, and CTA labels – fits neatly into Bootstrap’s layout, typography, and button classes:
<section class="py-5 bg-light"> <div class="container"> <div class="row align-items-center"> <div class="col-12 col-lg-6"> <h1 class="display-4 fw-bold mb-3"> Build landing pages with AI, ship with Bootstrap. </h1> <p class="lead text-muted mb-4"> Combine Claude Sonnet 4.5, Bootstrap, and UXPin Merge to launch production-ready marketing pages in days. </p> <div class="d-flex flex-wrap gap-3"> <a href="#pricing" class="btn btn-primary btn-lg">View pricing</a> <a href="#features" class="btn btn-outline-secondary btn-lg">Explore features</a> </div> </div> <div class="col-12 col-lg-6 text-center"> <img src="hero-dashboard.png" class="img-fluid rounded shadow-sm" alt="UXPin Merge landing page preview" > </div> </div> </div> sbb-itb-f6354c6
4. Refine the page in UXPin Merge with real components
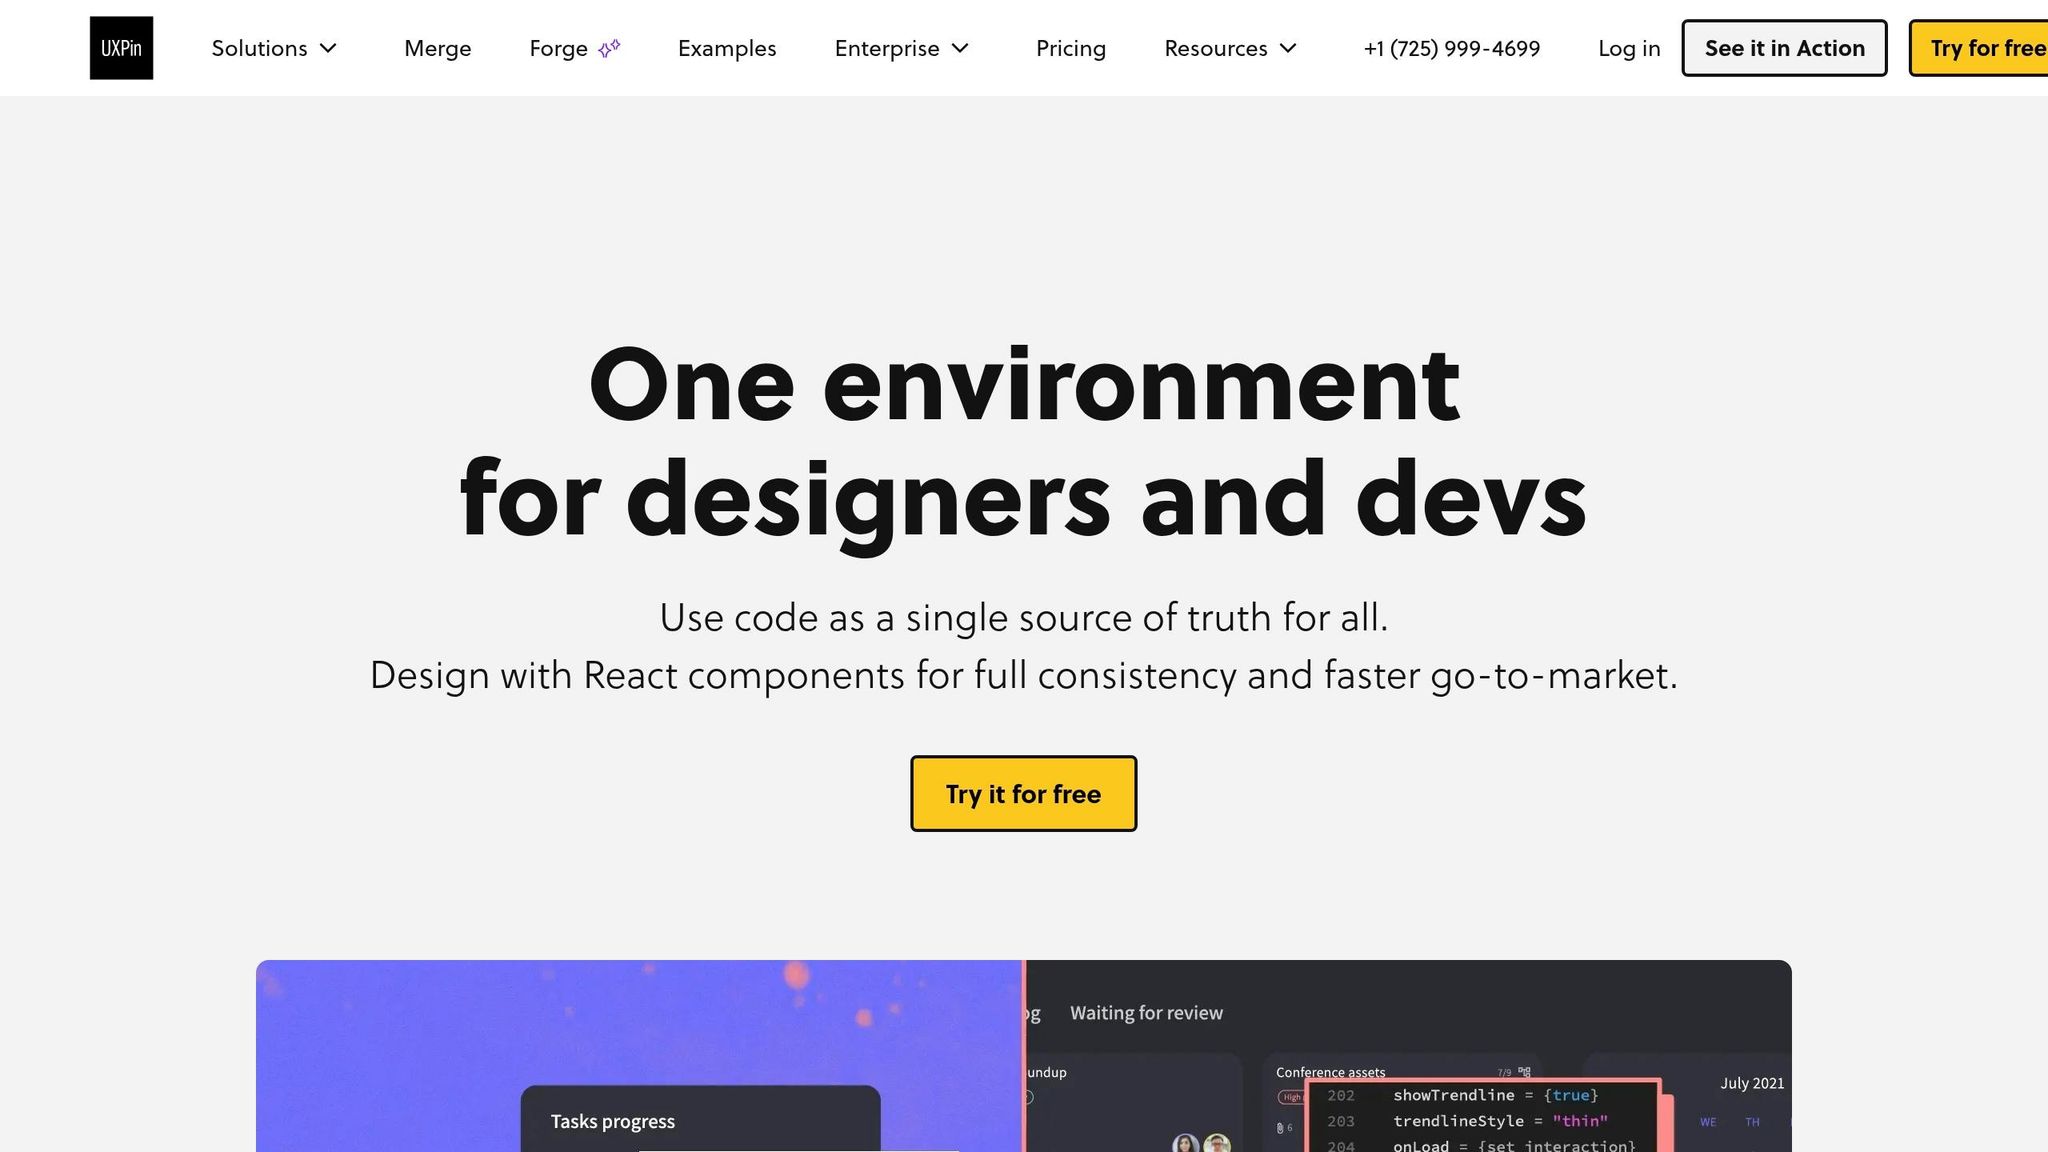
Once the Bootstrap sections are built, bring them into UXPin Merge for review and polish with code-backed components. Move the hero, features, pricing, testimonials, and CTA sections into Merge as editable components. Because UXPin includes Bootstrap as a built-in component library, you can keep using the same Bootstrap components already set in code, so stakeholders are reviewing the production structure itself.
Use Bootstrap components directly inside UXPin
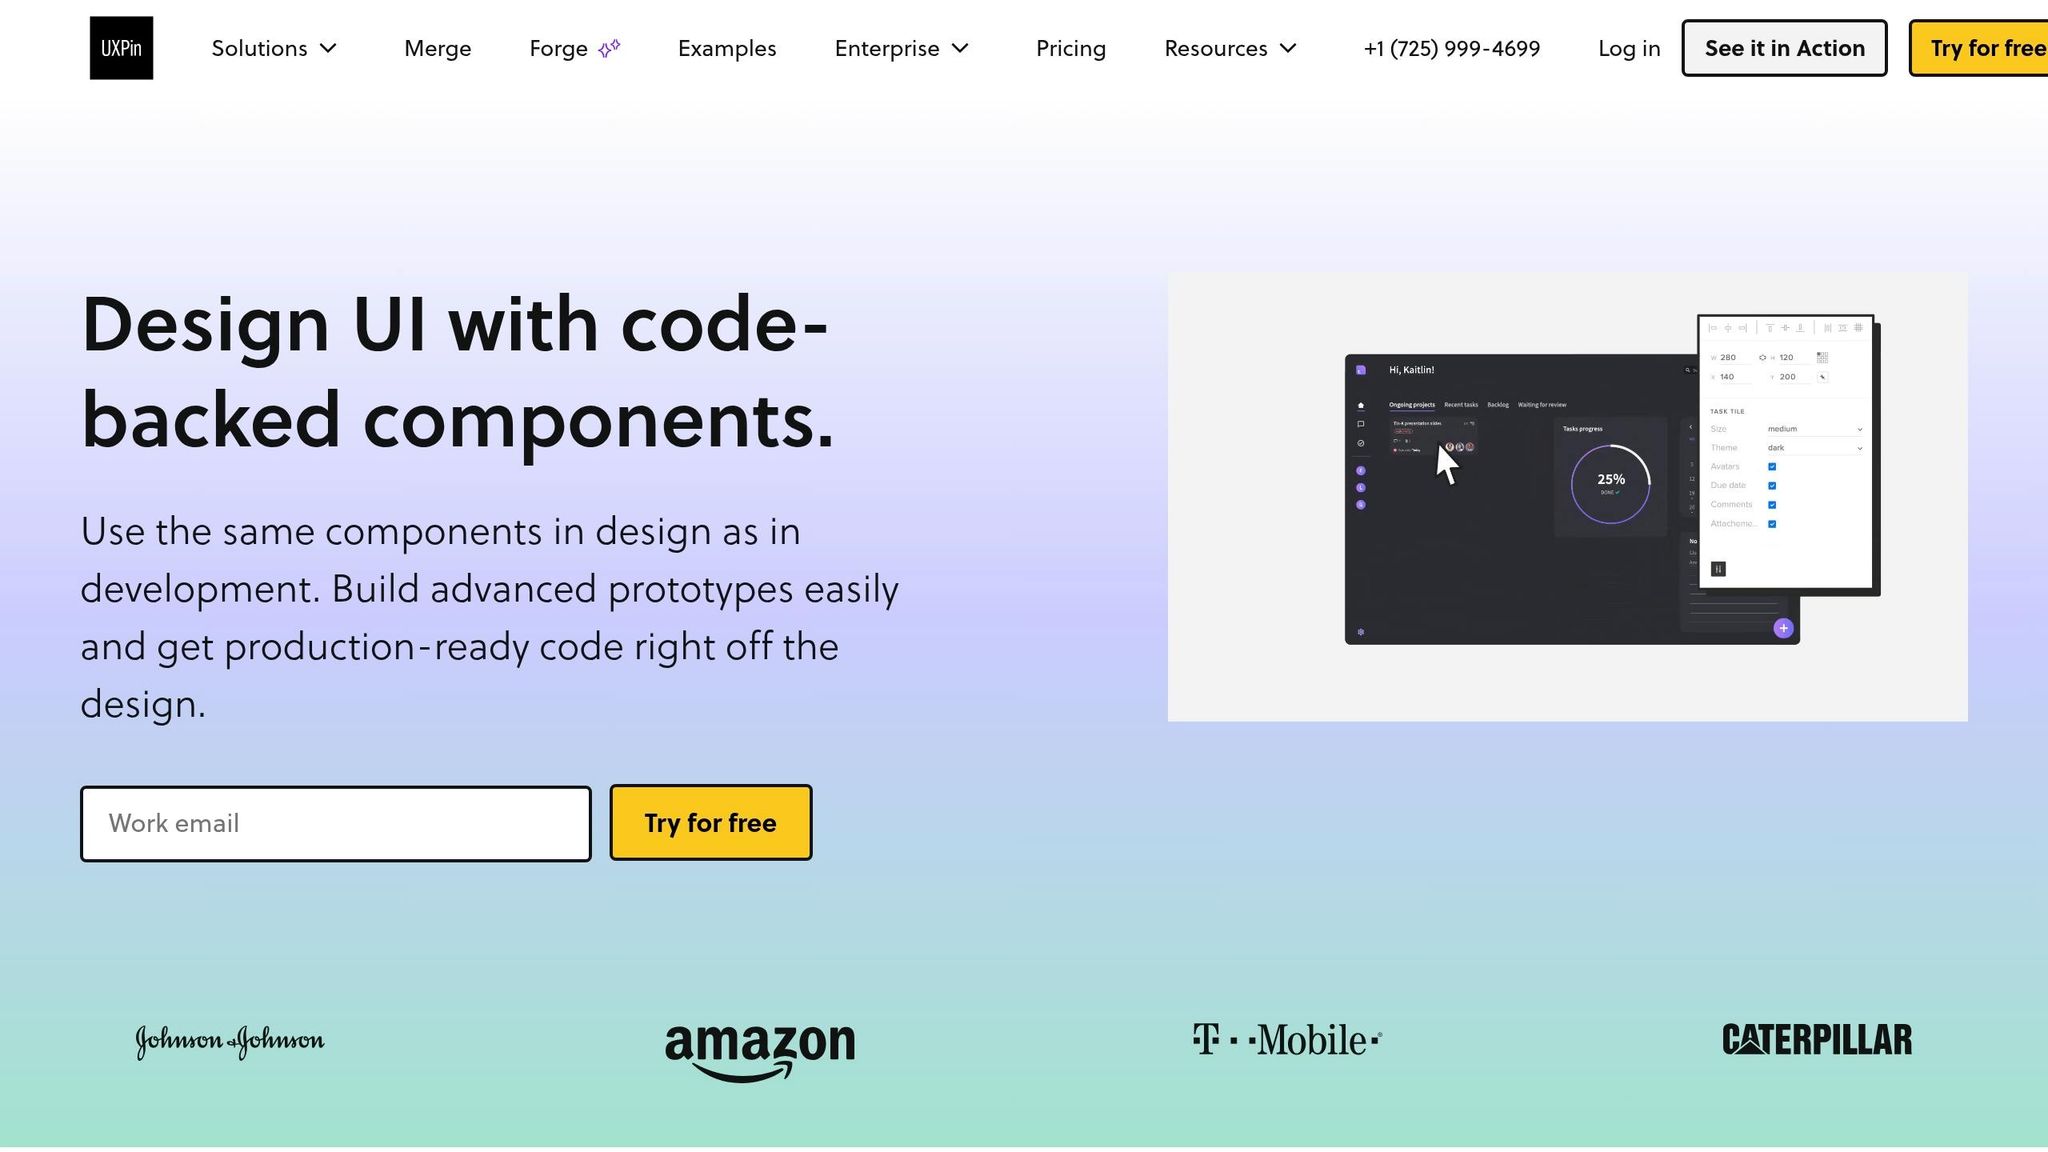
Inside UXPin, you can swap in final copy, test CTA variants, and fine-tune spacing and responsive behavior without stepping outside the Bootstrap system.
Edit content, hierarchy, and states without losing system alignment
Need to try layout ideas a bit faster? Use Forge in the same canvas.
Optional: speed up the workflow with UXPin Forge
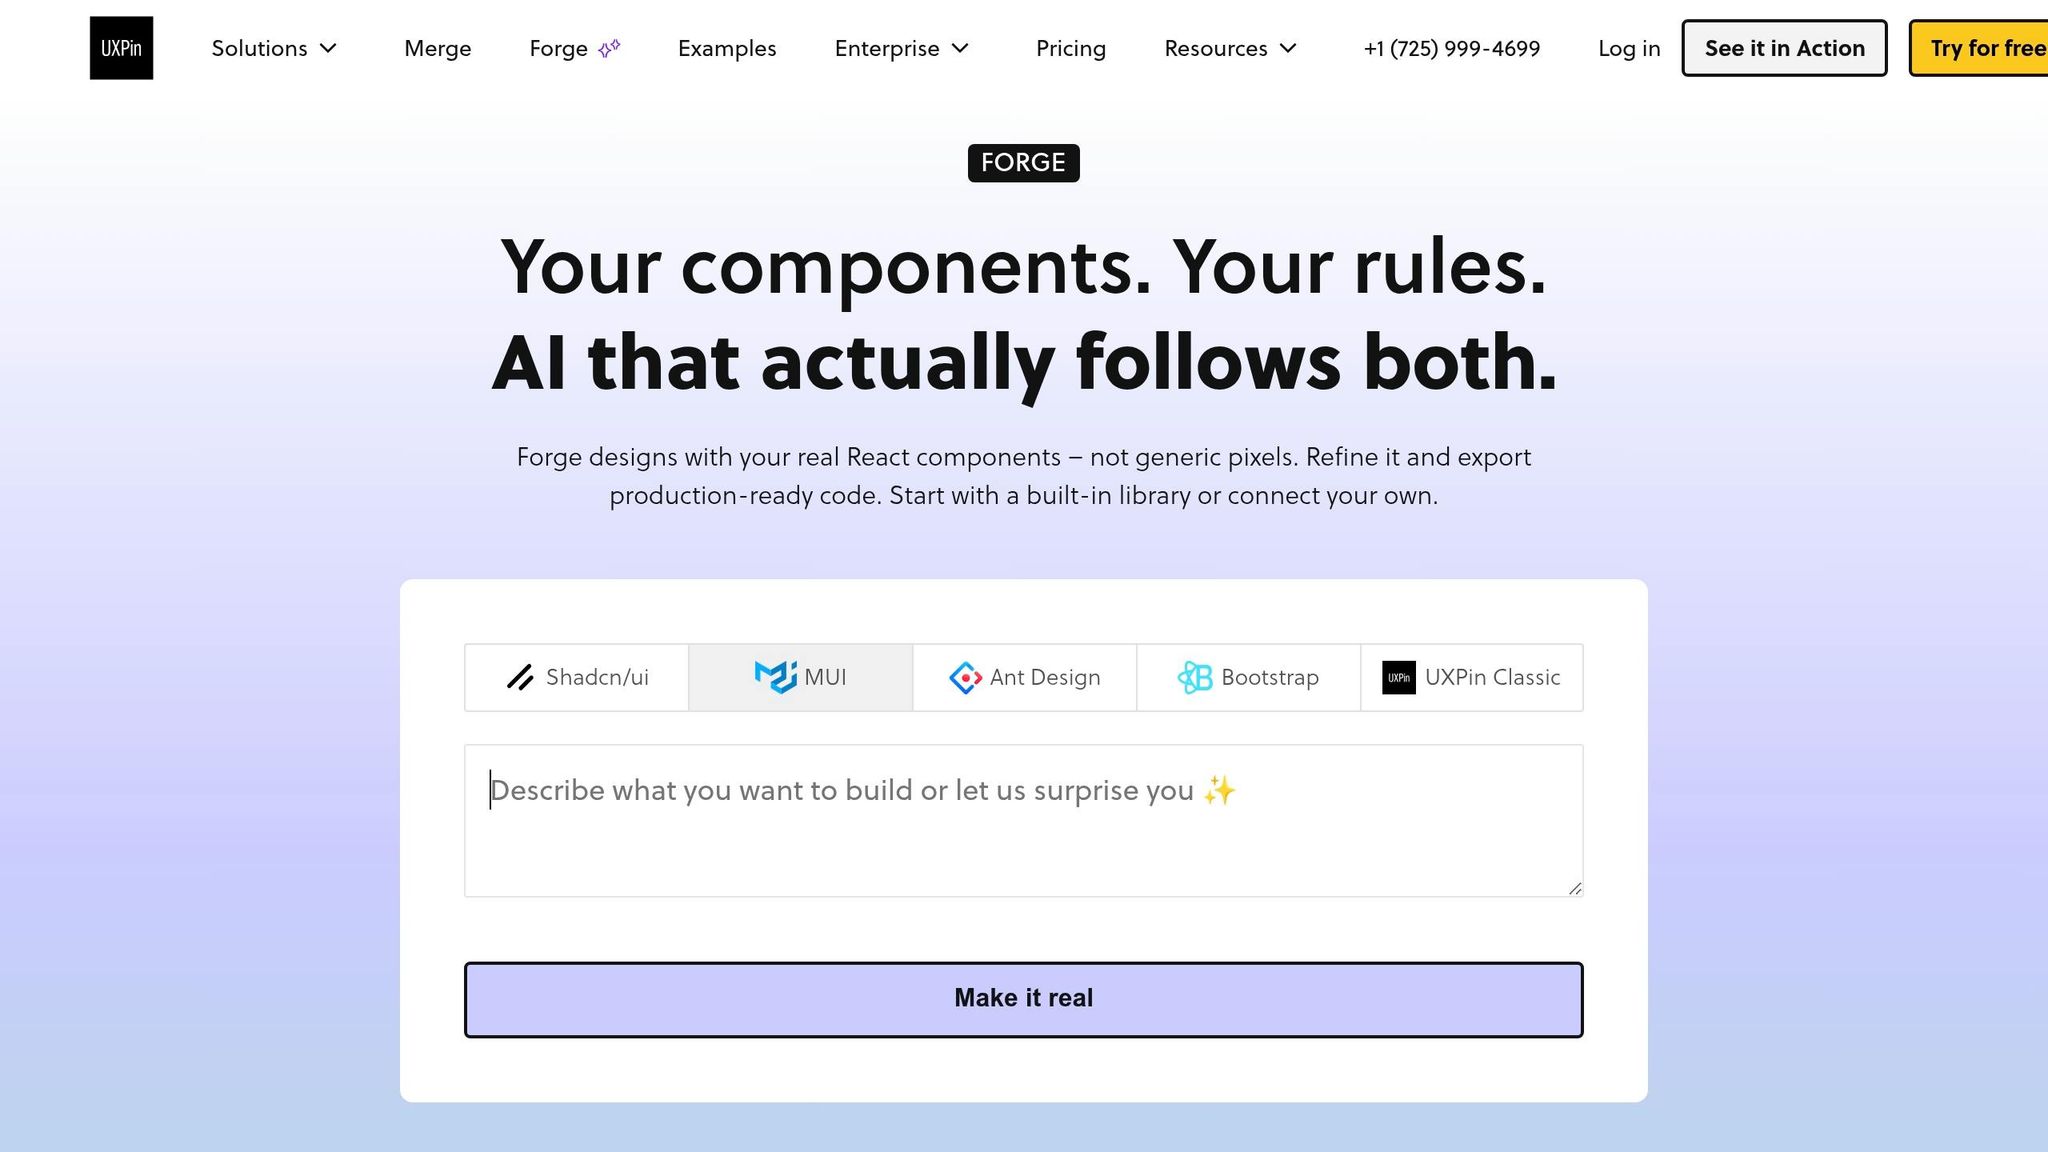
UXPin Forge can generate layout ideas right inside the canvas. Its suggestions stay limited to your connected component library, which means feature blocks and CTA variations still rely on real components. After that, you can move into the final pass for spacing, responsiveness, and accessibility.
5. Final review and next steps
Before handoff, do one last pass on the content, layout, and components. At this stage, focus on three areas: content, UX, and technical alignment.
On the content side, make sure Claude-generated copy has been edited to match your brand voice, prices use U.S. currency formatting, and CTAs like "Book a demo" appear the same way across the page.
On the UX side, check that the hero headline is easy to read on both desktop and mobile, key benefits are easy to scan without too much scrolling, and columns don’t feel squeezed at smaller breakpoints.
On the technical side, confirm that each component in the UXPin prototype maps to an approved Bootstrap component. Then review accessibility, responsiveness, and spacing before implementation.
The payoff is simple: fewer revision rounds, fewer alignment meetings, and less QA rework.
After launch, use the same workflow to test improvements. Analytics can help shape new Claude prompts. For example, you might ask for three alternative hero headlines that stress implementation speed, then test those versions in UXPin Merge with the same components. If a test works, add that pattern to your design system so future pages start from a better baseline.
A practical first step is to choose one underperforming section on an existing landing page and spend two hours re-prompting with Claude, rebuilding it in Bootstrap, and comparing two versions in UXPin Merge. It’s a small test, but it gives you a clear read on speed and alignment before you rebuild the full page.
FAQs
Do I need coding skills to use this workflow?
No. UXPin Merge comes with a built-in Bootstrap library, so you can drag and drop production-ready components like buttons, navbars, and cards right onto the canvas – no HTML or CSS needed.
If your team works from a custom or branded library, engineering usually sets that up first. Once that part is done, designers and product managers can build interactive prototypes in the visual editor. Knowing the basics of Bootstrap’s grid can help, but you don’t need it to get started.
How do I turn Claude output into Bootstrap-ready sections?
Ask Claude for clean HTML that uses standard Bootstrap 5 classes and semantic tags. Also tell it to return code only.
From there, clean up the markup:
- Remove inline styles
- Remove hard-coded colors
- Remove custom CSS classes
- Split the output into reusable sections like Hero or Pricing
If you’re working in React, turn those sections into a small component library. Then import that library into UXPin Merge through the npm integration.
Once it’s in UXPin, map props like variant or size to the Properties Panel so your team can tweak components without touching code.
What does UXPin Merge add after the page is built?
After the page is built, UXPin Merge turns static layouts into interactive, code-backed prototypes that behave like the final product. You can add dynamic states, conditional logic, and more advanced interactions right in the editor, using the same React props as your production code.
It also makes developer handoff a lot simpler. With one link, your team gets the prototype, specs, and production-ready JSX code in one place. At the same time, your design system stays in sync through Git or npm updates.
Related Blog Posts
- How to build a landing page using GPT-5 Mini + Bootstrap – Use UXPin Merge!
- How to build a landing page using GPT-4.1 + Bootstrap – Use UXPin Merge!
- How to build a landing page using Claude Opus 4.5 + Bootstrap – Use UXPin Merge!
- How to build a landing page using Claude Opus 4.5 + Custom Design Systems – Use UXPin Merge!