
UX Design Process: The Complete 7-Step Guide for 2026
Learn the 7 essential steps of the UX design process — from research and ideation to prototyping, testing, and developer handoff. Includes AI-accelerated workflows, code-backed prototyping with UXPin Merge, and best practices for shipping better products faster in 2026.
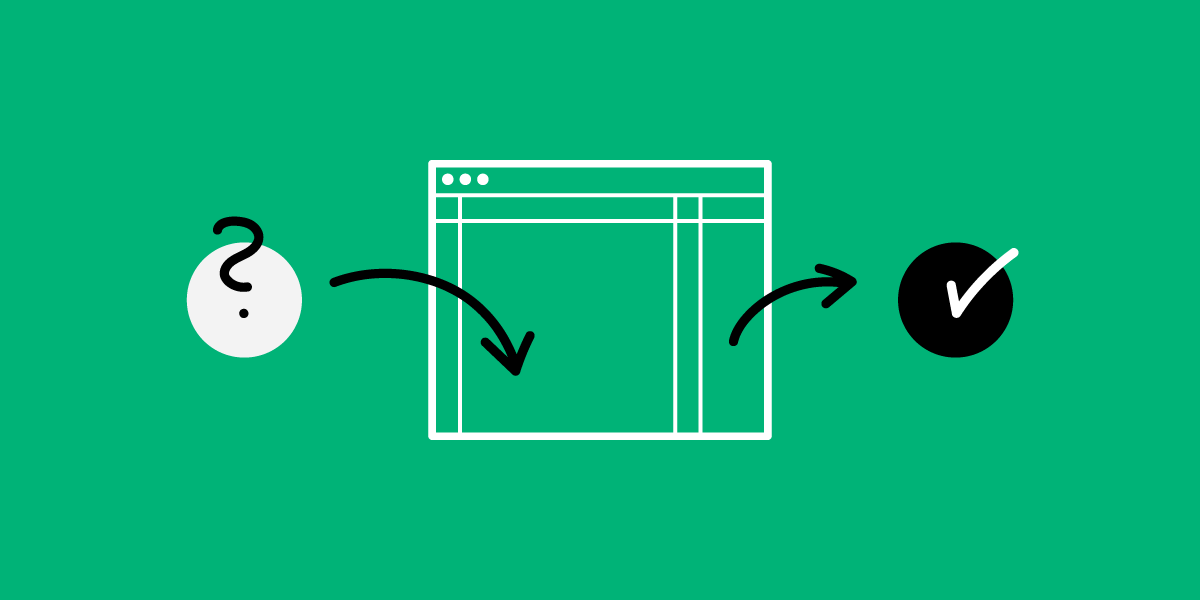
The UX design process is a systematic, iterative series of steps teams follow to create user experiences that are both usable and valuable. In 2026, this process is evolving rapidly — AI design tools are compressing timelines, code-backed prototyping is closing the design-to-development gap, and cross-functional collaboration is happening earlier than ever.
A well-defined UX design process keeps cross-functional teams aligned, ensures quality at every stage, and helps organizations ship products that solve real user problems.
In this guide, you’ll learn each of the seven steps in the UX design process, best practices for 2026, and how modern tools — including AI-powered design assistants and code-backed prototyping — can accelerate each stage without sacrificing quality.
What Is UX Design?
UX (User Experience) design is the discipline of shaping every aspect of a user’s interaction with a product — from the first impression to long-term satisfaction. It encompasses research, information architecture, interaction design, visual design, and usability testing.
Great UX design is invisible: when done well, users accomplish their goals effortlessly. When done poorly, they feel frustrated, confused, and leave.
What Is a UX Design Process?
A UX design process is a repeatable framework that guides design teams from understanding a problem to shipping a solution. It provides structure without rigidity — teams adapt the process to their product, timeline, and organizational context.
The UX design process typically includes these core activities:
- Research — Understanding user needs, behaviors, and pain points
- Definition — Framing the right problem to solve
- Ideation — Exploring possible solutions
- Design — Creating wireframes, mockups, and prototypes
- Testing — Validating solutions with real users
- Handoff & Launch — Delivering designs to engineering and shipping to production
UX Design Process vs. Design Thinking: What’s the Difference?
Design Thinking is a high-level problem-solving methodology popularized by IDEO and Stanford’s d.school. It has five phases: Empathize, Define, Ideate, Prototype, and Test.
The UX design process operationalizes these principles for product teams. Where Design Thinking gives you the mindset, the UX design process gives you the execution plan — complete with tooling decisions, fidelity levels, testing protocols, and development handoff.
Think of Design Thinking as the philosophy and the UX design process as the practice.
Why Is a Structured UX Design Process Important?
Without a clear process, teams fall into common traps: designing for themselves rather than users, skipping validation, or rebuilding features post-launch. A structured UX design process delivers:
- Alignment — Everyone from stakeholders to developers shares the same understanding of the problem and solution
- Efficiency — Catching issues during prototyping is dramatically cheaper than fixing them in production
- Quality — Consistent process produces consistent results across projects and teams
- Scalability — Enterprises like PayPal, where a 5-person UX team supports 60+ products and 1,000+ developers, rely on well-defined processes and design systems to maintain quality at scale
The 7 Steps of the UX Design Process
Step 1: Define Project Scope and Goals
Every successful UX project starts with a clear definition of what you’re solving and for whom. This step aligns the team before any design work begins.
Key activities:
- Conduct stakeholder interviews to understand business objectives
- Define success metrics (KPIs) — conversion rates, task completion times, satisfaction scores
- Identify constraints: budget, timeline, technical limitations, and regulatory requirements
- Write a project brief or design charter that captures scope, goals, and non-goals
Practical tip: Define what “done” looks like before you start. A clear definition of success prevents scope creep and makes it easier to evaluate solutions objectively.
Step 2: Conduct UX Research
Research grounds your design decisions in real user needs rather than assumptions. In 2026, this step blends traditional qualitative methods with data-driven behavioral insights.
Common research methods:
- User interviews — One-on-one conversations that uncover motivations, frustrations, and mental models
- Surveys — Quantitative data from a broader audience to validate qualitative findings
- Analytics review — Existing product data (heatmaps, funnel drop-offs, session recordings) that reveals actual behavior
- Competitive analysis — Understanding what alternatives exist and where they fall short
- Contextual inquiry — Observing users in their actual environment to understand workflows
Outputs: User personas, journey maps, empathy maps, and a research synthesis document that the entire team can reference throughout the project.
Step 3: Analyze Findings and Create Information Architecture
After research, synthesize your findings into actionable structures that guide design decisions.
Key activities:
- Affinity mapping — Cluster research findings into themes and patterns
- User flows — Map the paths users take to accomplish their primary goals
- Information architecture (IA) — Organize content and features into a logical structure
- Card sorting — Validate your IA with actual users
This is also where you decide on navigation patterns, content hierarchy, and the overall structure of the experience.
Step 4: Design Wireframes and Prototypes
This is where ideas become tangible. Start with low-fidelity wireframes to explore layout and flow, then increase fidelity as the design matures.
Fidelity progression:
- Sketches — Quick pen-and-paper explorations to generate options rapidly
- Low-fidelity wireframes — Grayscale layouts focusing on structure and content placement
- High-fidelity mockups — Polished designs with real typography, color, and imagery
- Interactive prototypes — Clickable (or fully functional) prototypes that simulate the real product experience
Modern tools have compressed this progression significantly. With UXPin Forge, designers can describe a UI in plain language and receive a high-fidelity layout built from real React components — jumping from concept to interactive prototype in minutes rather than days. Forge uses your actual production component library, so output is inherently consistent with your design system and its Design System Guidelines enforce brand rules across every generated screen.
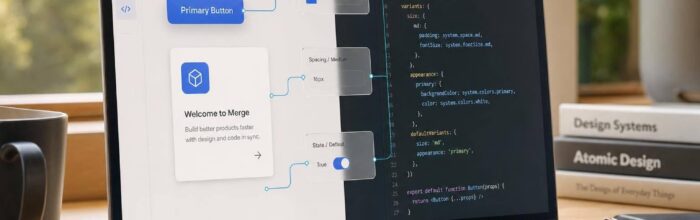
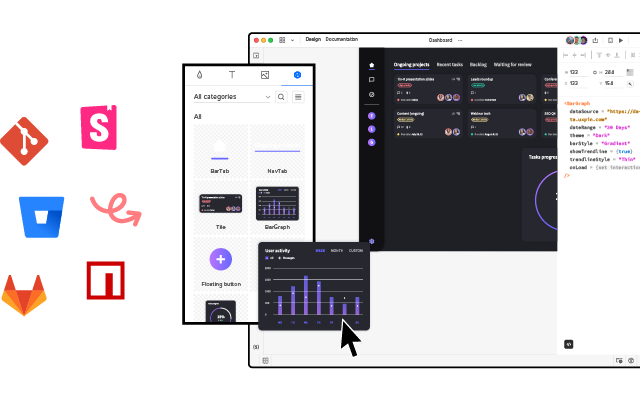
For teams already maintaining a component library, UXPin Merge lets you drag and drop production-grade components directly into your canvas, creating prototypes that look and behave exactly like the final product. Libraries from MUI, shadcn/ui, Bootstrap, and Ant Design are available out of the box.
Step 5: Conduct Usability Testing
Testing validates (or invalidates) your design decisions with real users before engineering begins.
Types of usability testing:
- Moderated testing — A facilitator guides participants through tasks in real time
- Unmoderated testing — Participants complete tasks independently, often remotely
- A/B testing — Compare two design variants to measure which performs better
- Guerrilla testing — Quick, informal tests with available participants to get fast feedback
Why prototype fidelity matters for testing: Testing with high-fidelity, interactive prototypes produces more reliable feedback. When a prototype looks and behaves like a real product, participants react authentically rather than imagining how things “would” work. Prototypes built with real code components (like those created in UXPin Merge) are especially effective because interactions, states, and edge cases are already functional — forms accept input, buttons have hover states, and conditional logic works.
Step 6: Iterate and Refine Based on Feedback
Usability testing almost always reveals issues. This step is where you address them — not in a single pass, but through cycles of targeted refinement.
Best practices:
- Prioritize findings by severity: critical usability blockers first, then friction points, then polish items
- Don’t redesign everything — make targeted changes and retest
- Share test recordings and findings with stakeholders to build alignment around changes
- Document design decisions and the rationale behind them for future reference
AI tools can accelerate iteration cycles. Forge‘s conversational interface lets designers describe changes in natural language — “make the sidebar narrower and move the CTA above the fold” — and see those changes applied immediately using real components, without regenerating the entire layout. This makes each iteration cycle faster and more precise.
Step 7: Hand Off to Development and Launch
The final step bridges design and engineering. Historically, this has been one of the most error-prone stages — designs lose fidelity when developers interpret static mockups.
Key handoff deliverables:
- Design specifications (spacing, typography, colors)
- Interaction documentation (hover states, animations, error handling)
- Asset exports
- Annotated prototypes
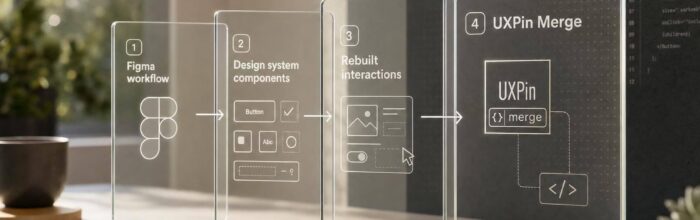
Closing the handoff gap: Tools like UXPin Merge fundamentally change this step. Because prototypes are built with production React components, developers receive clean JSX code rather than a specification document to interpret. Enterprise teams using Merge report up to a 50% reduction in engineering time for UI implementation.
You can also connect your own component library via Git integration or the Merge CLI tool, ensuring that the components in your prototypes stay synchronized with your production codebase.
Best Practices for the UX Design Process in 2026
Apply User-Centric Thinking at Every Stage
User-centricity isn’t just a research phase activity. Every decision — from information architecture to button placement — should trace back to a documented user need. Keep personas and journey maps visible and referenced throughout the project.
Practice Empathy Beyond Research
Empathy extends to understanding developer constraints, business pressures, and accessibility requirements. The best UX designers consider every stakeholder’s perspective, not just the end user’s.
Build and Maintain a Design System
A robust design system accelerates every step of the UX design process. It provides reusable, consistent components that reduce decision fatigue and ensure brand coherence across products.
Modern design systems go beyond static libraries. With tools like UXPin Merge, your design system components are backed by real production code — what you design is exactly what gets built. This eliminates the “design drift” that occurs when developers rebuild components from static specifications.
Communicate and Collaborate with Developers Early
Don’t wait until handoff to involve engineering. Include developers in design reviews, prototype walkthroughs, and usability testing. Early collaboration catches technical constraints before they become expensive redesigns.
Use AI to Accelerate, Not Replace, the Process
AI-powered design tools can dramatically speed up the initial phases of design — generating layout options, suggesting component arrangements, and producing first drafts from text prompts or reference images. The key is to use AI for the first 80% and apply professional design judgment for the final 20%.
UXPin Forge exemplifies this approach: it generates designs using real components from your production design system, ensuring that AI output is always on-brand and technically implementable. Designers then refine, polish, and test these AI-generated starting points. Teams report 8.6x faster design-to-prototype cycles when combining Forge with Merge.
Enhancing the UX Design Process with UXPin
Fully Interactive Prototypes
UXPin goes beyond static mockups. Build prototypes with states, variables, conditional logic, and real data — giving testers and stakeholders a true preview of the final product experience.
Code-Backed Components with Merge
With UXPin Merge, design with the same React, Angular, or web components that developers use in production. Pre-built component libraries from MUI, shadcn/ui, and Bootstrap are available out of the box.
AI-Powered Design with Forge
Forge generates, edits, and iterates on designs using your production component library — from text prompts, image uploads, or URL references. Output is exportable as production-ready JSX. Forge’s conversational AI lets you iterate in place without regenerating entire screens.
Quality User Testing
Because UXPin prototypes behave like real applications, usability testing produces more accurate, actionable results. Test on any device with shareable prototype links.
Streamlined Developer Handoff
Developers inspect and copy production-ready JSX directly from UXPin’s Spec Mode. No more interpreting static mockups or rebuilding components from screenshots.
Ready to streamline your UX design process? Try UXPin free and experience the difference of designing with real, production-grade components.
Frequently Asked Questions About the UX Design Process
What are the 7 steps of the UX design process?
The seven steps are: (1) Define project scope and goals, (2) Conduct UX research, (3) Analyze findings and create information architecture, (4) Design wireframes and prototypes, (5) Conduct usability testing, (6) Iterate and refine based on feedback, and (7) Hand off to development and launch. Each step is iterative — teams cycle back to earlier stages as new insights emerge.
What is the difference between the UX design process and Design Thinking?
Design Thinking is a broad problem-solving methodology with five phases (Empathize, Define, Ideate, Prototype, Test). The UX design process is a more granular, production-focused workflow that applies Design Thinking principles specifically to building digital products, including practical steps like design system maintenance, development handoff, and post-launch iteration.
How long does a typical UX design process take?
Timelines vary by project complexity. A simple feature redesign may take 2–4 weeks, while a full product design can span 3–6 months. Using code-backed prototyping tools like UXPin Merge can compress timelines significantly — enterprise teams report up to a 50% reduction in engineering time for UI implementation.
How does AI change the UX design process in 2026?
AI accelerates the initial 80% of design work — generating layouts, suggesting component arrangements, and producing first drafts from text prompts or reference images. Tools like UXPin Forge go further by constraining generation to your actual production component library, producing output that’s both on-brand and exportable as production-ready JSX. Designers apply professional judgment for the final 20%.
Why is high-fidelity prototyping important in the UX design process?
High-fidelity prototypes produce more reliable usability testing results because participants interact with realistic UI behaviors rather than imagining how things would work. Prototypes built with real code components (like those in UXPin Merge) are especially effective because interactions, states, and edge cases are already functional.
What is design handoff and how can you improve it?
Design handoff is the transfer of design specifications to developers for implementation. Poor handoff causes inconsistencies, delays, and costly rework. Modern tools minimize this gap — UXPin Merge lets developers copy working JSX directly from prototypes rather than interpreting static specifications. Connect your component library via Git integration to keep design and code in sync.

by UXPin on
UXPin is a web-based design collaboration tool. We’re pleased to share our knowledge here.