
We truly live in the future. One in which we can power our home lights, sound systems or even security with our voices or from a phone app while miles away. Much like the one predicted in the cult classic, Back to the Future:
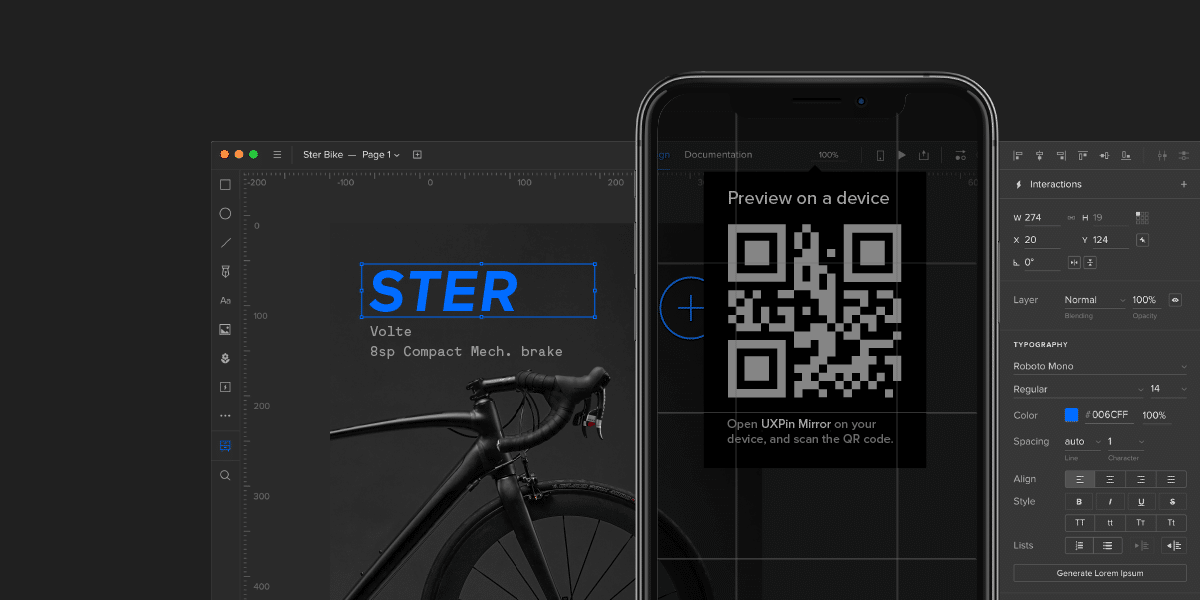
You’re now able to build such prototypes in UXPin! Until now, it was impossible to do this using prototyping tools or without coding. What is this sorcery?! Or as Doc Brown would say: Jumpin’ Gigawatts!
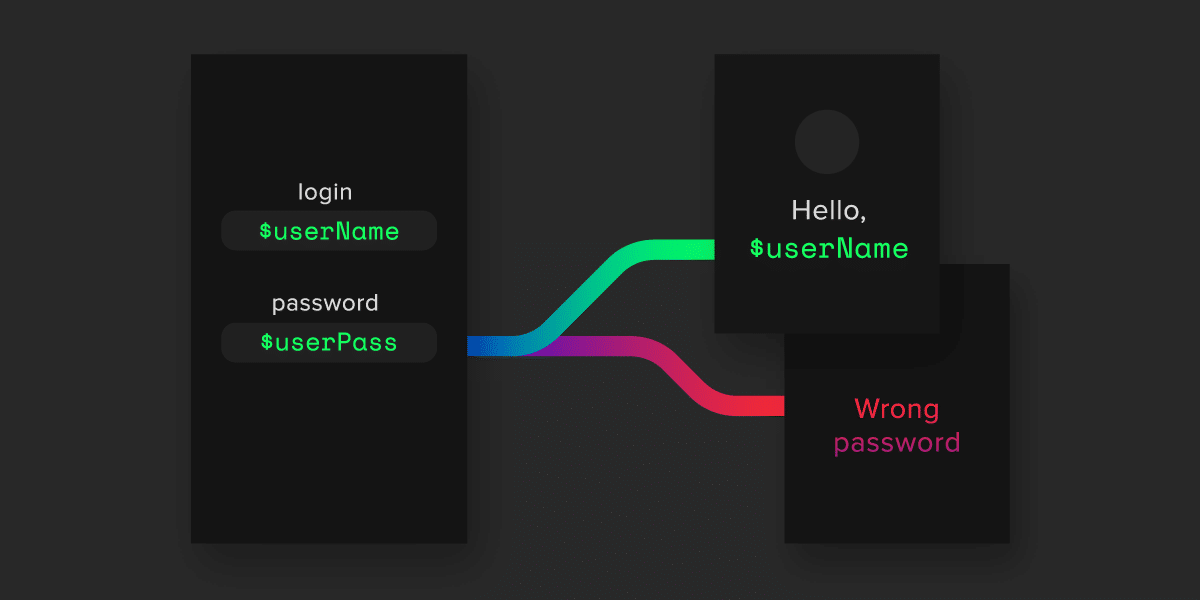
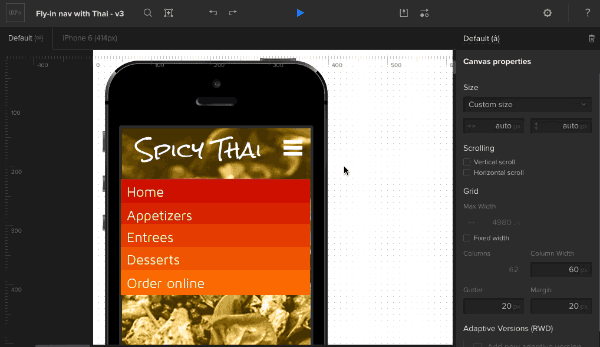
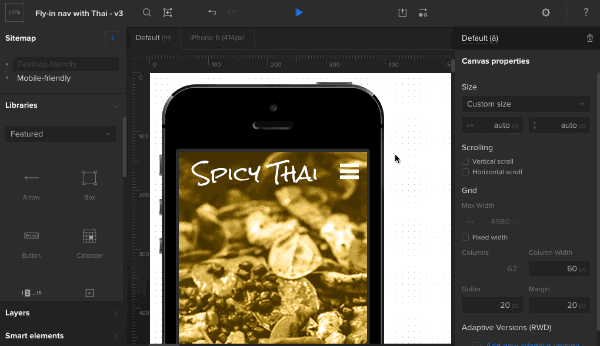
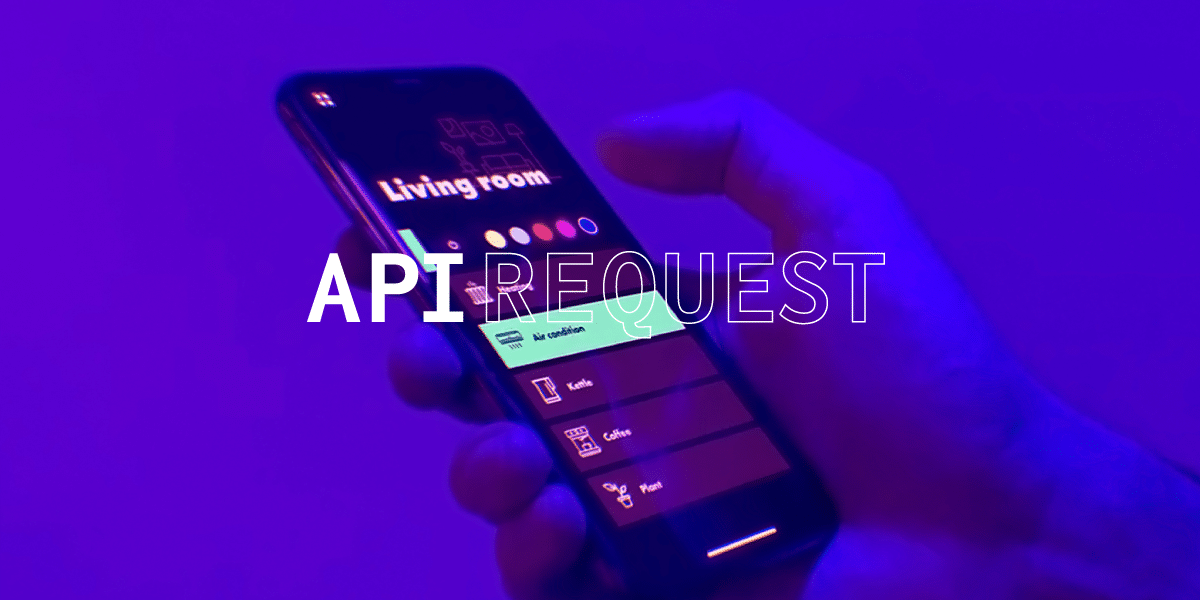
UXPin’s latest feature, API request, allows you to create app prototypes to “talk” with your products. For e.g. as a car manufacturing company, you could build a prototype that communicates with the car. You can even save data from a prototype to a spreadsheet! Or you’ll be able to simulate changing the colors of your smart lights via a prototype created in UXPin. Just like so:

Technically speaking, it allows you to send HTTP requests to an external API. This is now part of Interactions as a new type of action called API request.
What Are API Requests?
API requests are a way for UXPin to pull in and display dynamic information directly from external sources or databases within a prototype.
An API request is a message sent from UXPin to an Application Programming Interface (that’s what API stands for), asking for specific data or actions. APIs act as intermediaries that allow two systems—like UXPin and a database or web service—to communicate with each other. When UXPin sends an API request, it retrieves real data, such as product details, user profiles, or inventory information, which can then be displayed in the prototype. For enterprises managing complex data ecosystems, platforms like DreamFactory provide governed API access to any data source, ensuring secure and role-based connectivity to backend systems and databases.
Here’s how API requests work in this context:
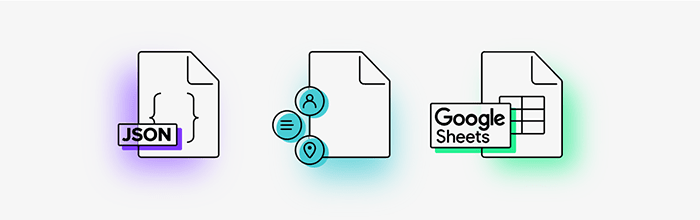
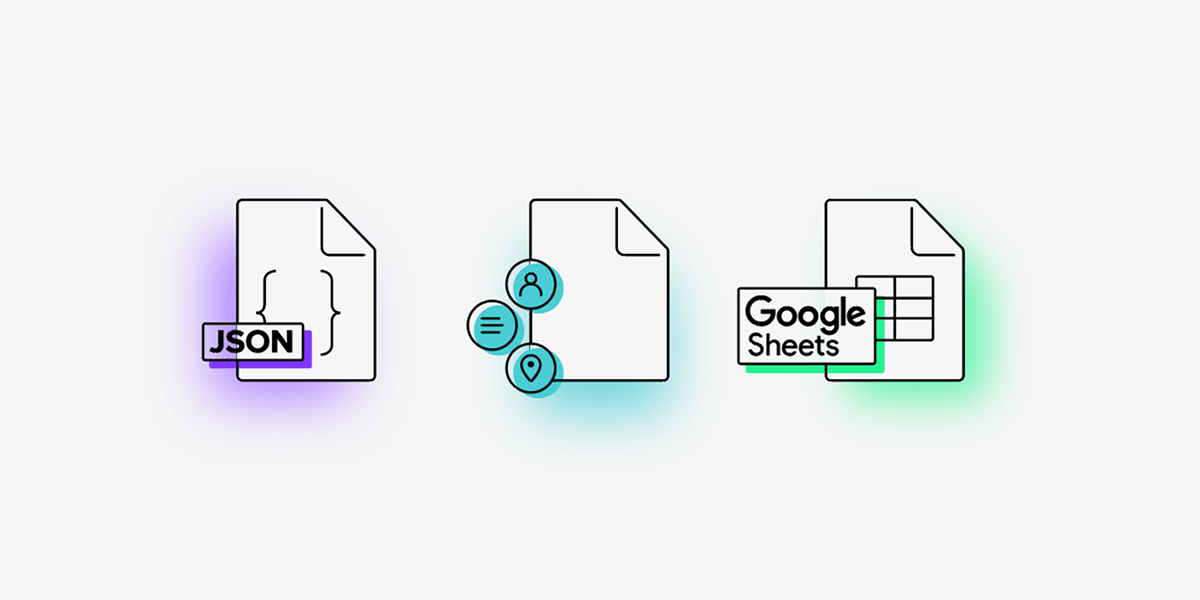
- Connecting to External Data: By using API requests, UXPin prototypes can access live or up-to-date information from systems such as CRM databases, product catalogs, or content management systems.
- Dynamic Prototyping: This feature enables UXPin prototypes to display real-time data, making the prototype experience closer to the final product. For example, a UXPin prototype of an e-commerce page could use API requests to show current prices, stock levels, and product images.
- User Testing with Real Data: Since prototypes can pull in actual information, teams can conduct more accurate user tests, observing how users interact with real content instead of placeholder text or images.
In UXPin, API requests enhance the power of prototypes by allowing data-driven design, enabling users to experience realistic interactions and ensuring that feedback is based on real-world scenarios.
How Connected Prototypes Enhance User Testing Feedback
Connected prototypes—prototypes integrated with real product data or live APIs—transform the user testing experience by creating a more realistic and dynamic interaction for test participants. This approach not only improves the quality of feedback but also accelerates the validation process, allowing teams to move more confidently from design to development.
Here’s how connected prototypes make a difference in user testing:
Increased Realism for Users
Connected prototypes simulate real-world scenarios by pulling in actual data, content, or user account information. This realism enables users to experience the prototype as they would the final product, providing feedback on interactions, navigation, and design in a way that mirrors real usage. For instance, in an e-commerce prototype connected to live inventory data, users can experience true-to-life shopping flows, offering insights that are far more valuable than hypothetical feedback.
Improved Accuracy in User Feedback
Because connected prototypes present real or simulated data rather than placeholder content, users can respond to the interface as they would in real situations, leading to more accurate and actionable feedback. This reduces assumptions in the design process, as teams can observe users interacting with actual content and understand their genuine reactions and potential pain points.
Validation of Complex User Flows
Prototypes that connect to backend systems or product databases allow for testing of complex workflows, like signing in, checking account details, or completing multi-step processes. Teams can observe whether users intuitively follow intended paths, providing critical feedback to refine and simplify intricate interactions. Testing these flows with connected data also reduces the chance of errors or confusion when the product is fully developed.
Early Detection of Usability Issues
Connected prototypes can reveal usability issues that might go unnoticed in a static or simplified prototype. Since users engage with real data, interactions, and scenarios, they’re more likely to encounter usability challenges that would only appear in the final product. Catching these issues early allows designers and developers to make adjustments before the costly development phase.
Insight into Data-Driven Design Decisions
With connected prototypes, teams can assess how well data elements—such as recommendations, custom content, or personalization—fit into the user experience. Observing users interacting with these elements in real time helps teams validate whether data-driven design decisions are effective or need adjustments, ensuring the final product is both functional and user-friendly.
Faster Iterations Based on Authentic Feedback
Connected prototypes streamline the testing and iteration cycle, as feedback from user testing is based on realistic interactions rather than assumptions. Teams can make confident decisions on what to improve or change, knowing that feedback reflects genuine user behavior. This means fewer revisions during the final build and a more efficient design-to-development process overall.
By connecting prototypes to live or simulated product data, UXPin allows teams to create highly interactive, realistic prototypes that bridge the gap between design and development. This approach not only enhances user testing feedback but also leads to a more refined, user-centered final product.
Key Steps for Connecting UXPin Prototypes to Products
Connecting UXPin prototypes to live product data or APIs enables teams to create realistic, data-driven prototypes that closely resemble the final product. Here’s a step-by-step guide to setting up a UXPin prototype with real data, allowing for more accurate user testing and feedback.
Step 1: Choose a Data Source
Identify the data your prototype needs to access. This could include user data, product details, inventory, or any content that reflects real usage scenarios.
For physical product teams, this might even involve integrating data from manufacturing or prototyping partners within networks such as protolabs network, ensuring that design concepts align closely with real production capabilities.
Step 2: Set Up API Integration
If your data is hosted in an external service (such as a CRM, database, or CMS), ensure it has an API that allows UXPin to pull data. Verify that you have access to API keys or tokens required for authentication.
Step 3: Leverage Merge for Code Components
Use UXPin’s Merge feature to bring real code components into your prototype. These components can be connected to product data via API, making them functional and interactive, closely mimicking the final product.
Step 4: Ensure Component Compatibility
Confirm that the components you’re using are compatible with the data structure from your API. This compatibility allows for seamless data binding and interaction within the prototype.
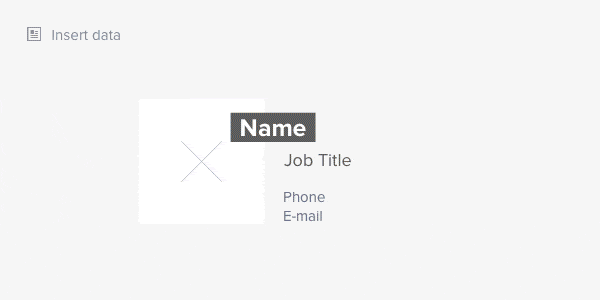
Step 5: Map Data to Components
In UXPin’s editor, link data fields from the API to corresponding components in your prototype. For example, bind a “product name” field from your API to a text component in UXPin.
Step 6: Create Conditional Logic and Interactions
Set up conditional logic within UXPin to enable interactions like filtering, sorting, or dynamic updates based on real-time data. This brings a more authentic, interactive experience to your prototype.
Step 7: Enable Dynamic Interactions
Define triggers and interactions that use live data, such as form submissions, cart updates, or account settings. These interactions allow users to engage with the prototype as if it were the final product, facilitating realistic feedback on usability.
Step 8: Set Up Real-Time Data Refresh
Configure the API connection to refresh data in real time if applicable. This can be particularly useful for user testing in scenarios involving frequently changing information, like inventory status or live content updates.
Step 9: Test with Realistic Scenarios
With live data integration, allow users to engage with the prototype in realistic workflows, such as testing a checkout process or navigating personalized content.
Step 10: Gather Data-Driven Feedback
During testing, observe how users interact with data-bound components, noting any usability challenges or insights that emerge. This helps validate design decisions early, ensuring that the prototype aligns with user needs.
Step 11: Adjust Components or Data Binding as Needed
Based on feedback, refine your data connections or modify component behavior to address issues uncovered during user testing.
Step 12: Validate Final Changes
Before transitioning to full development, confirm that all adjustments align with product requirements and user-approved feedback in the connected prototype.
Learn how to use this feature by reading our official docs about API.
Welcome to the future.